Creating The Candle Workshop
Creating the Workshop
Hey everyone!
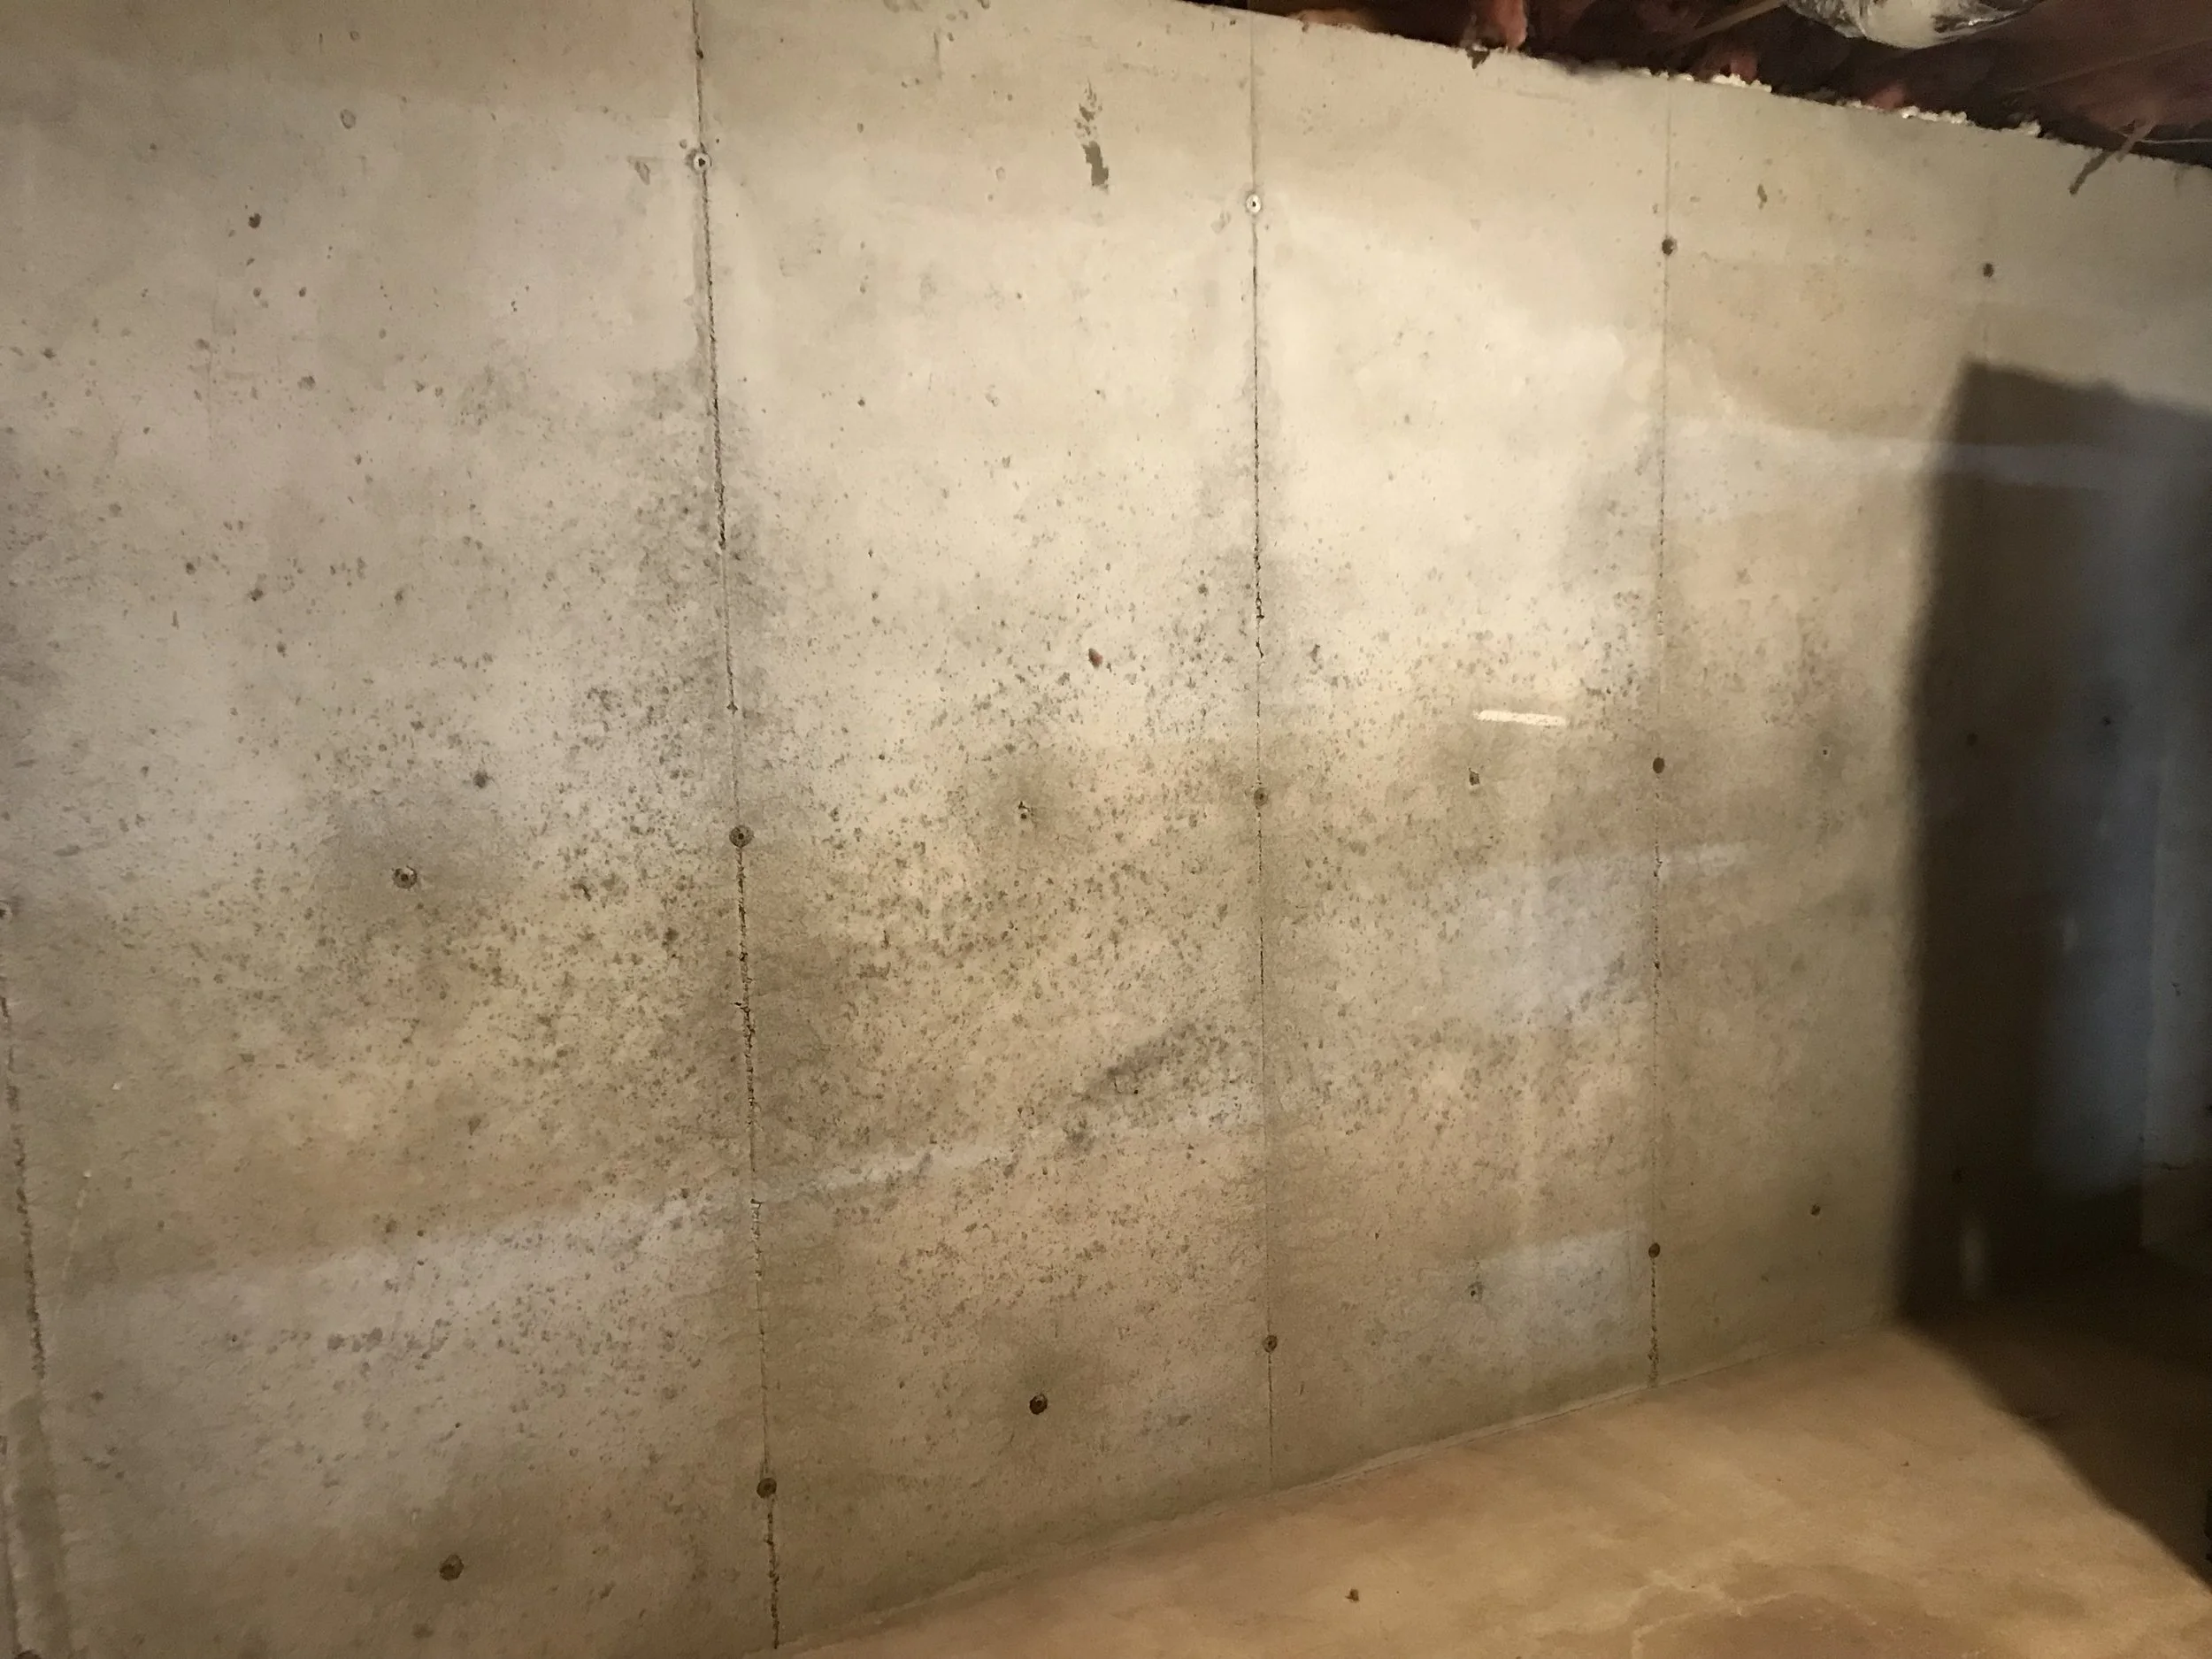
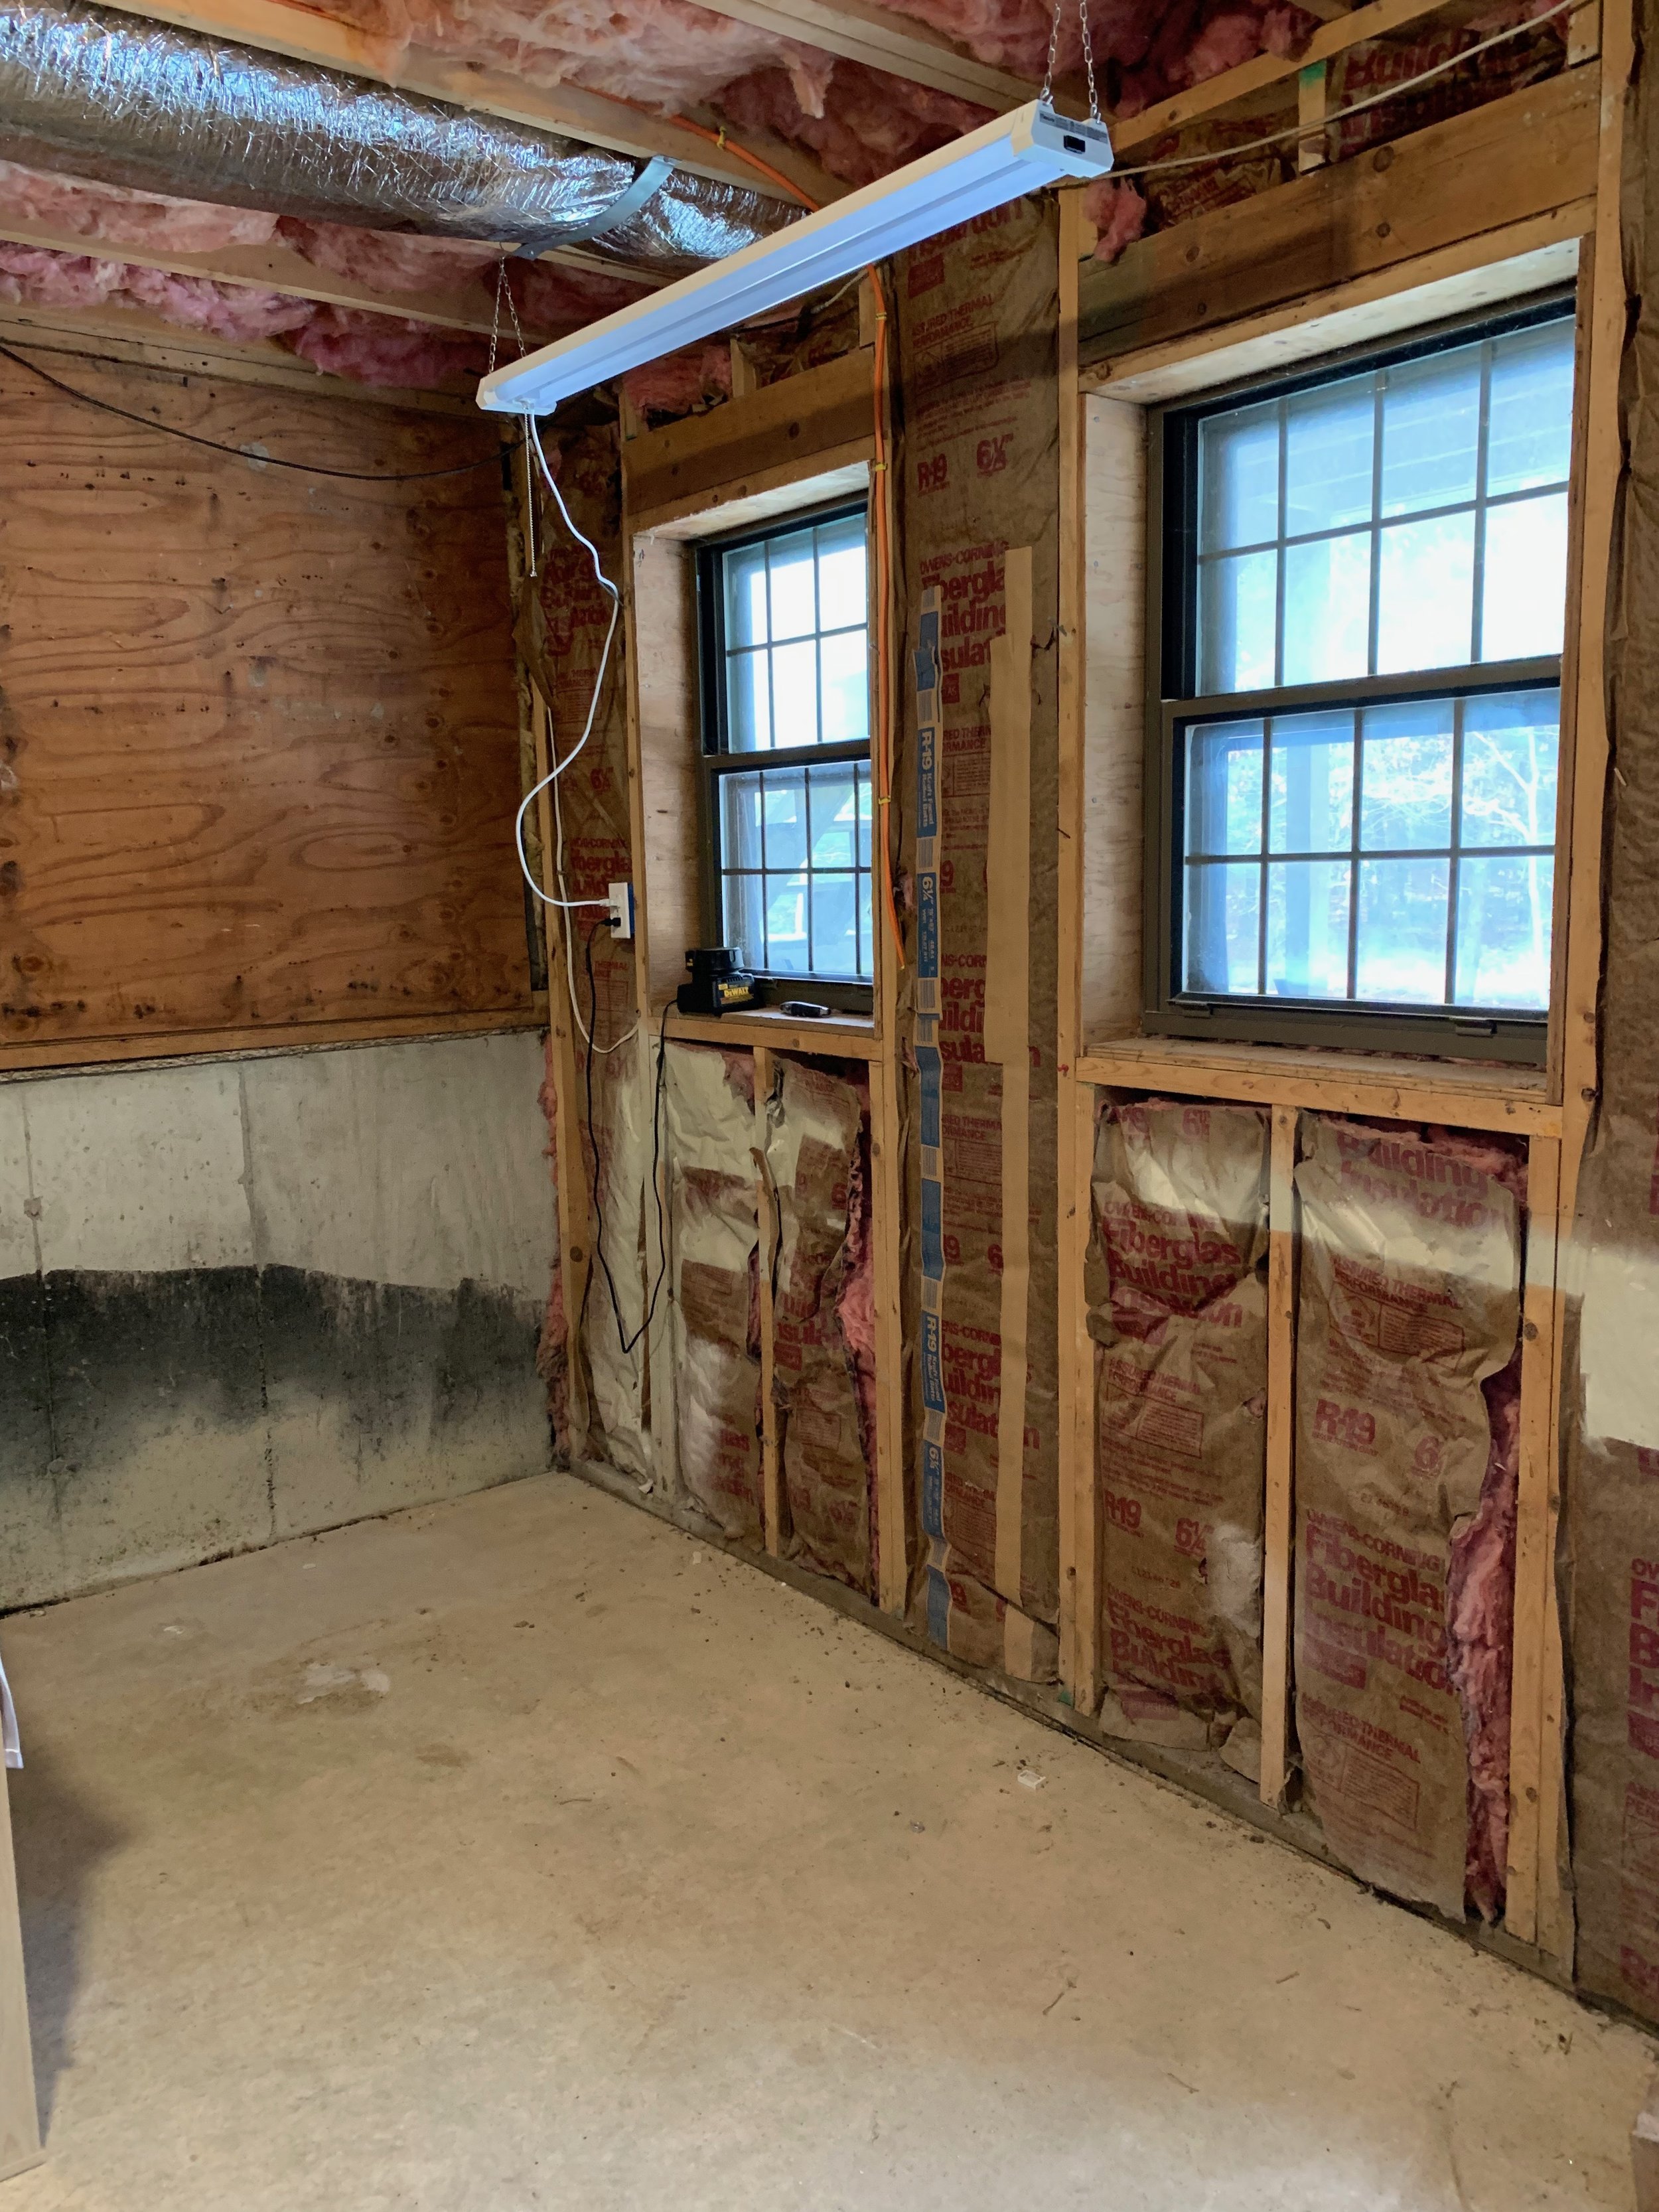
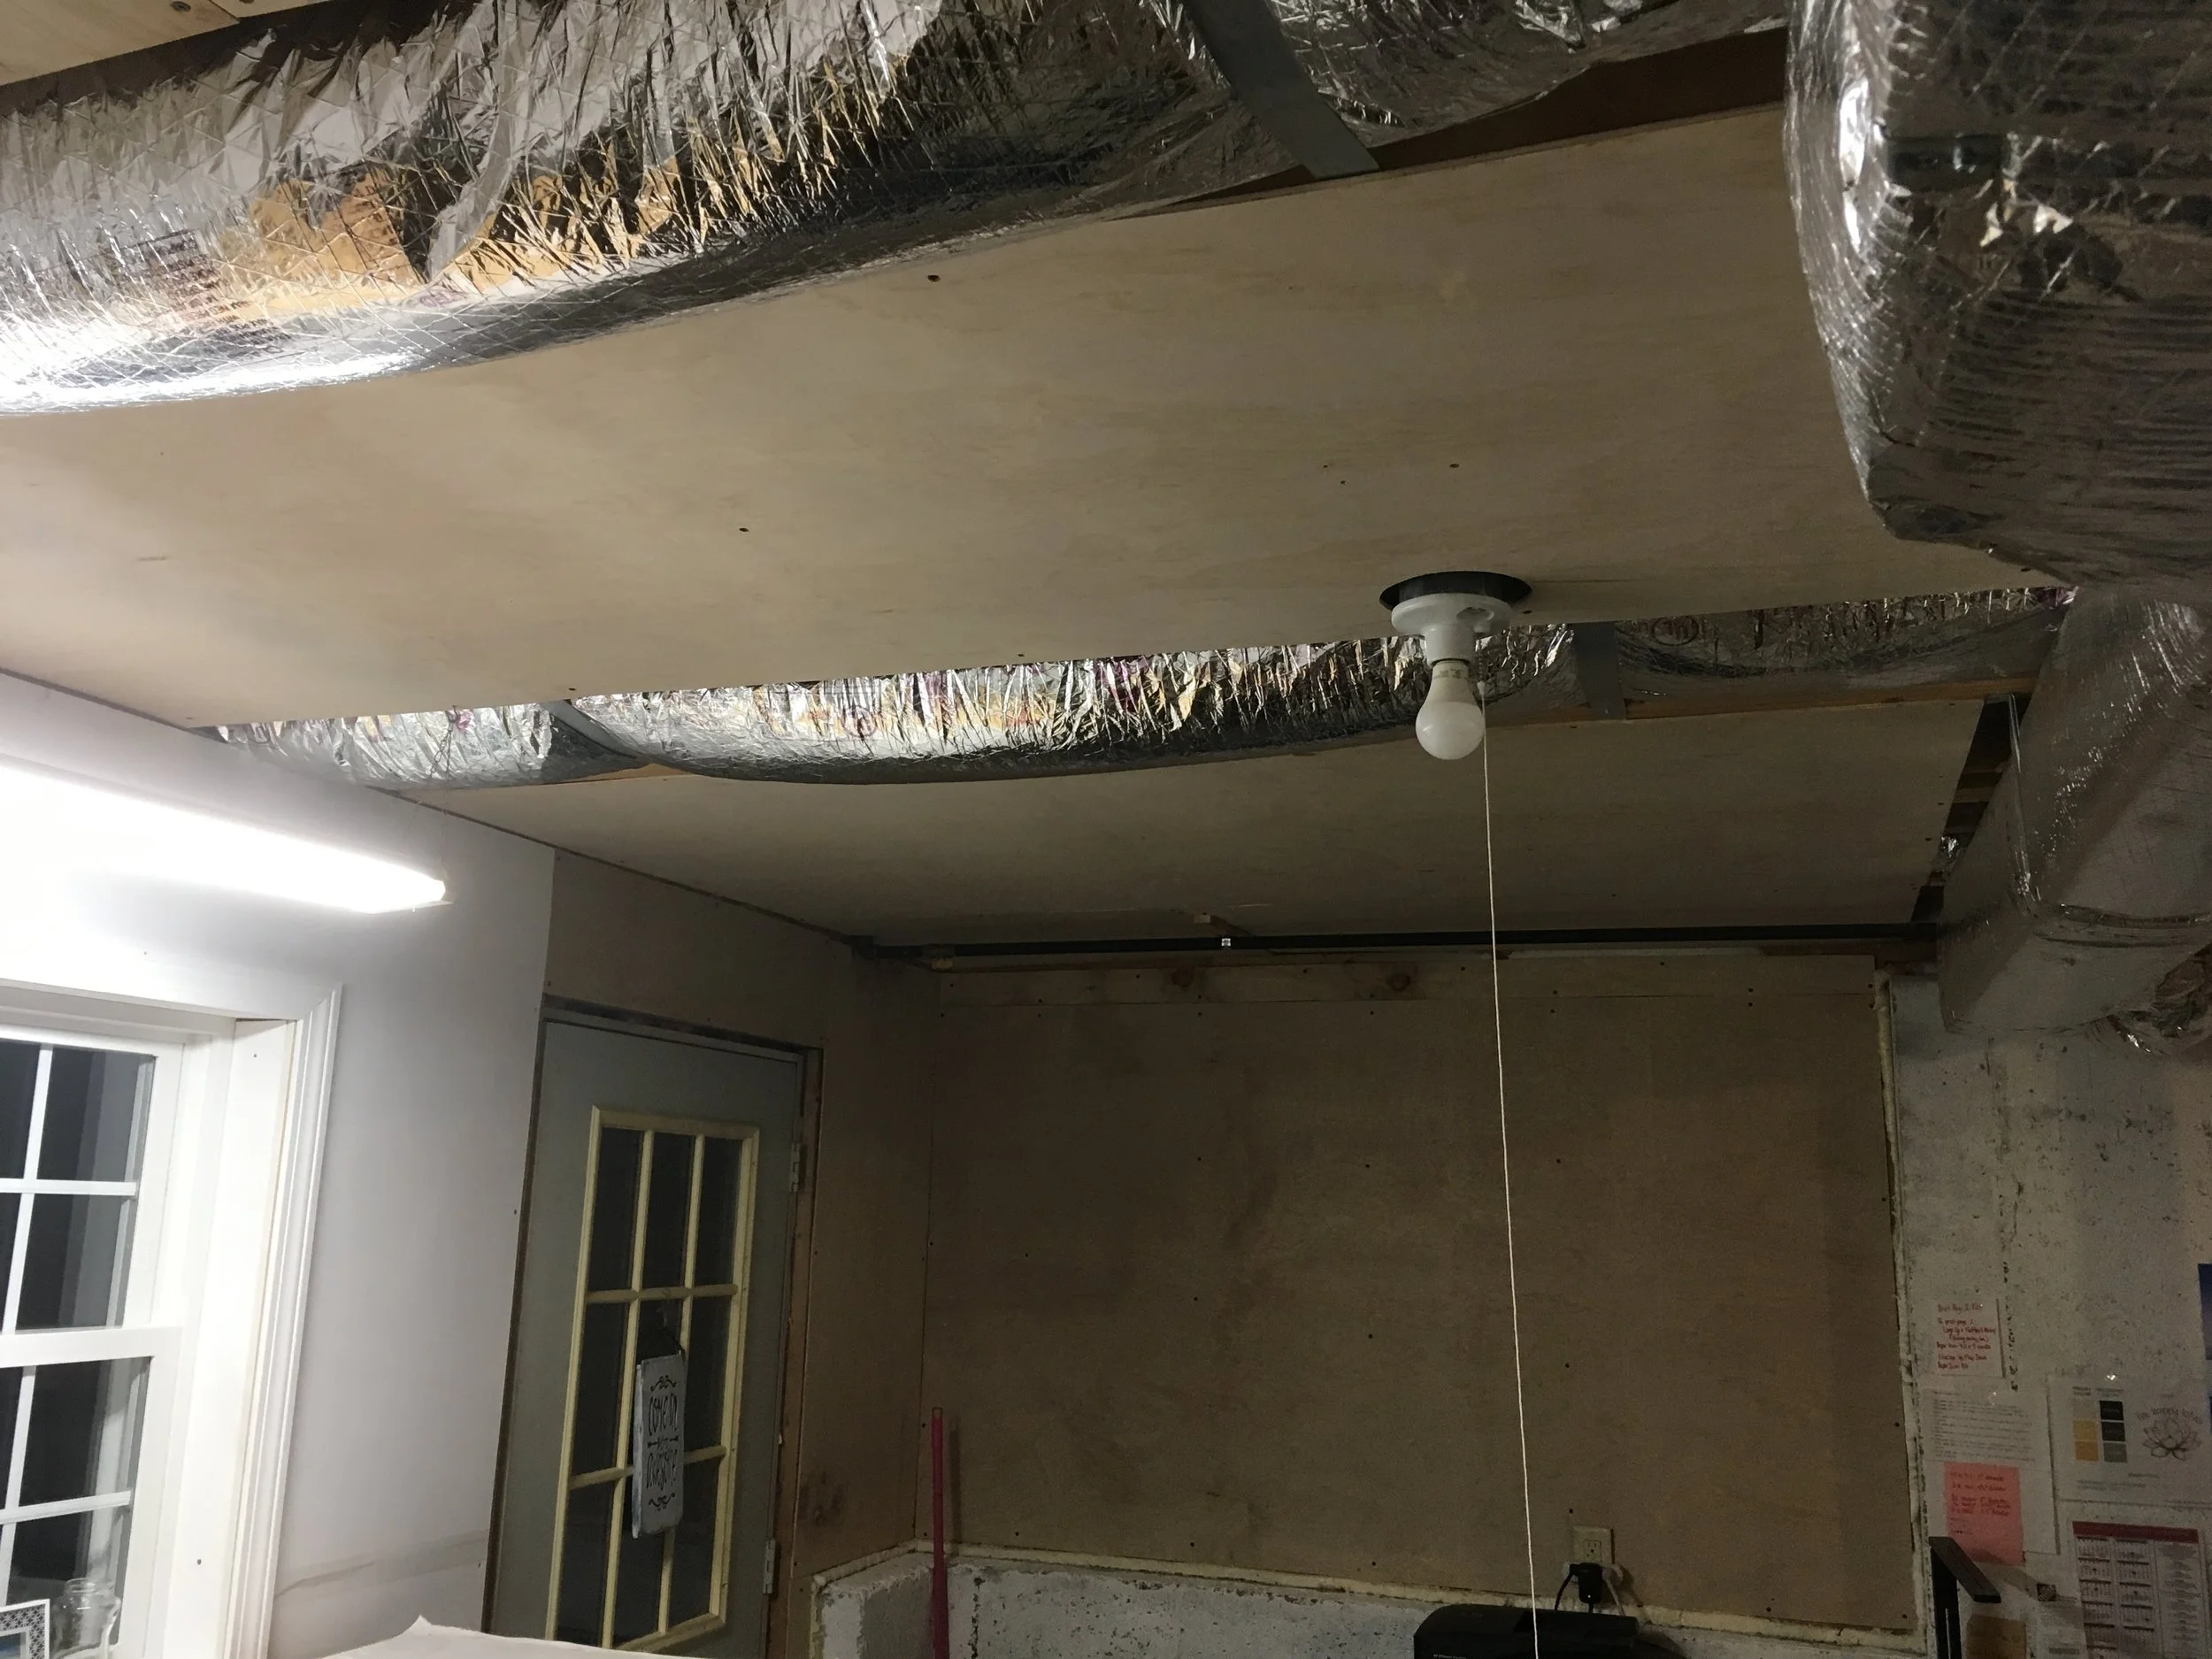
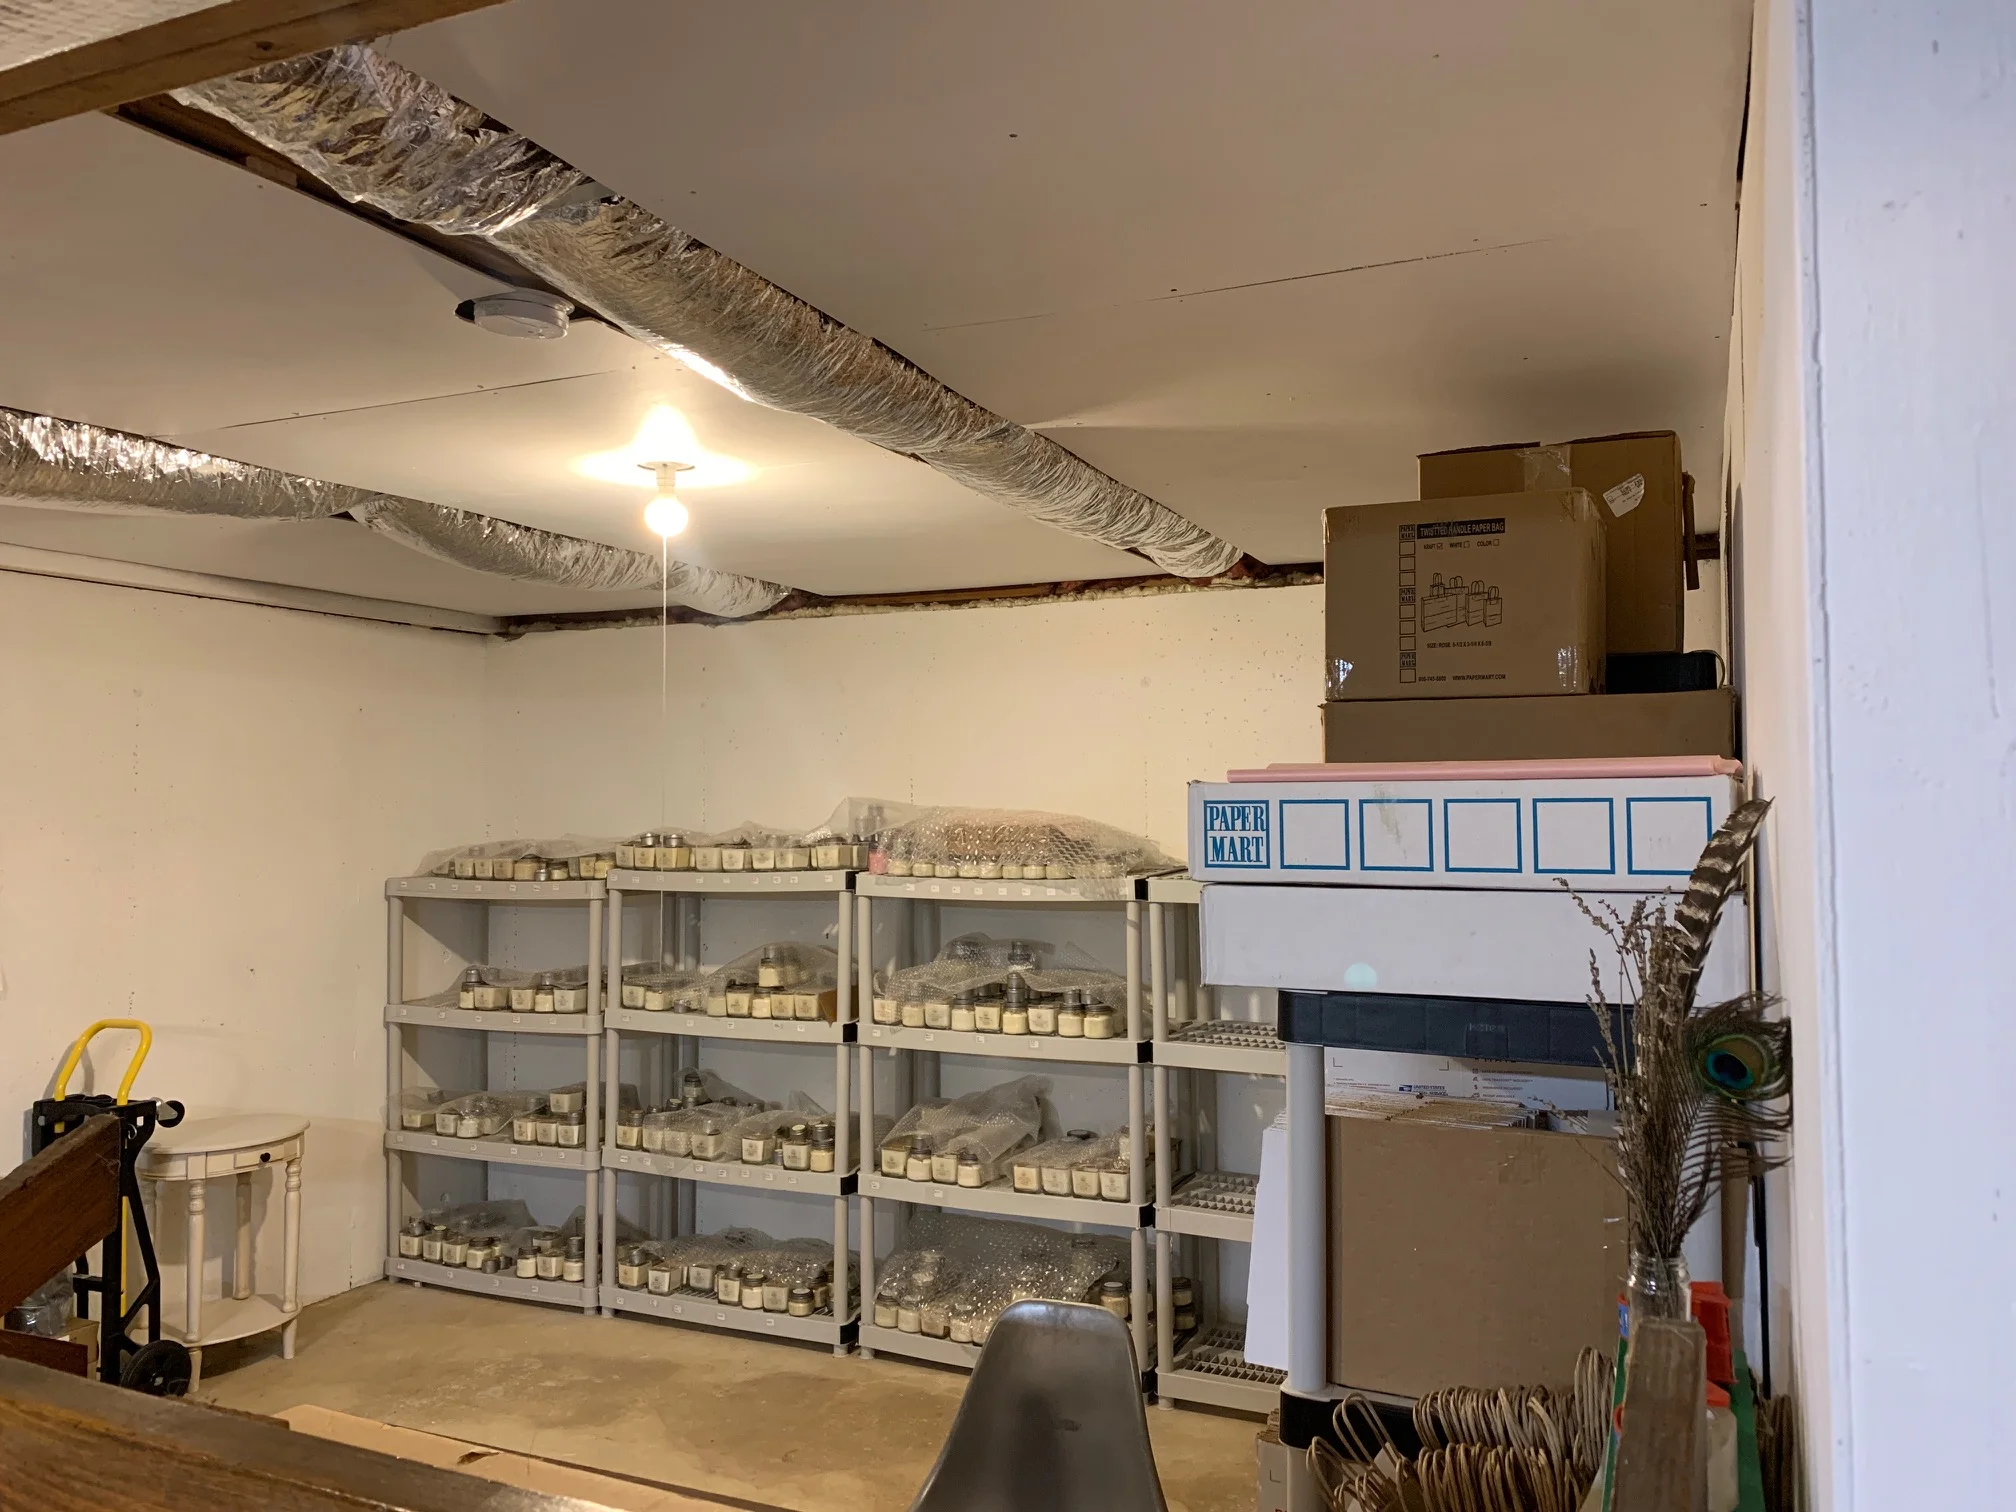
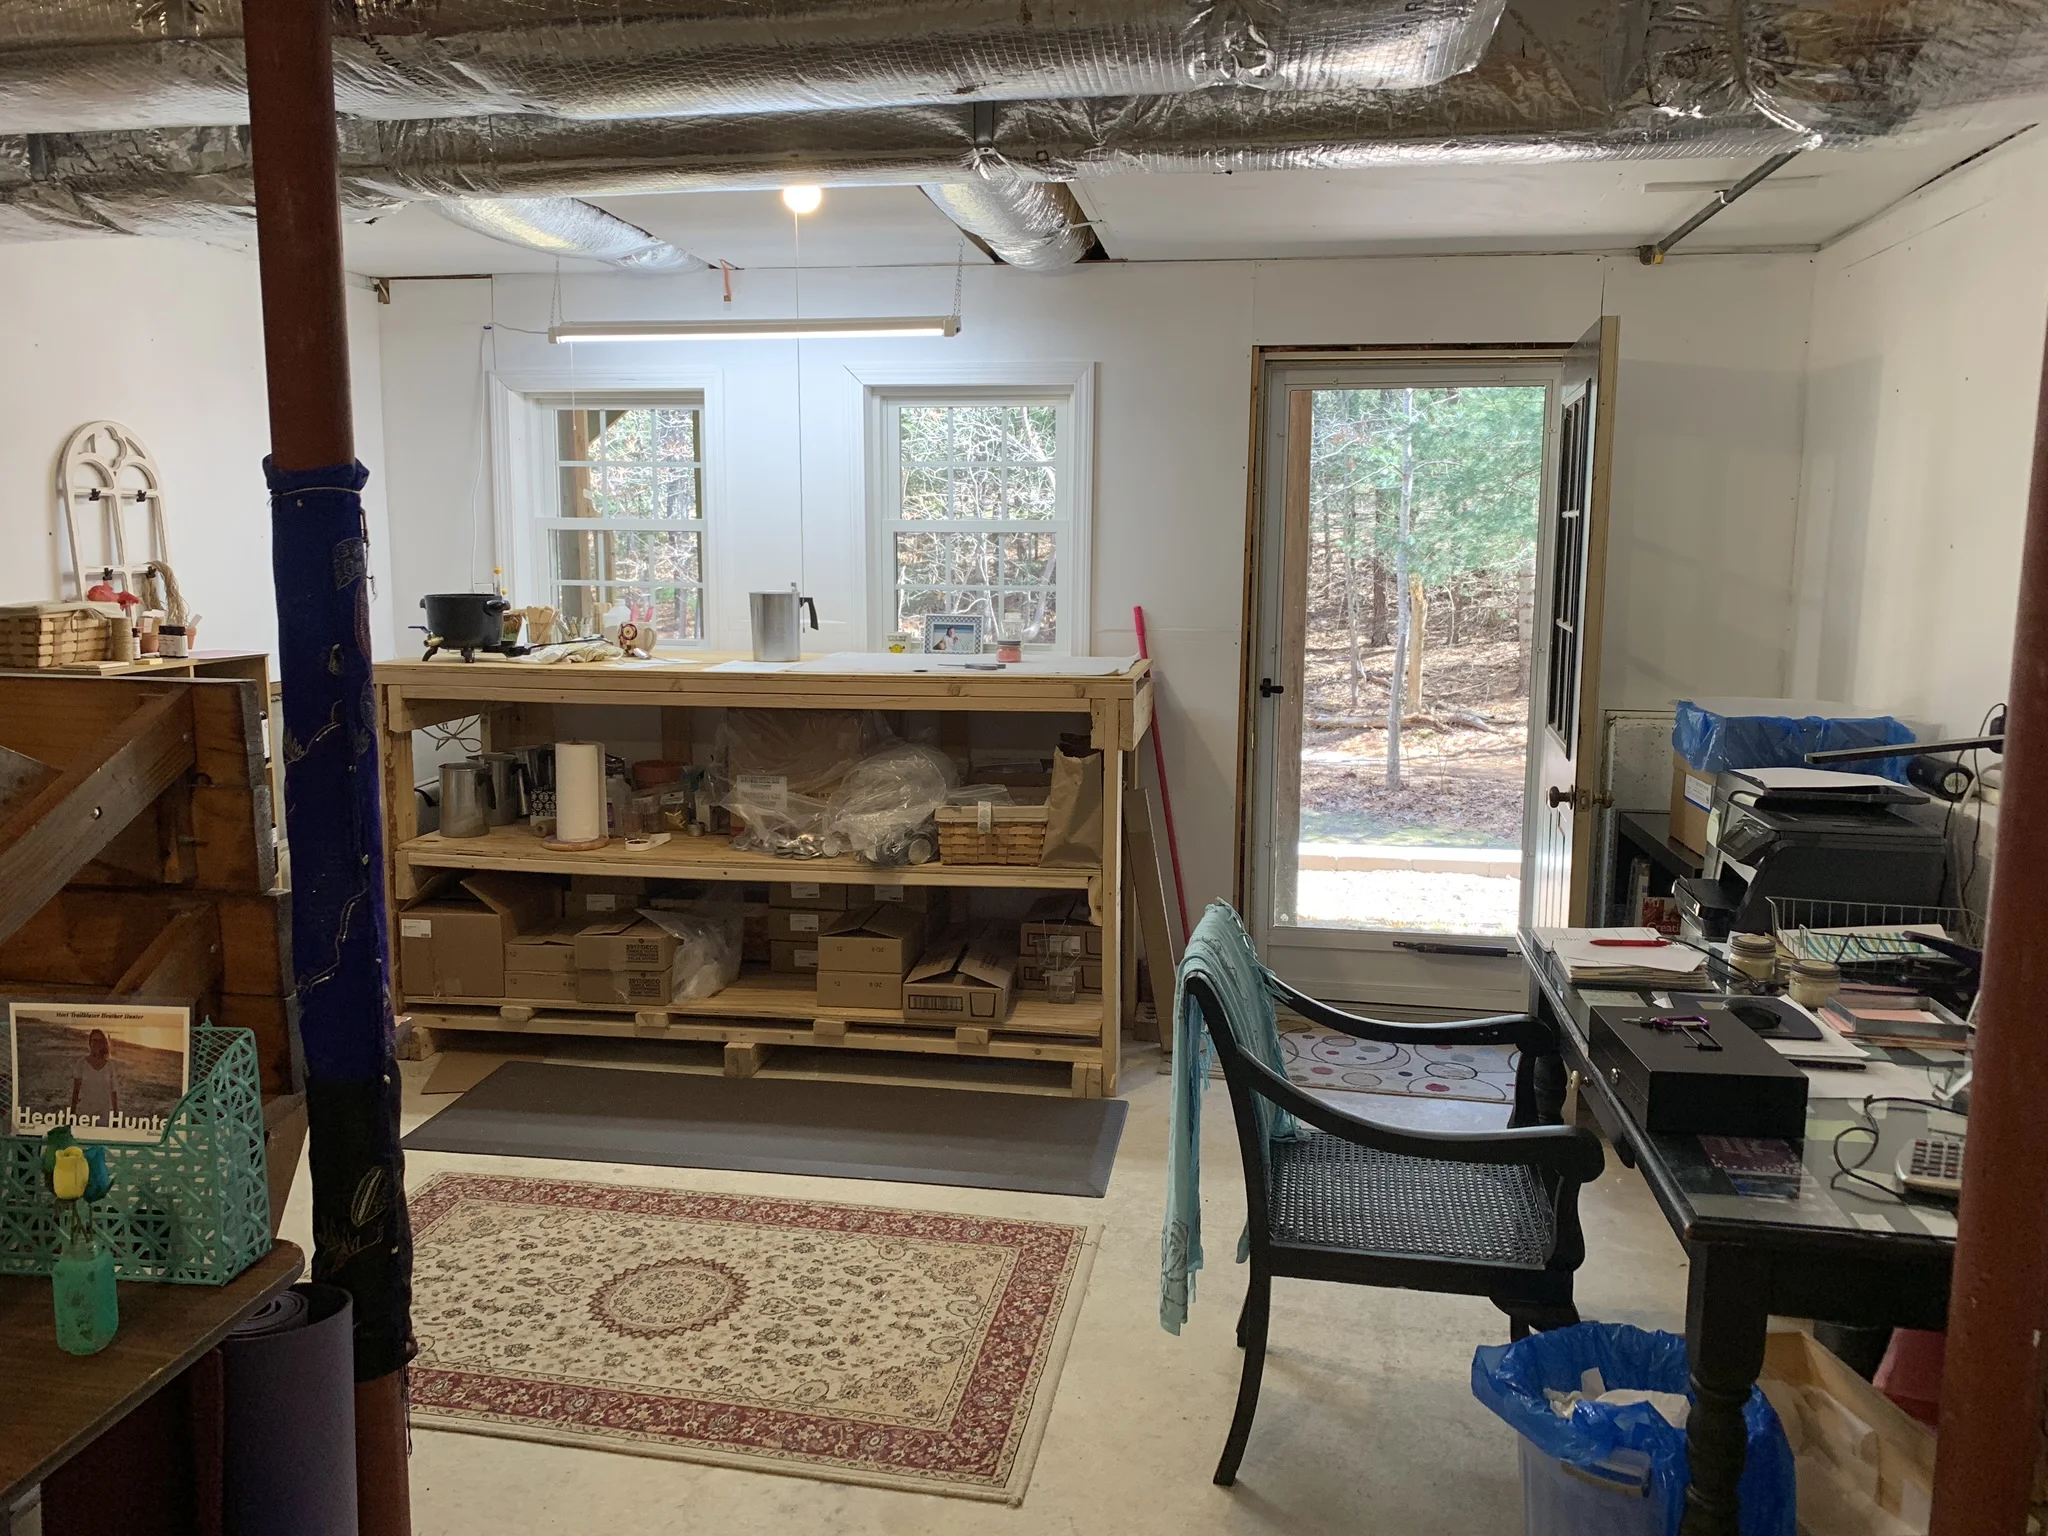
Did you know that I’ve had some work going on in my shop? I’ve been super psyched to show you all of the changes that have happened in my workshop, but instead of just showing you a random picture of a cement wall bare and then painted, I wanted to show you before and afters.
Soooooo ... Did You Know:
My very first 'workshop' was in my upstairs office of my house. Apparently I was so excited to start making candles that I thought nothing of making them away from any elongated flat surface and opted instead for a wooden desk that had a glass overlay, with a hot plate and boiling water that was melting wax. I realized I was going to run out of room with all of the scents I was making, but not before I realized that I probably wasn’t making them in the safest place either. (Palm, meet face.)
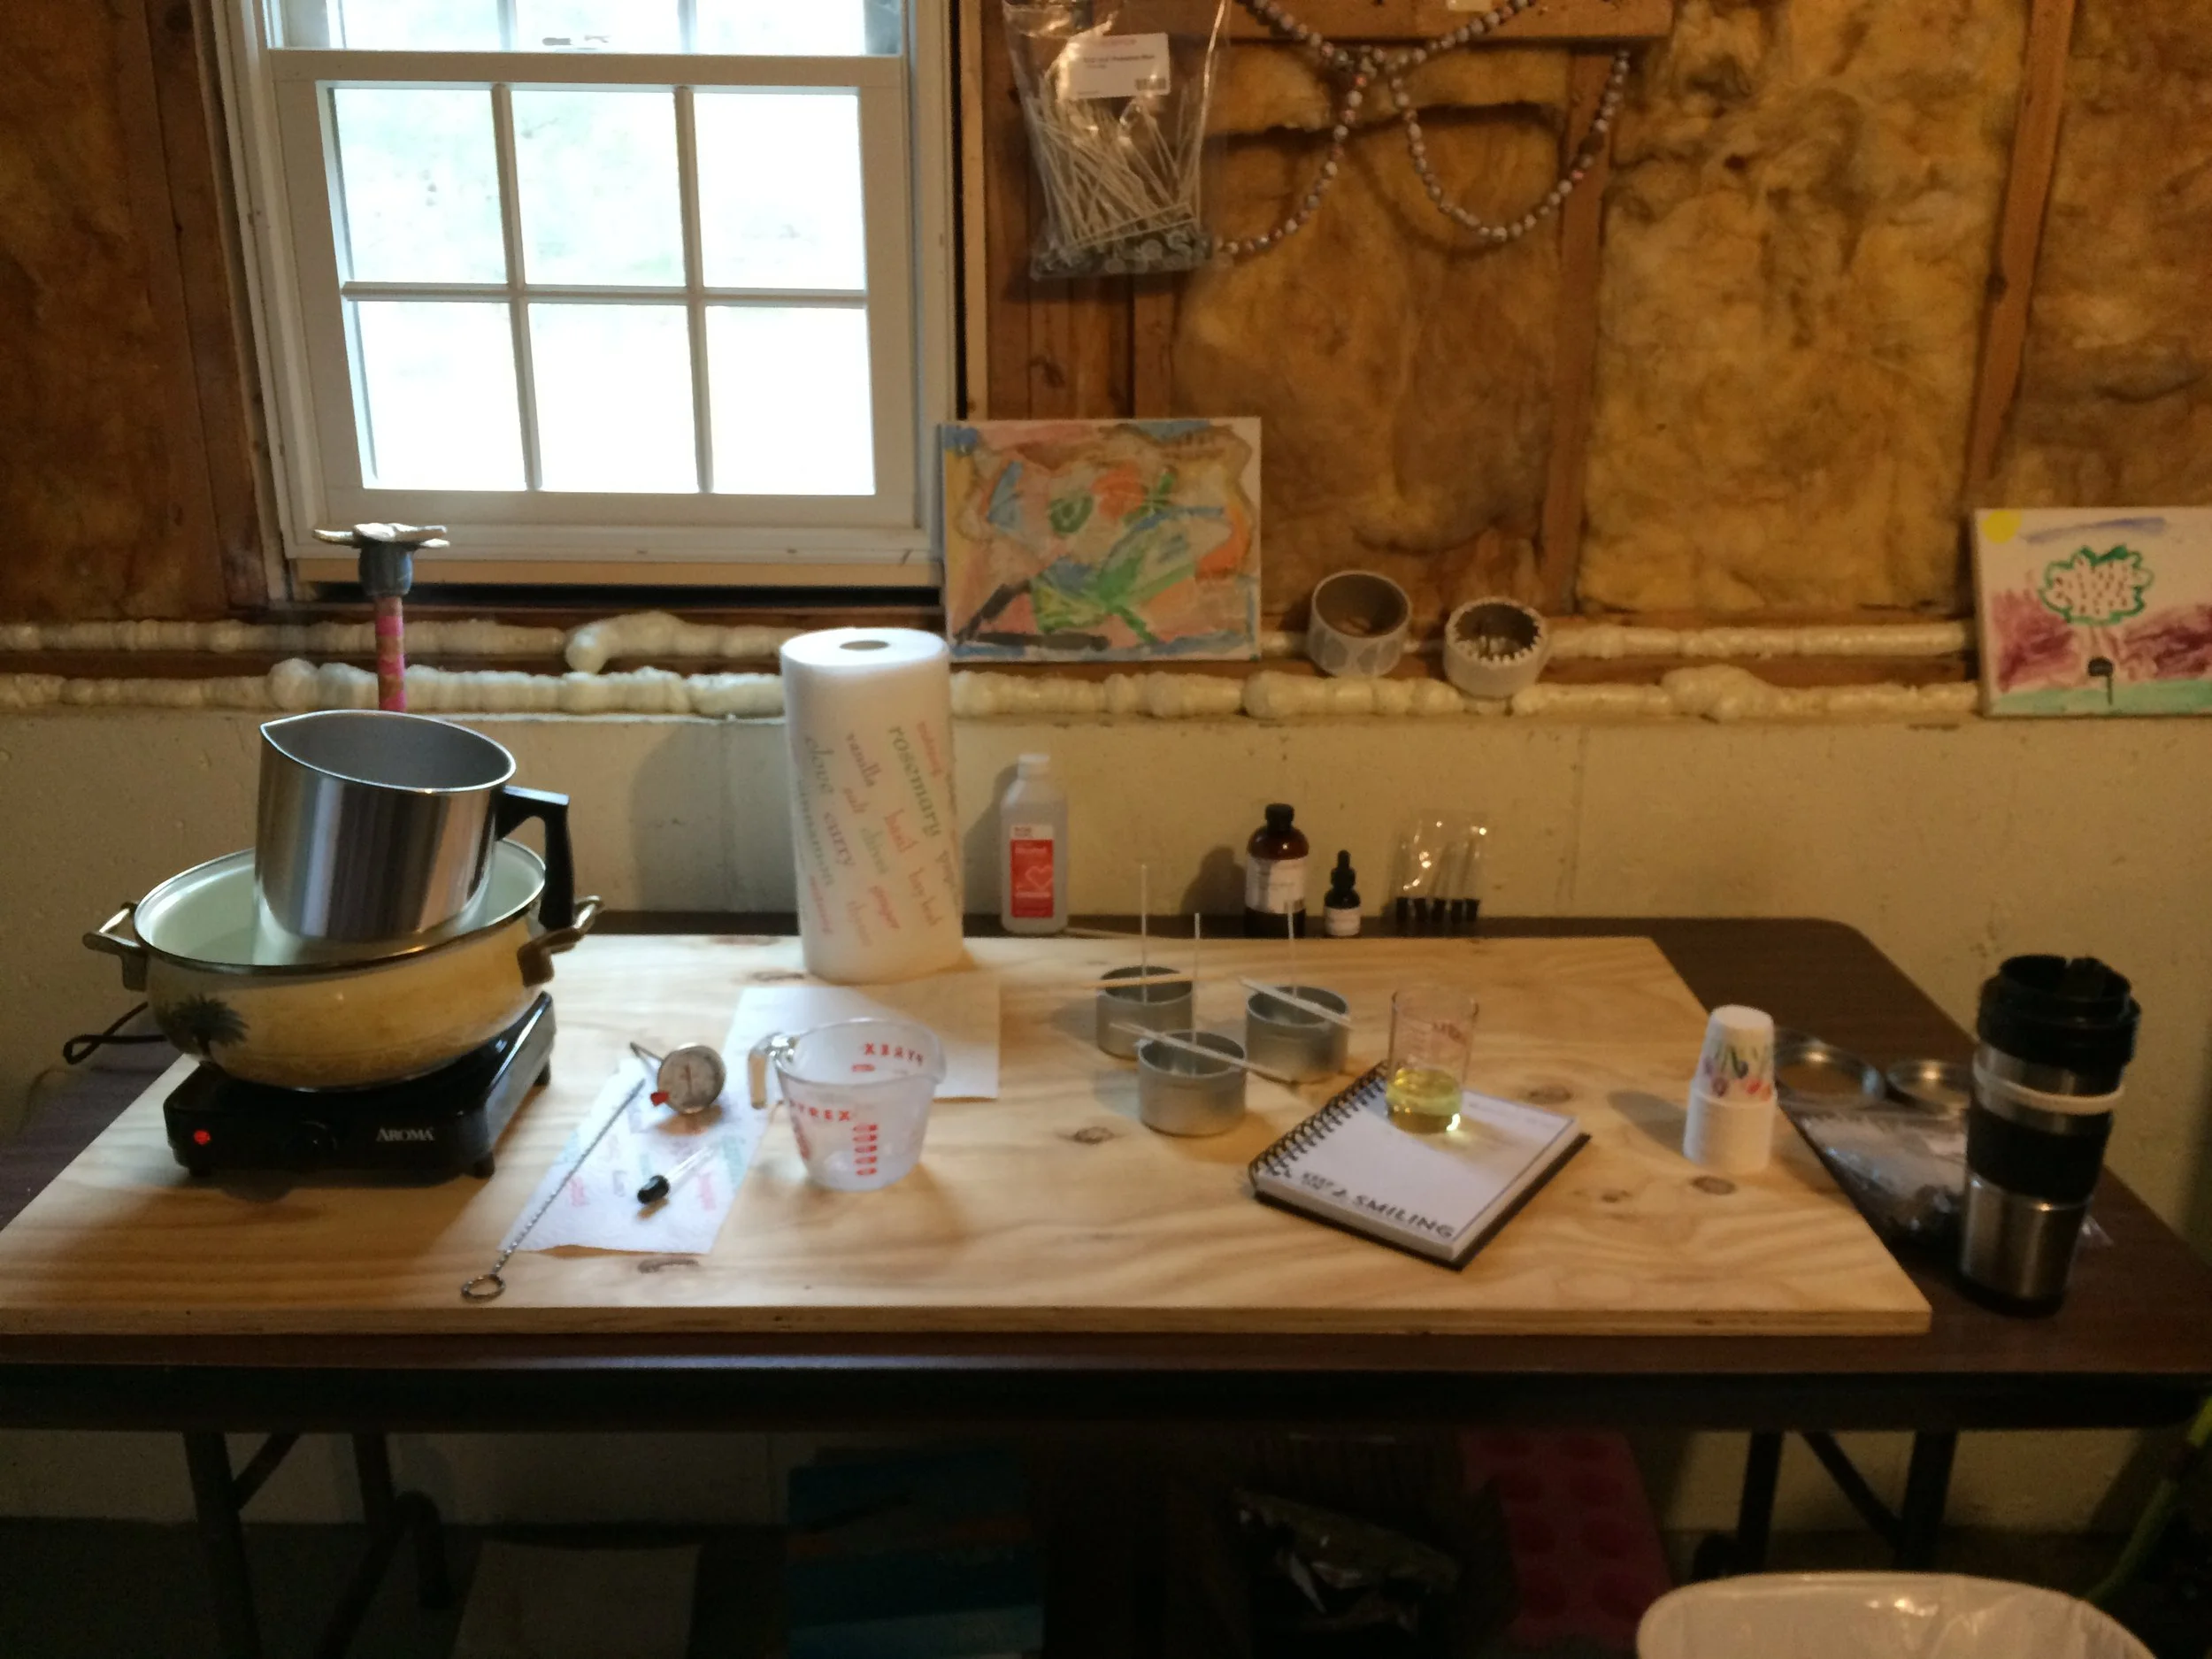
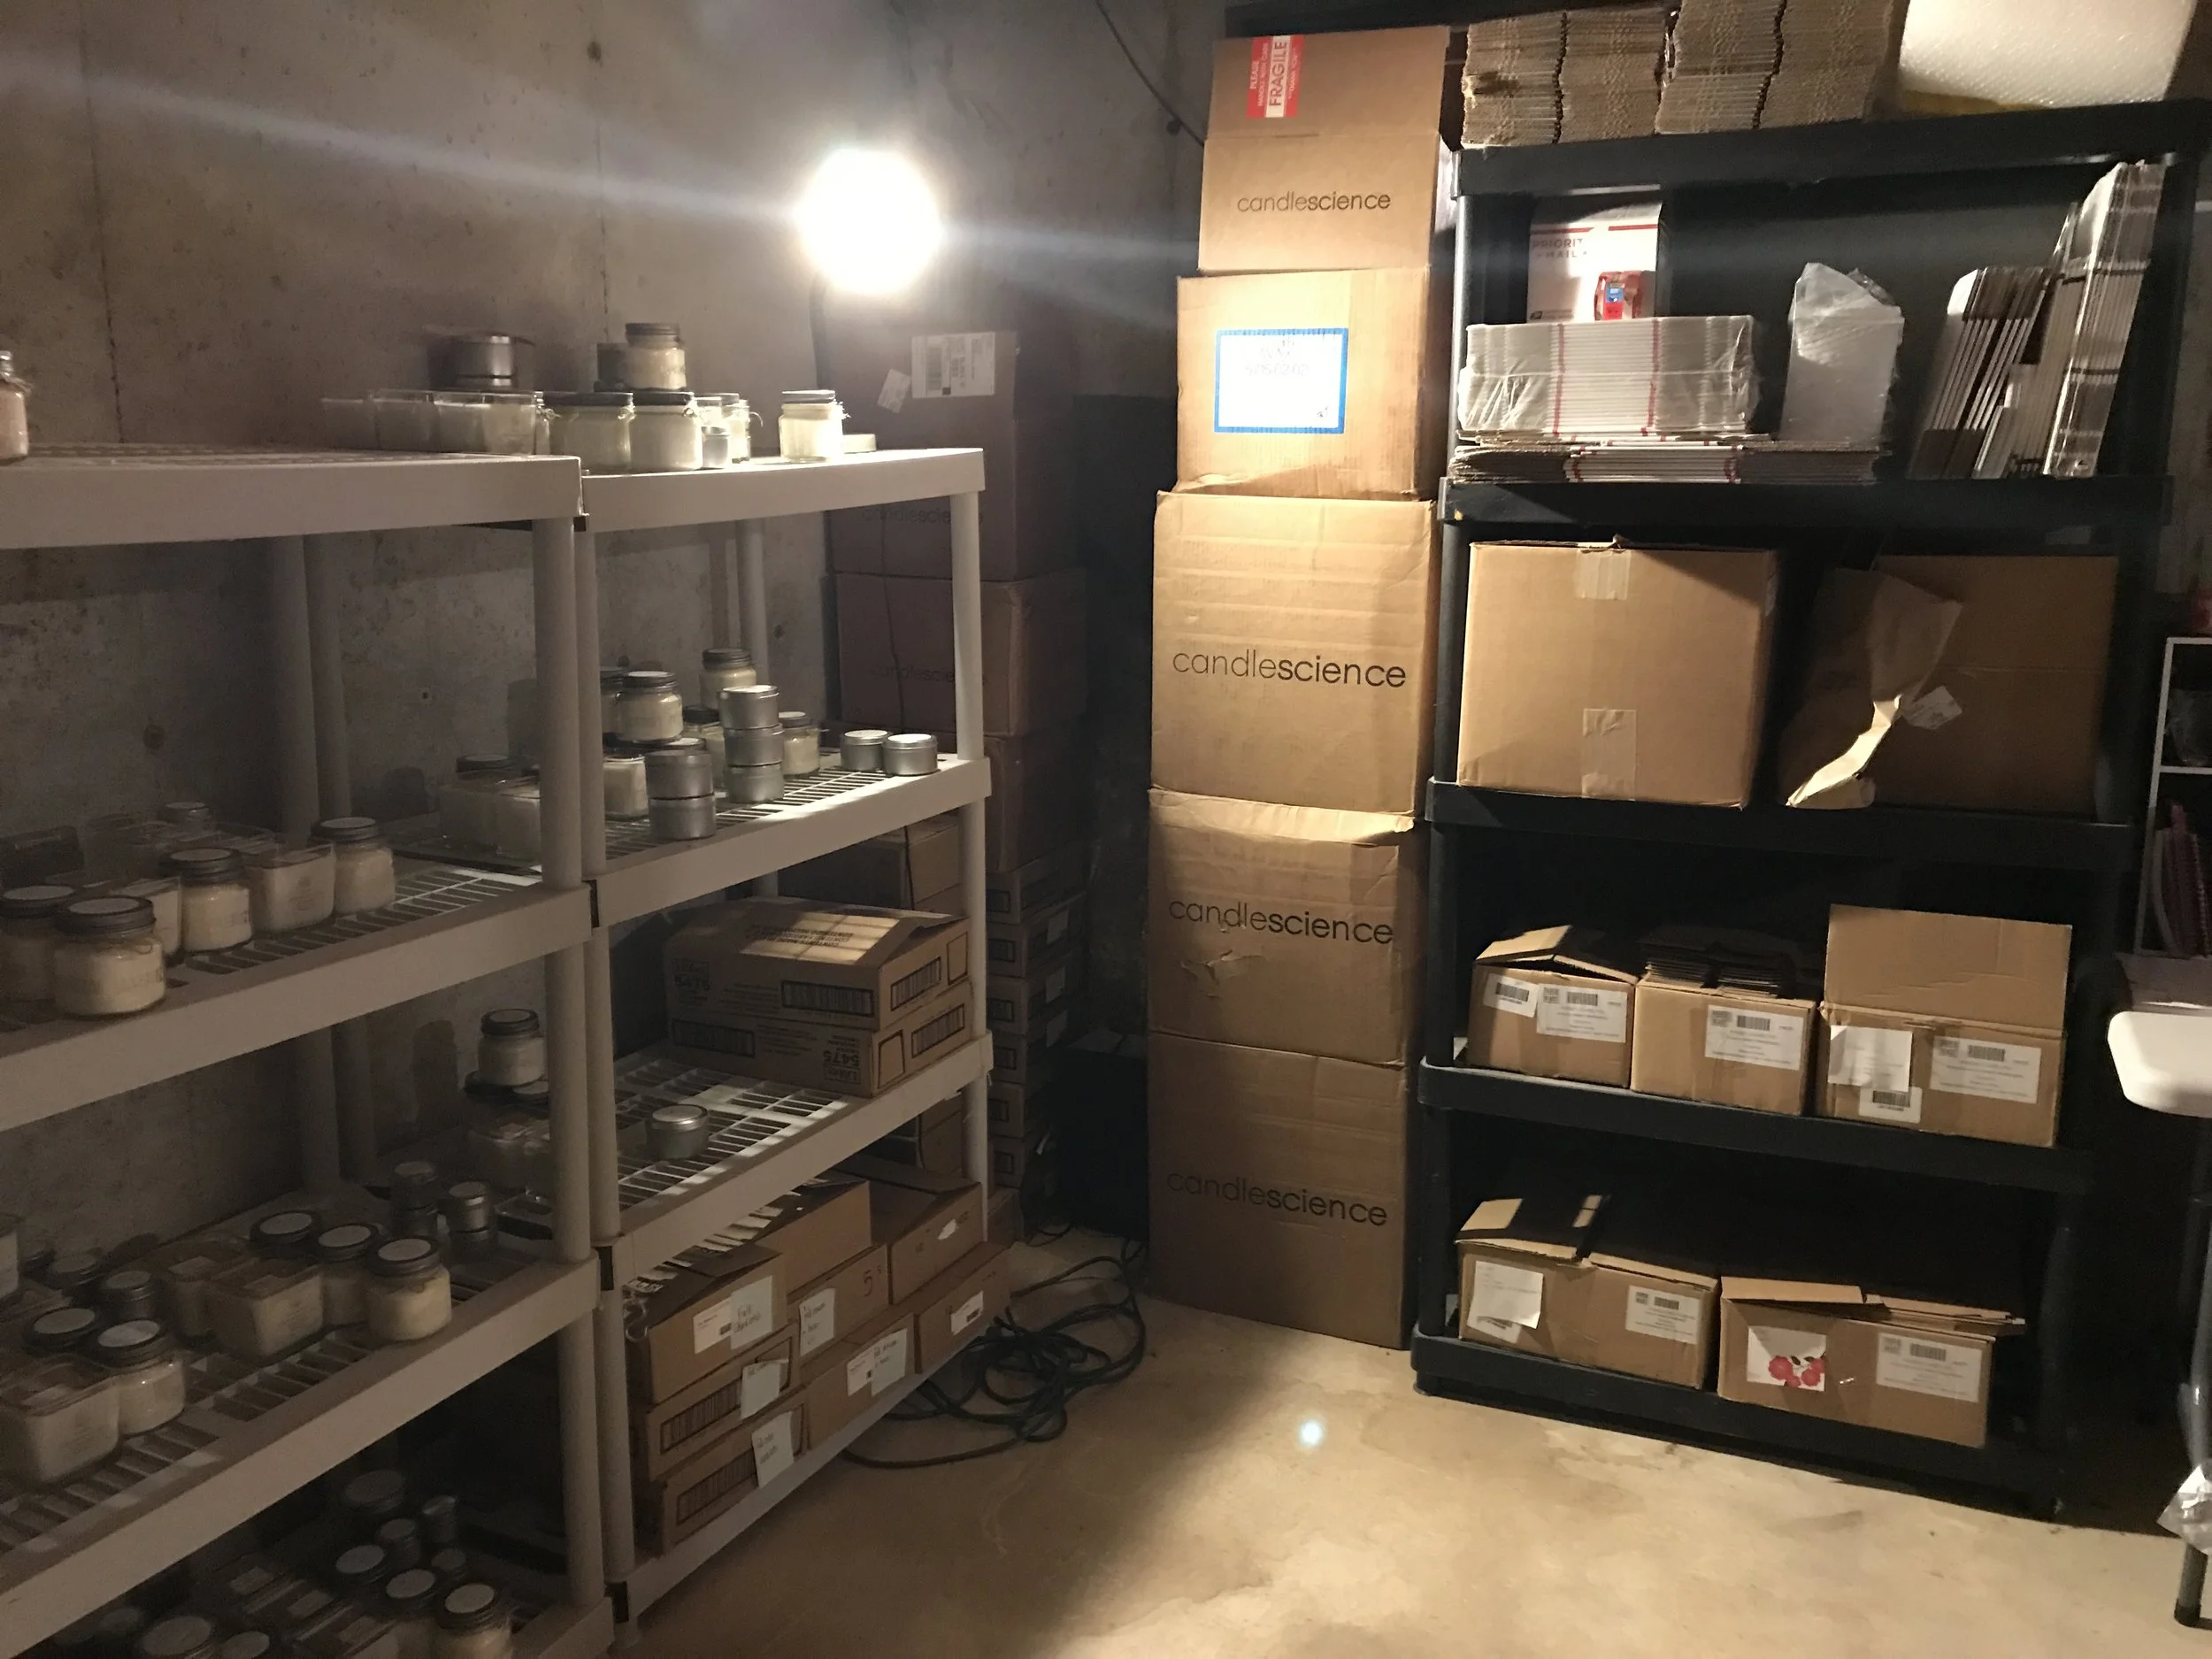
My second workshop is the one pictured above. In an unheated basement I tried to make it work, but once winter kicked in, I was too cold to continue. And I had nowhere to store anything. And stringing up bed sheets from the support beams in a useless attempt to seal the heat from my space heater was an epic fail, as well as looking sketchy AF. (Hello, Breaking Bad)
My third workshop was making candles in my kitchen, curing and labeling them in my living room, and then moving them downstairs for storing and packaging.
Finally, my husband and I found a dedicated space in the basement that I could use as my workshop, and though I did have to resort to making them in the kitchen when it was cold, it was a great feeling to have a space that I knew would eventually be my year-round workshop. I wonder how many sets of stairs I've climbed...
The workshop I'm in now has come a LONG way, and the process has been so much fun! One of the great things about this space is that it’s under an addition that was put on our house, and the prior homeowners opted for a full basement pour with said addition (shout out Terry & Kathy!), which has made the perfect space for my little workshop.
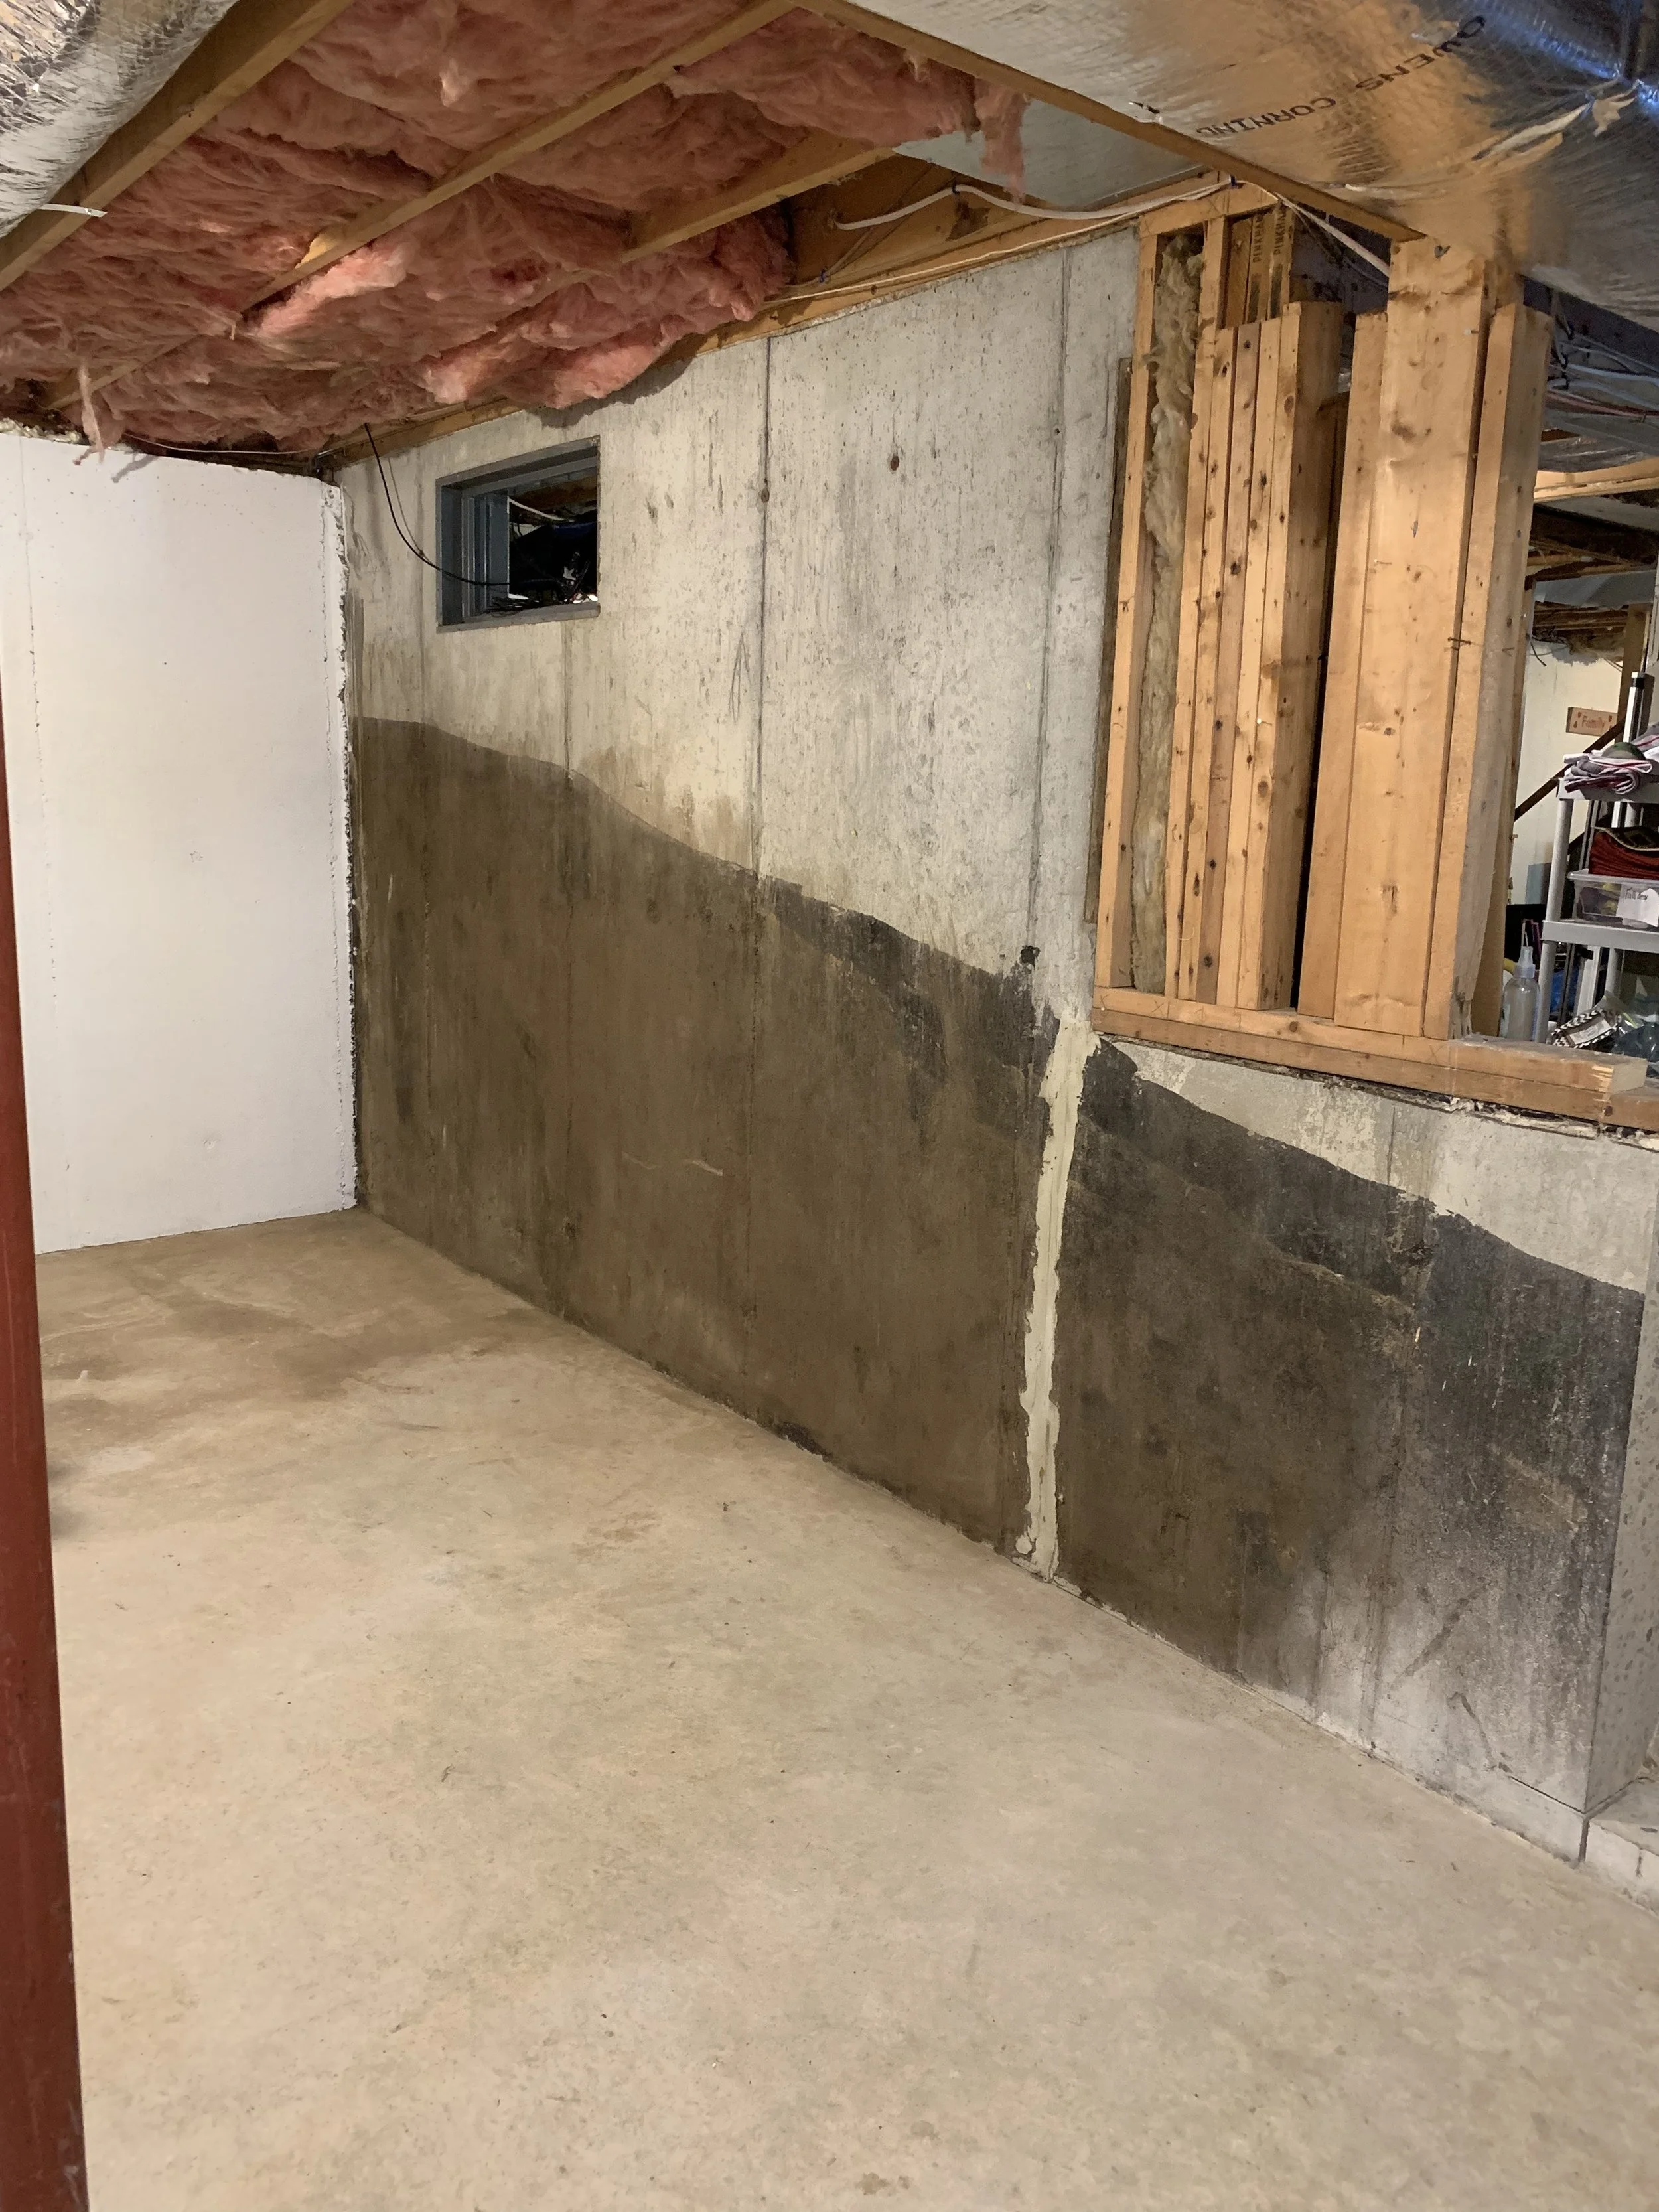
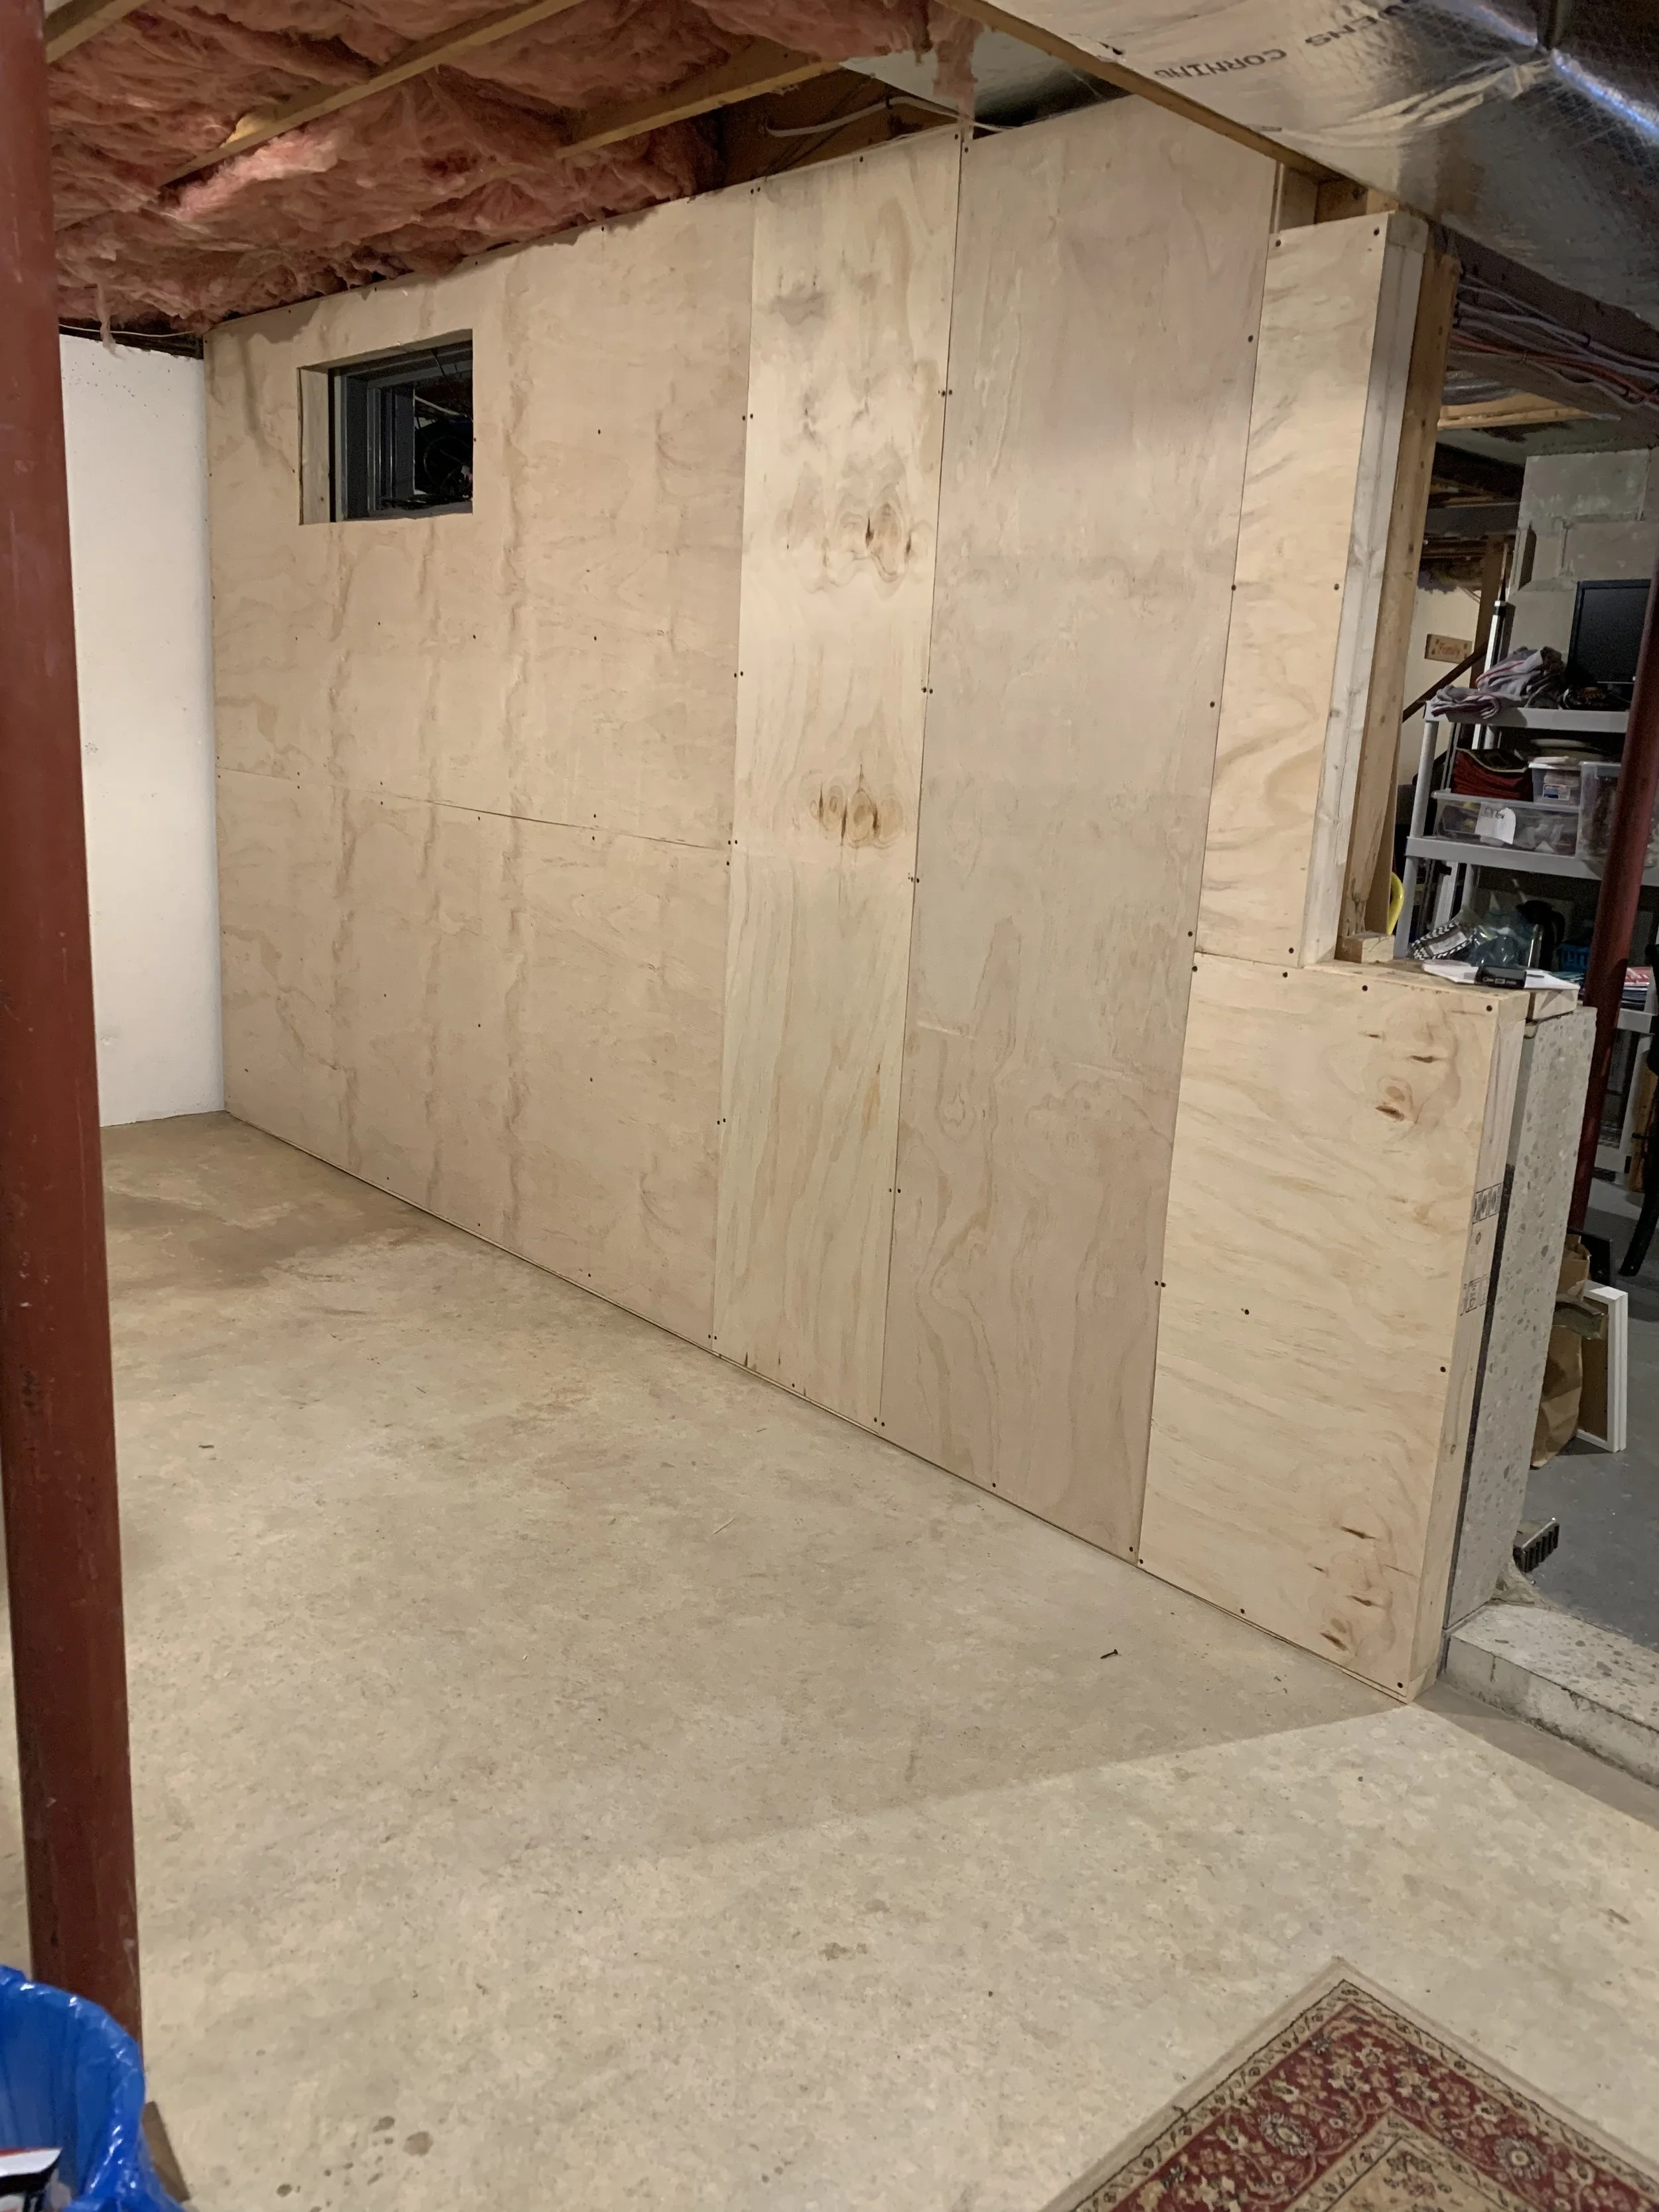
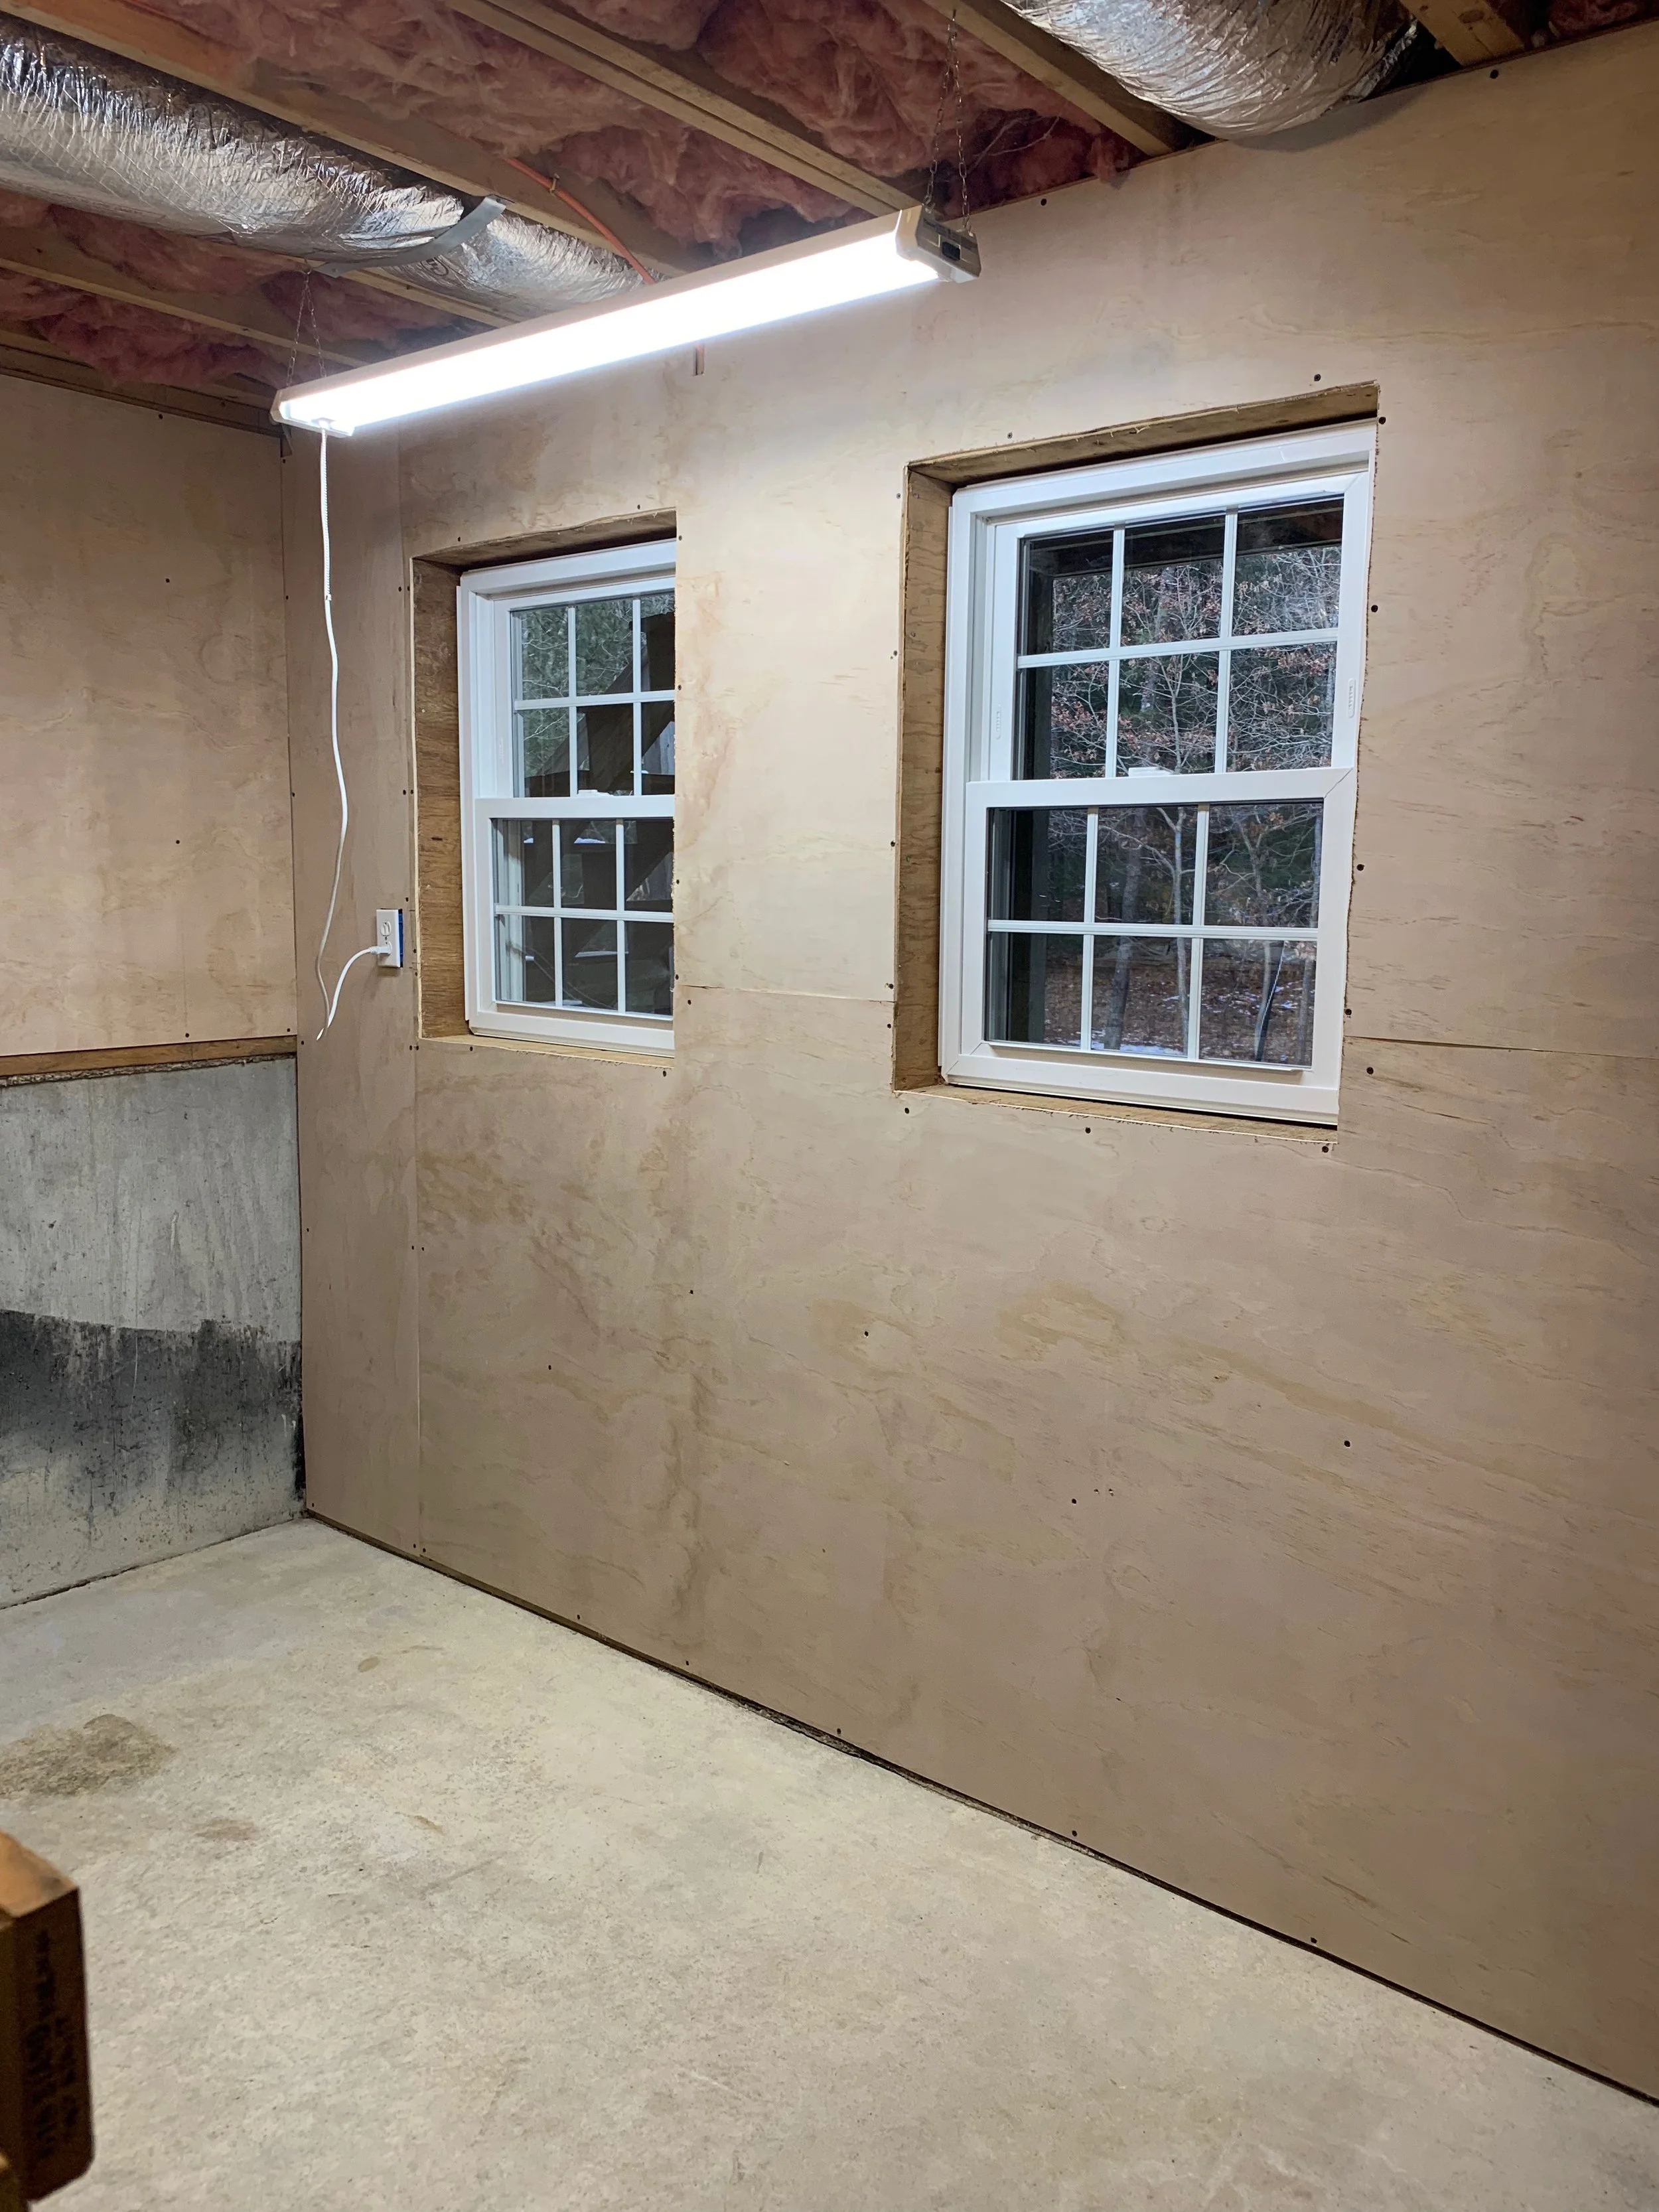
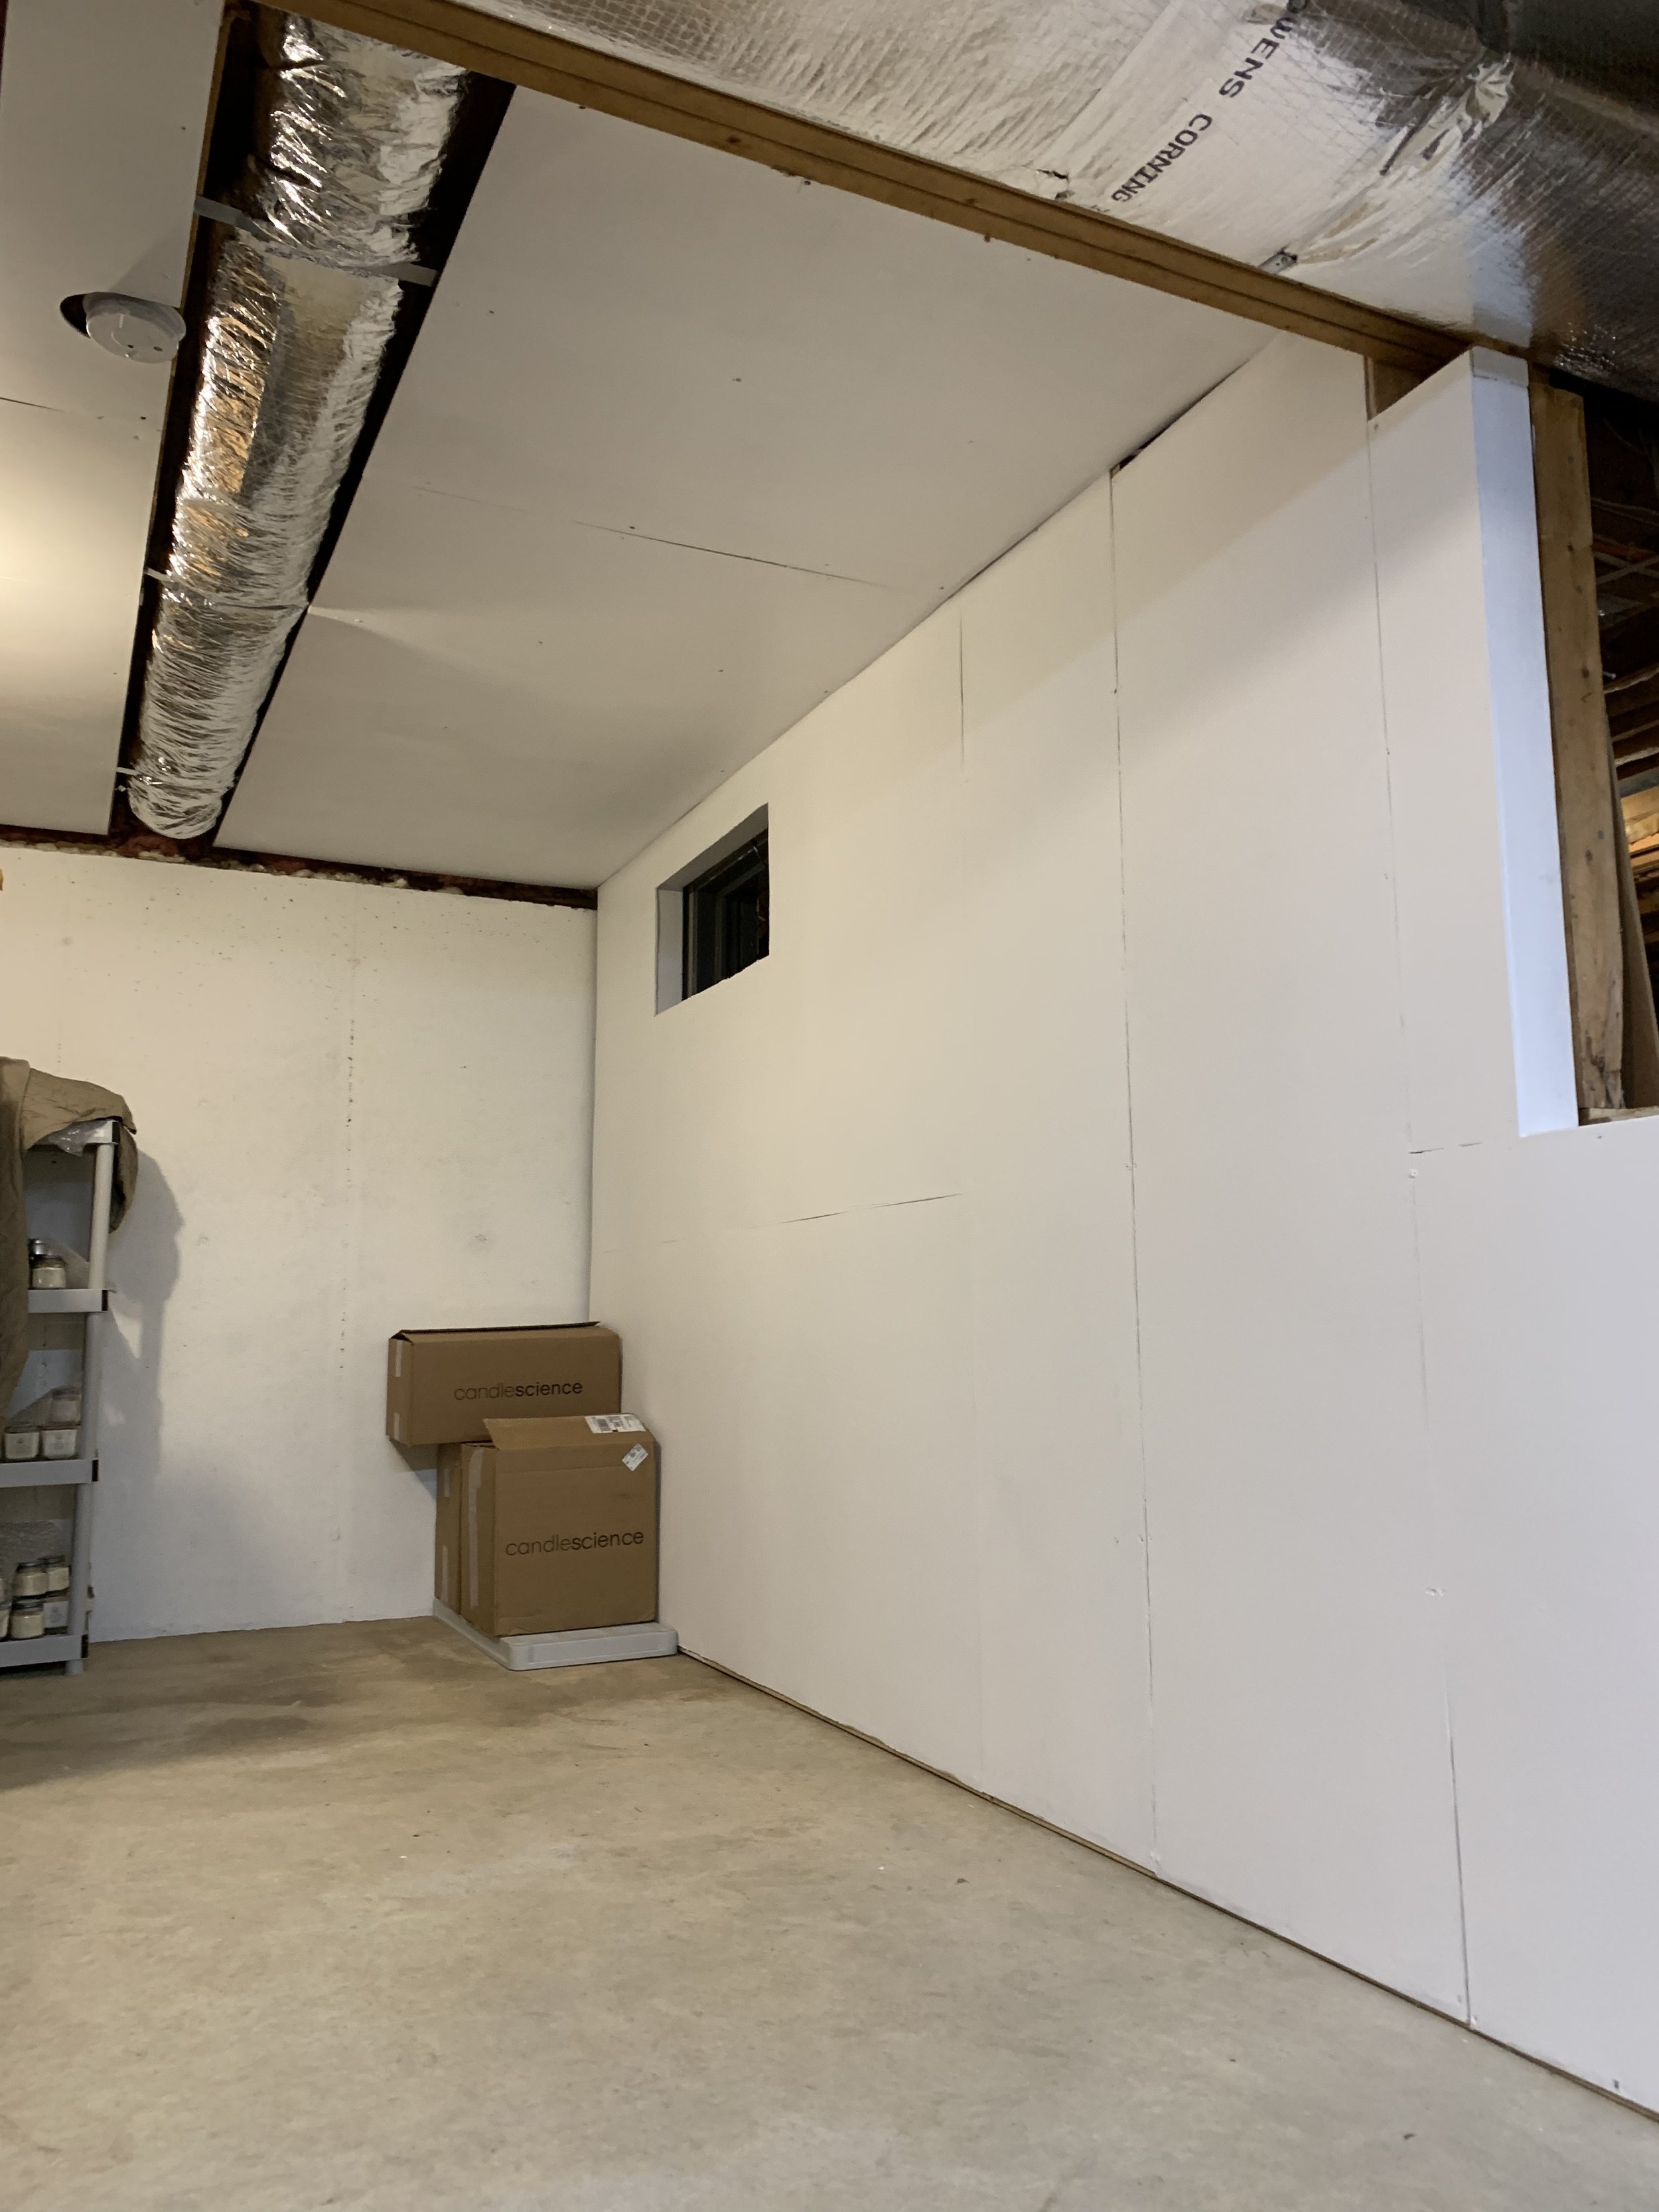
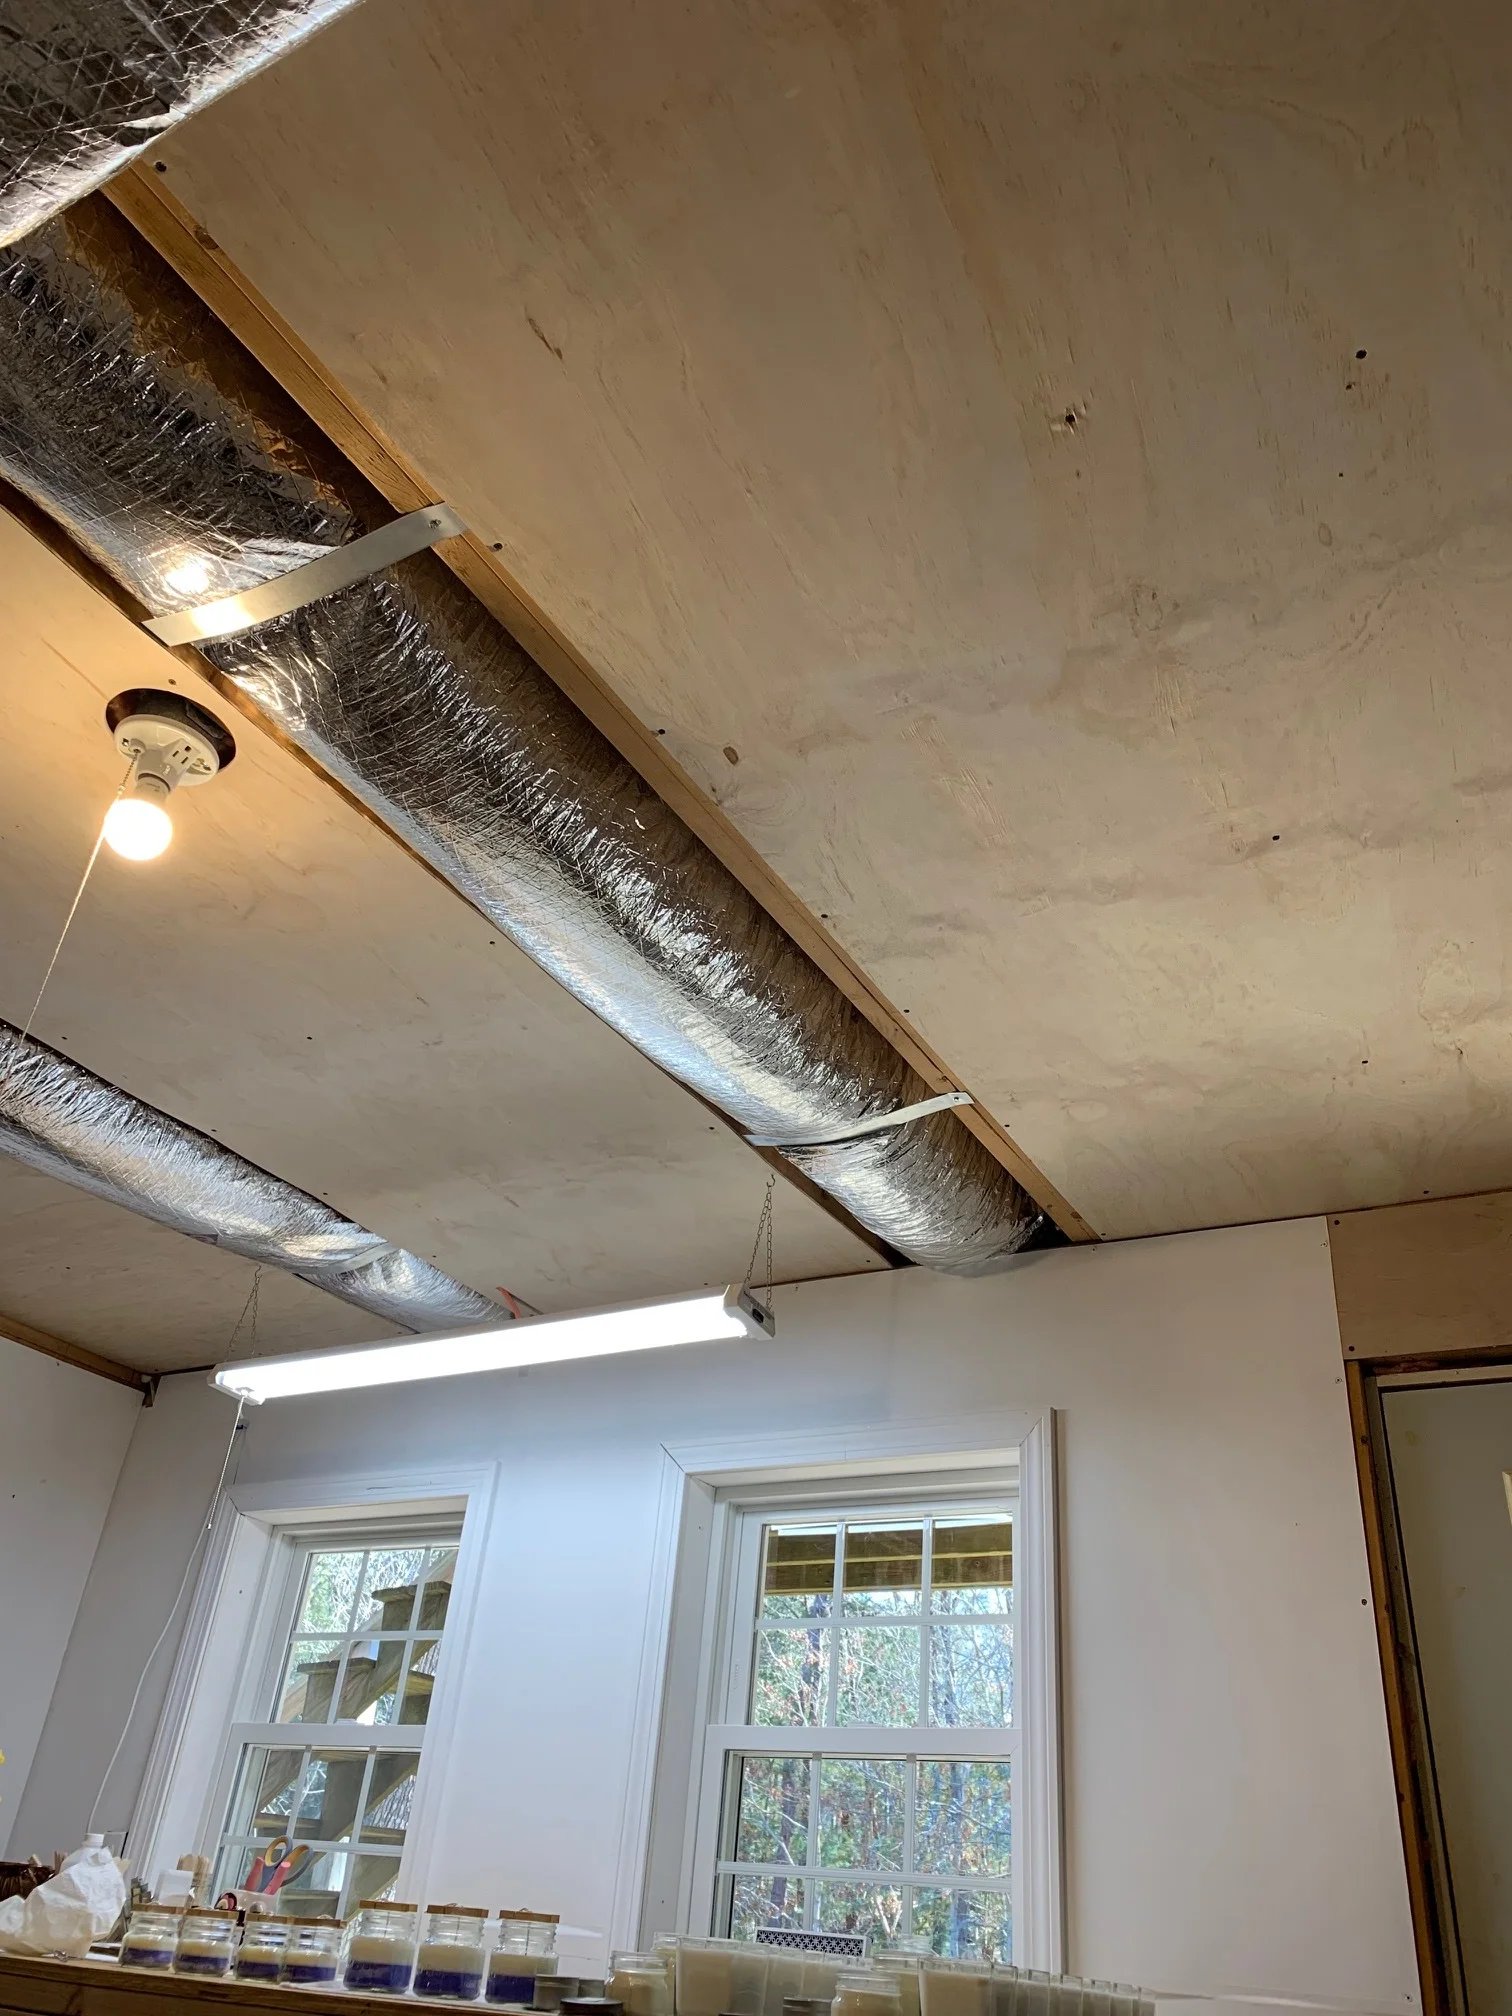
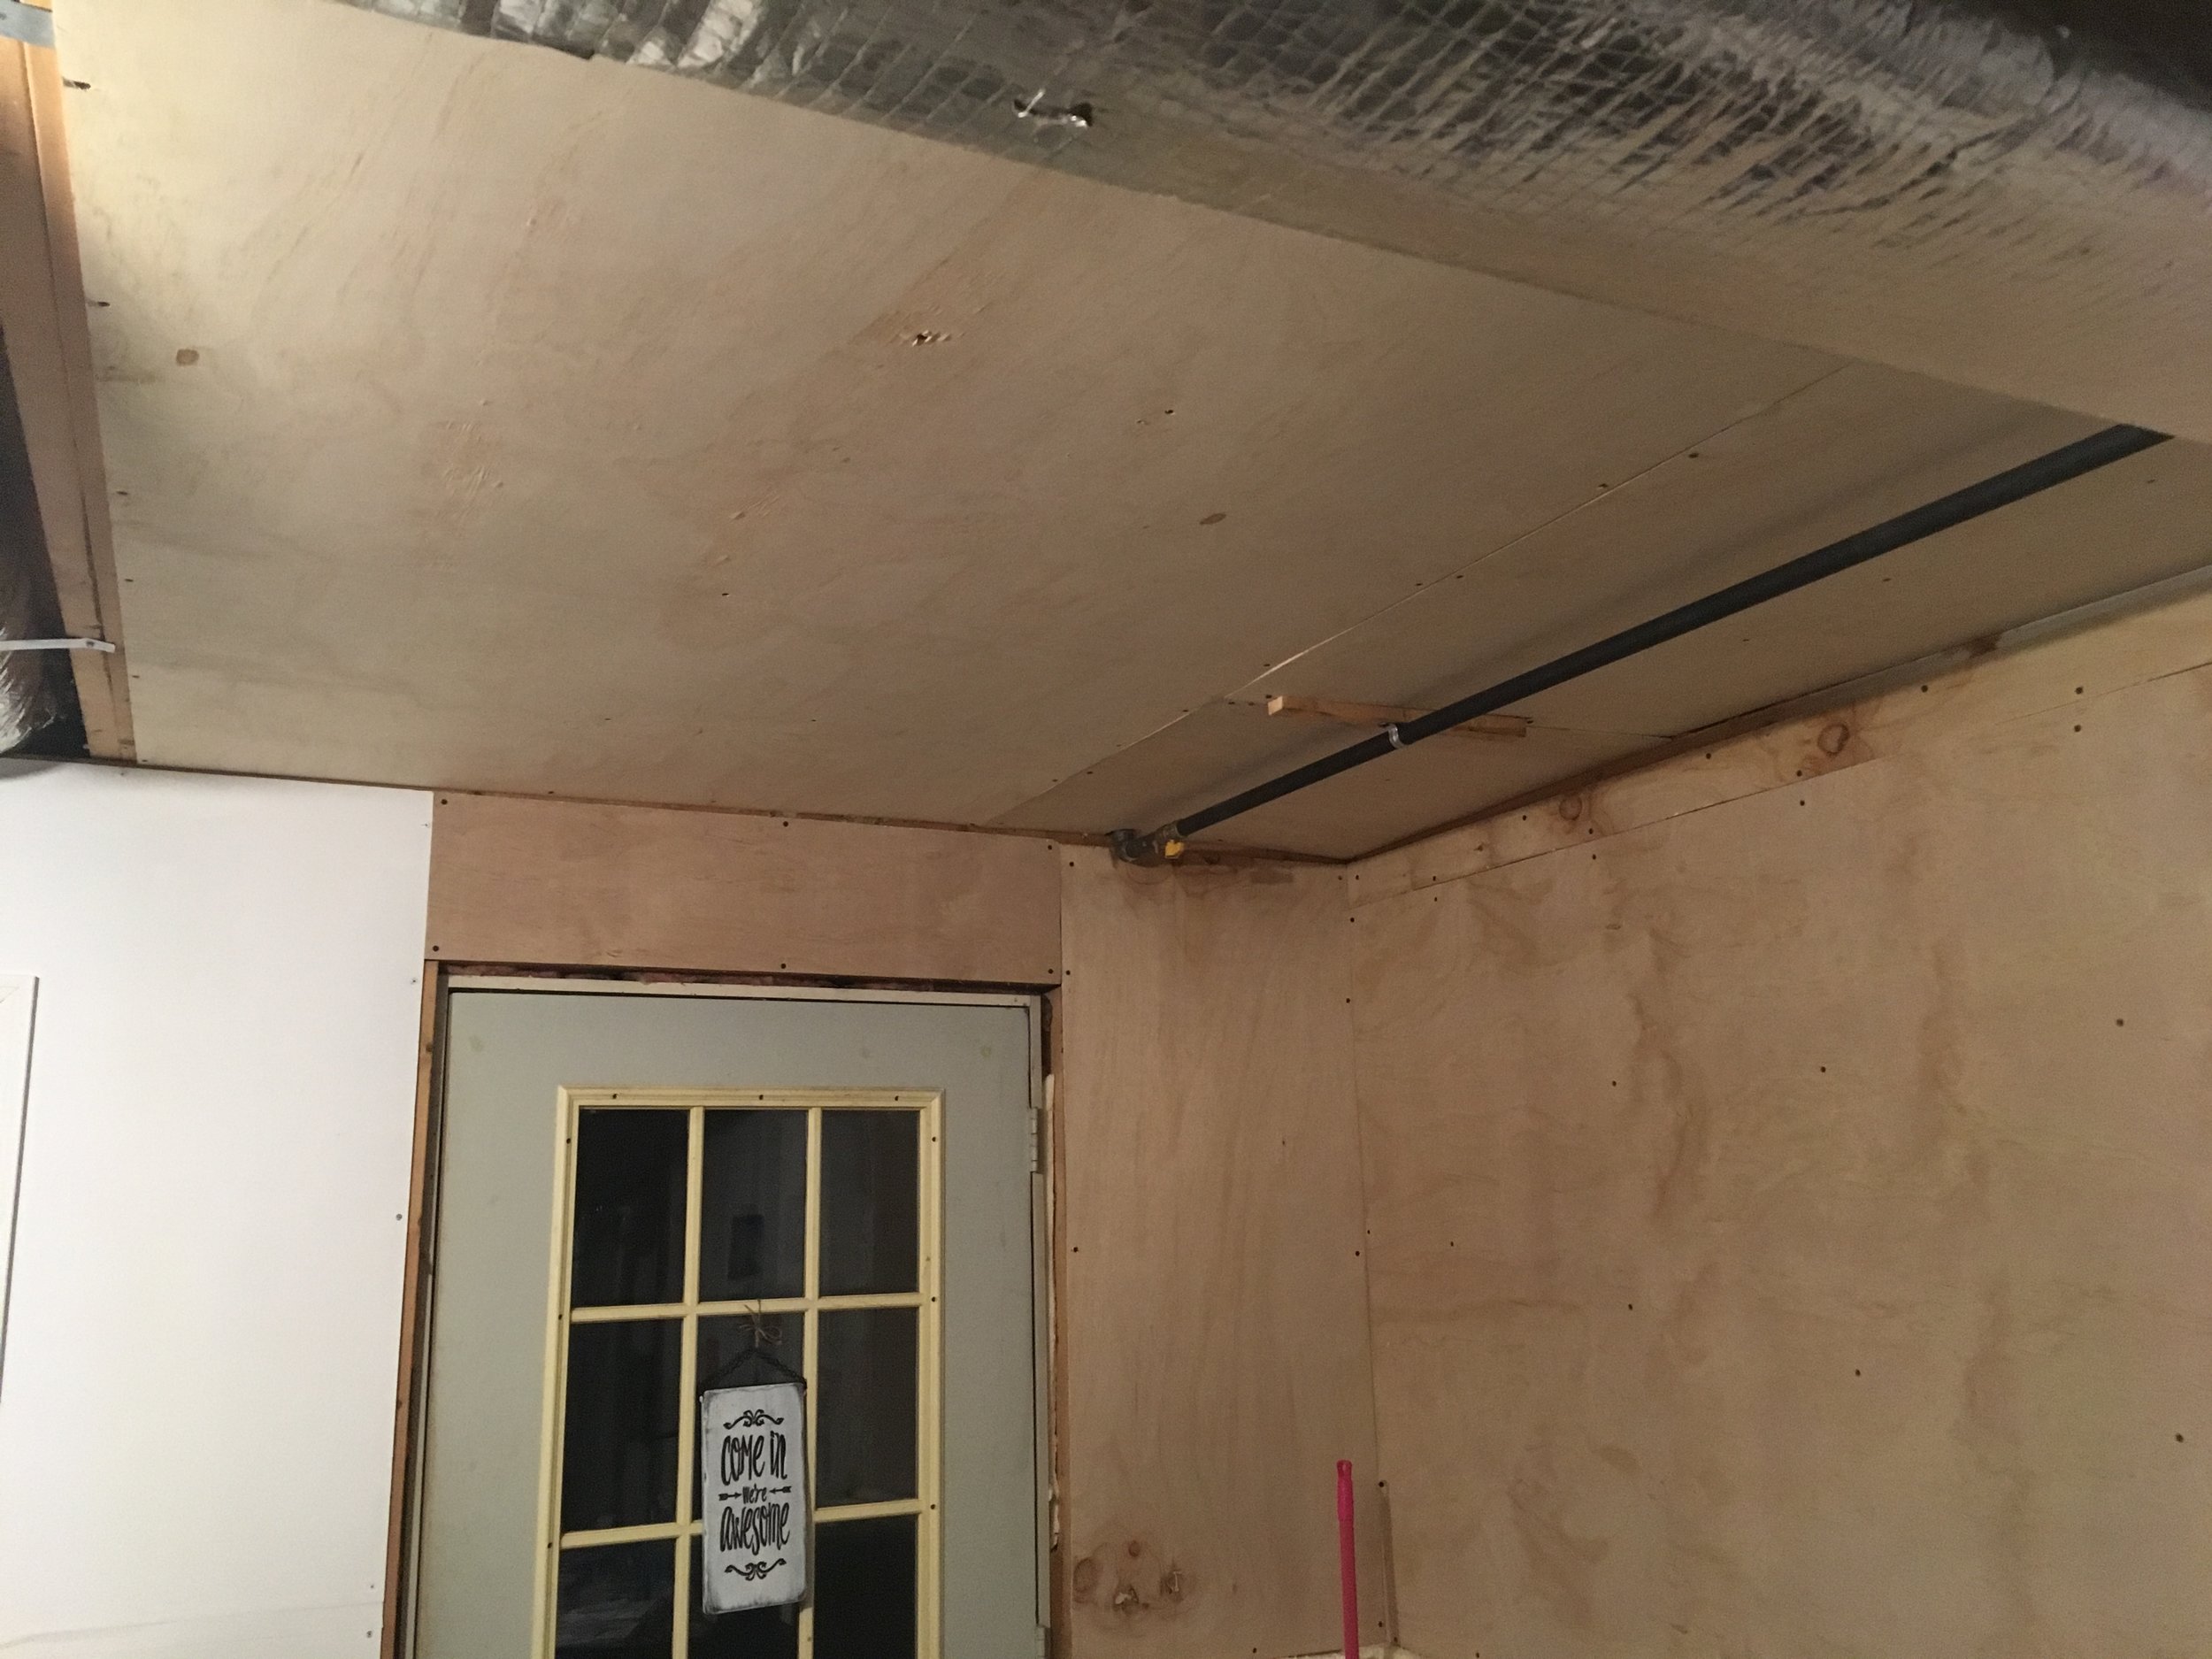
In making decisions about how to finish this space, I knew I wanted it to look good without breaking the bank. So painting a few of the concrete walls instead of framing and drywall was the smart way to go. An area rug will suffice over laying down flooring (eventually), and white duct tape works to hide nails and seams on the plyboard walls is just right.
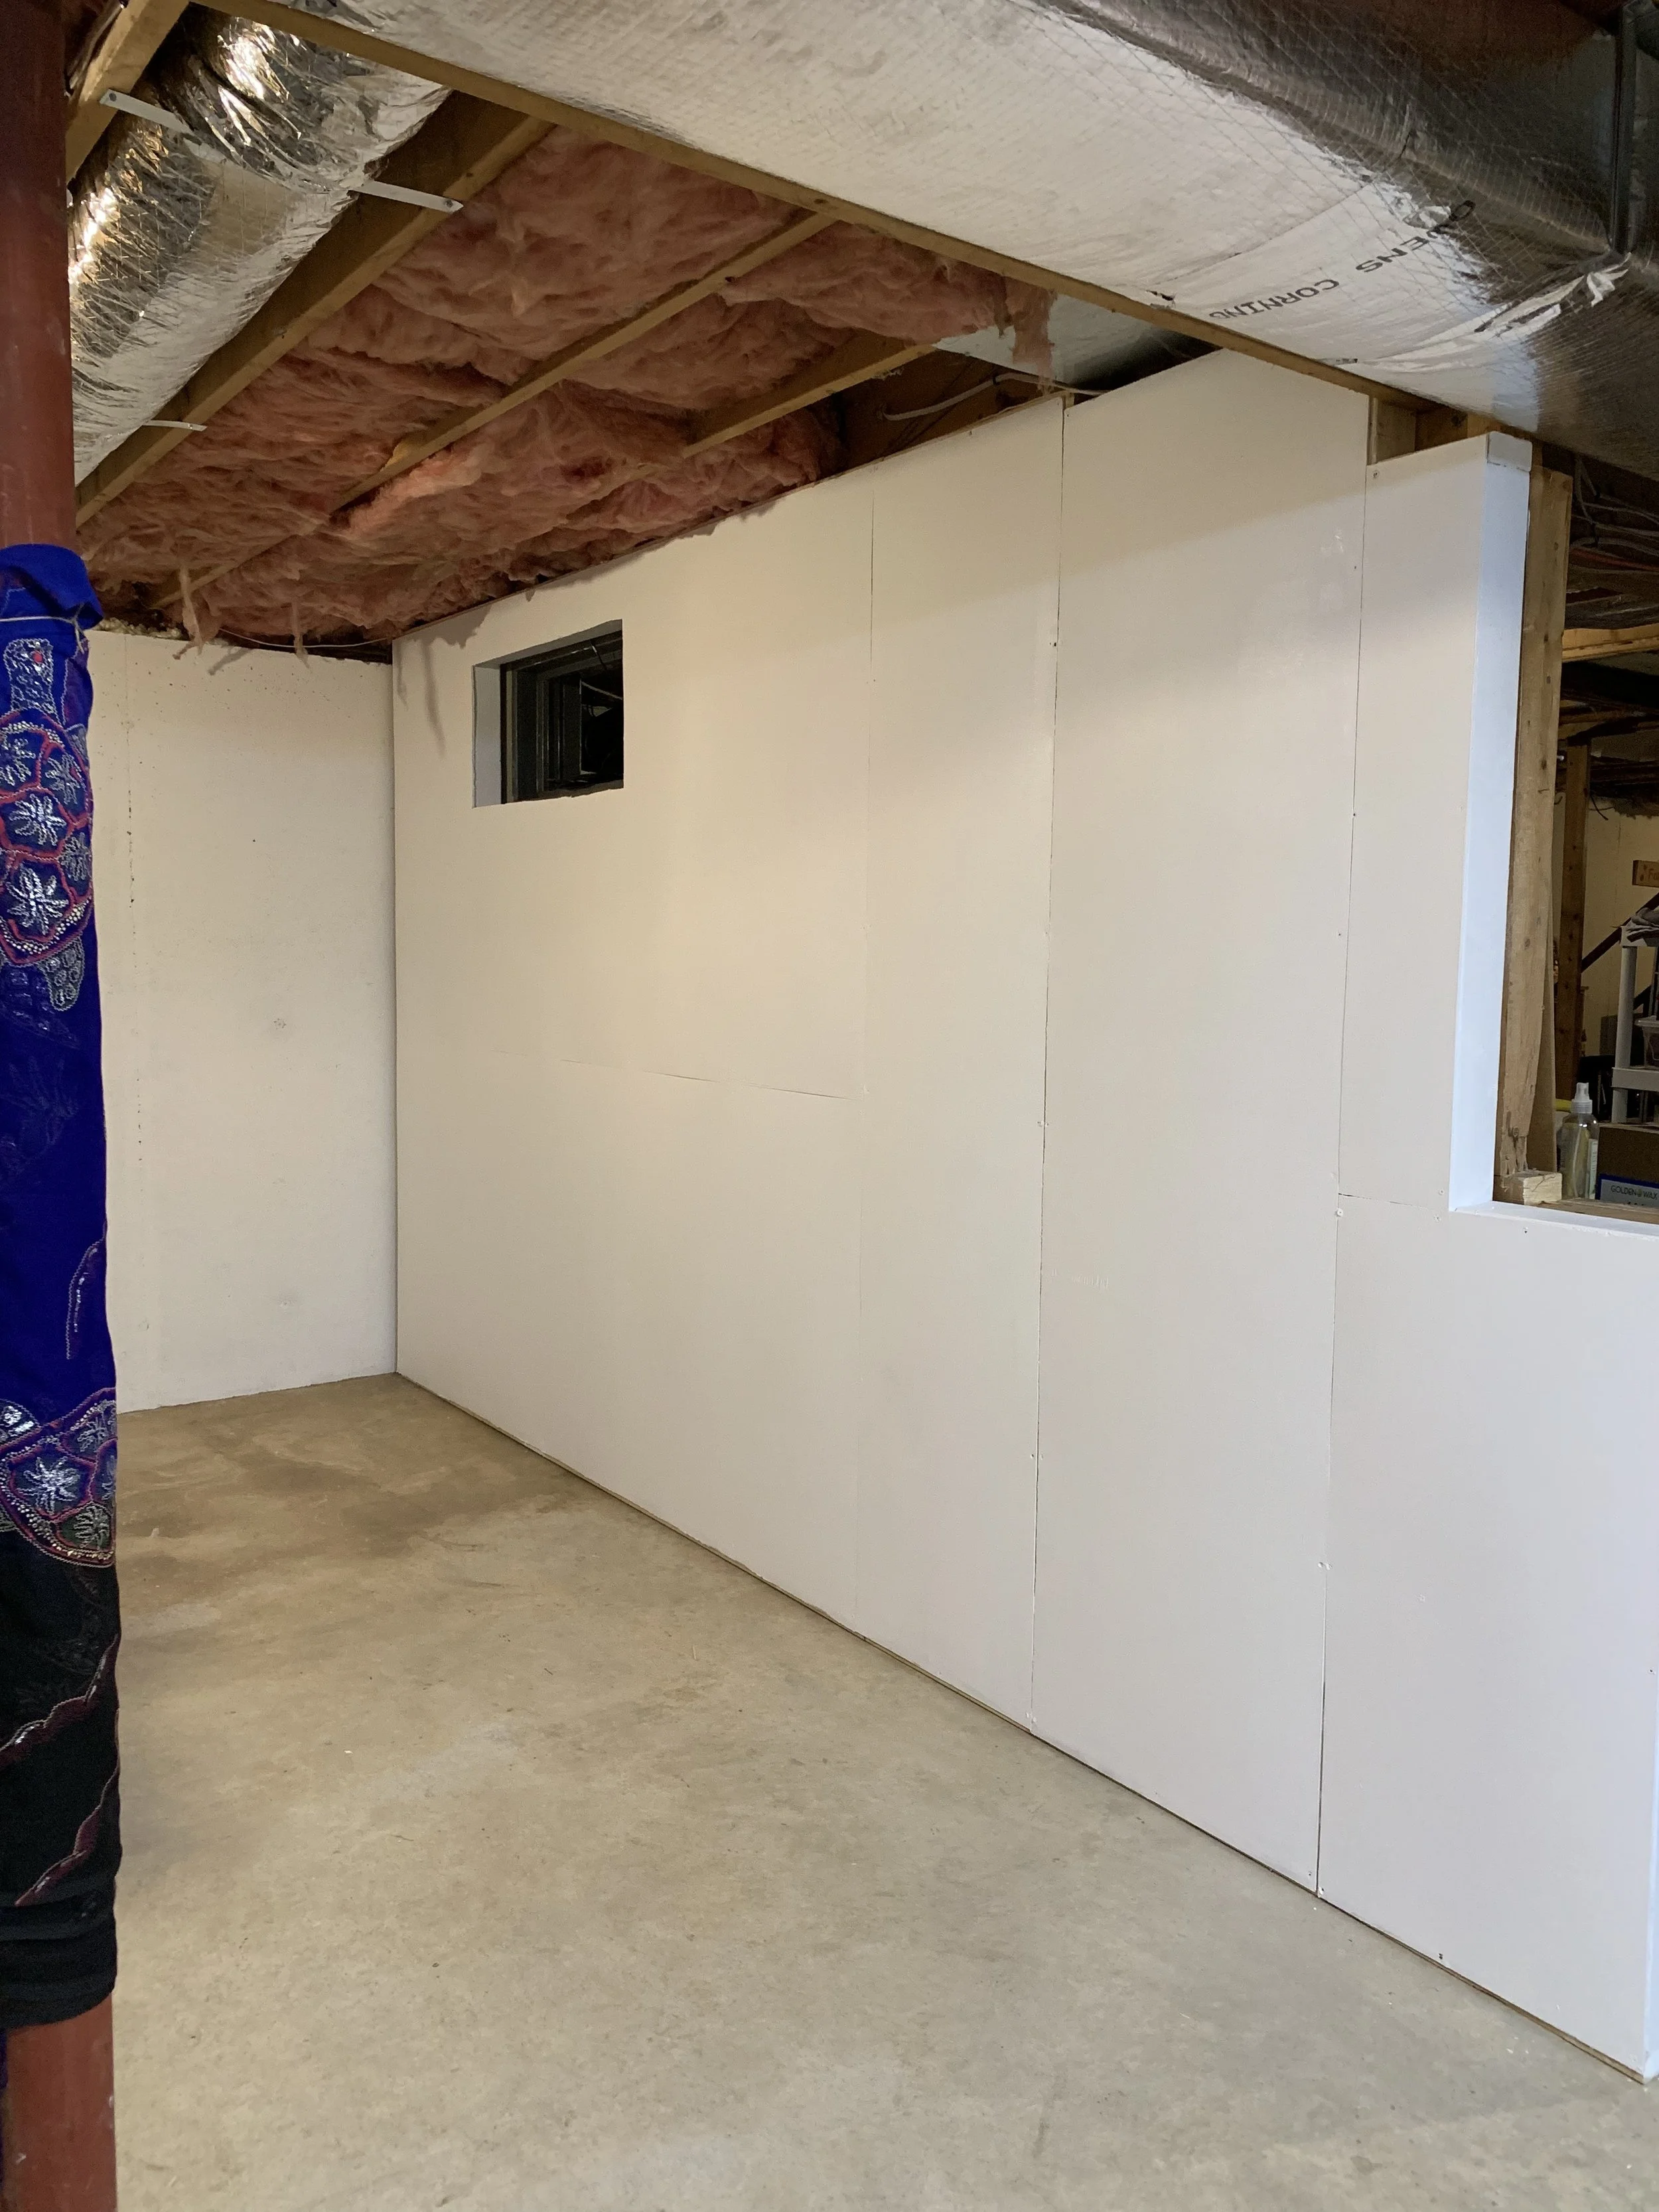
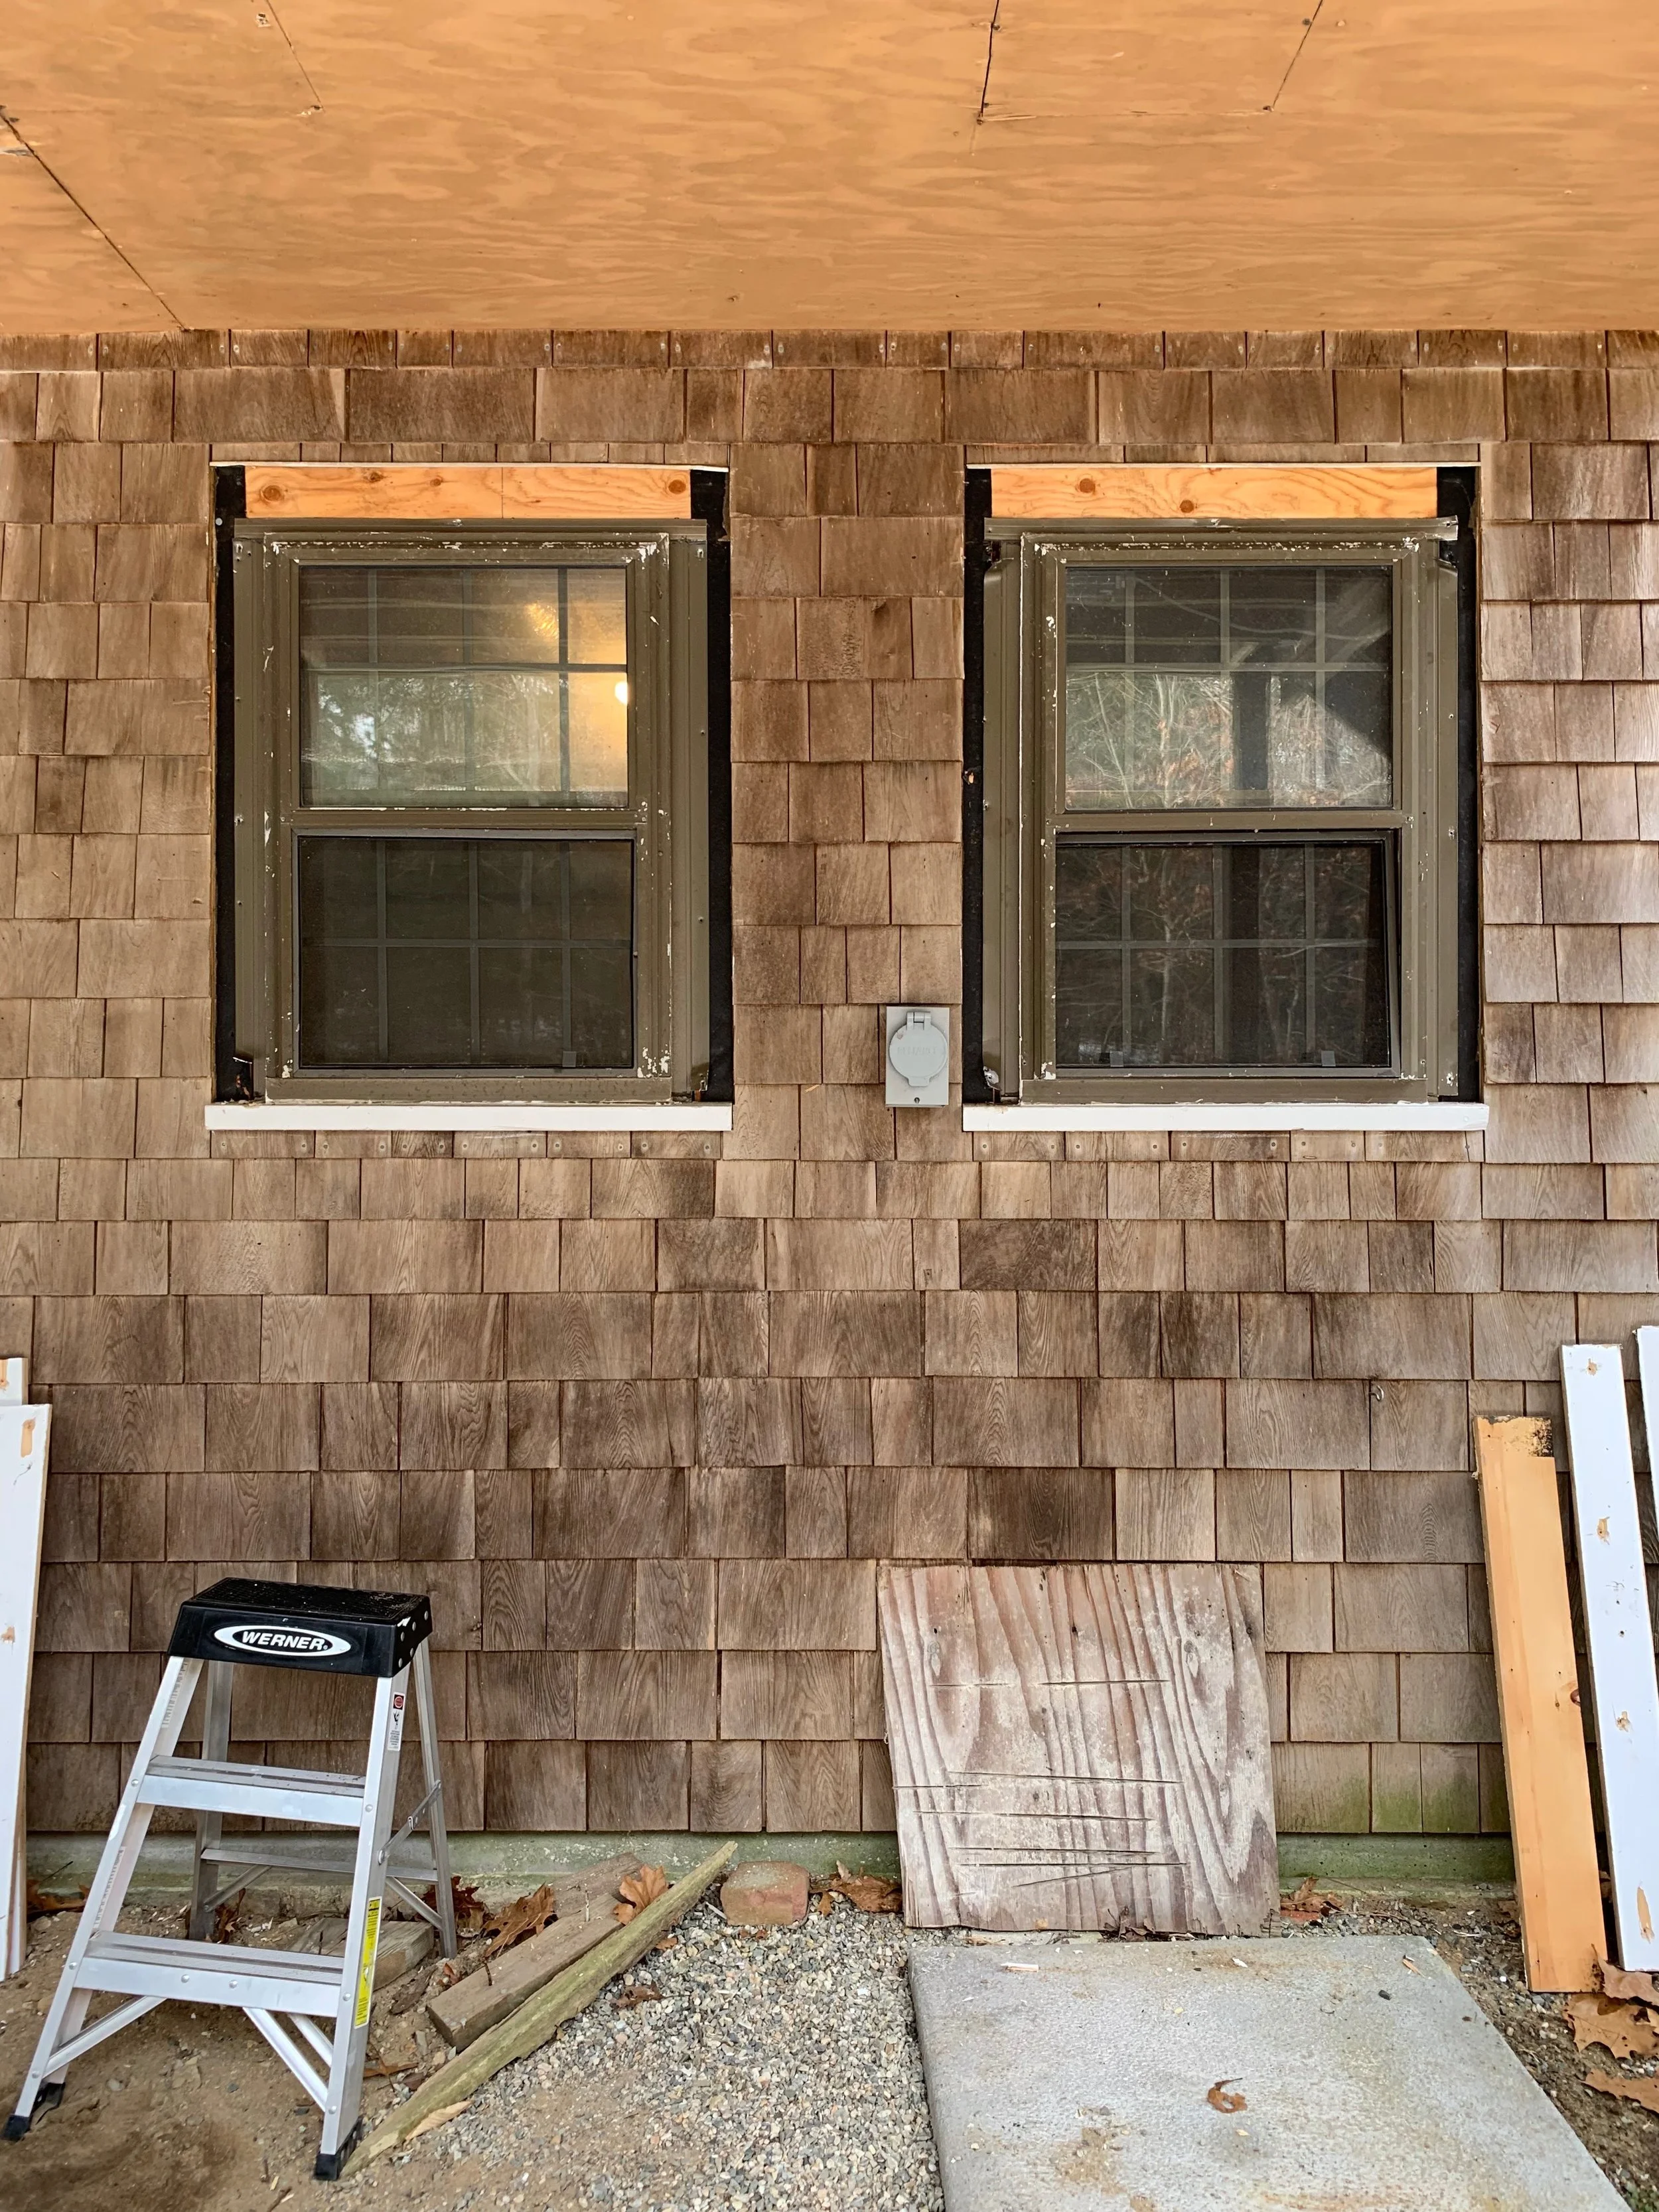
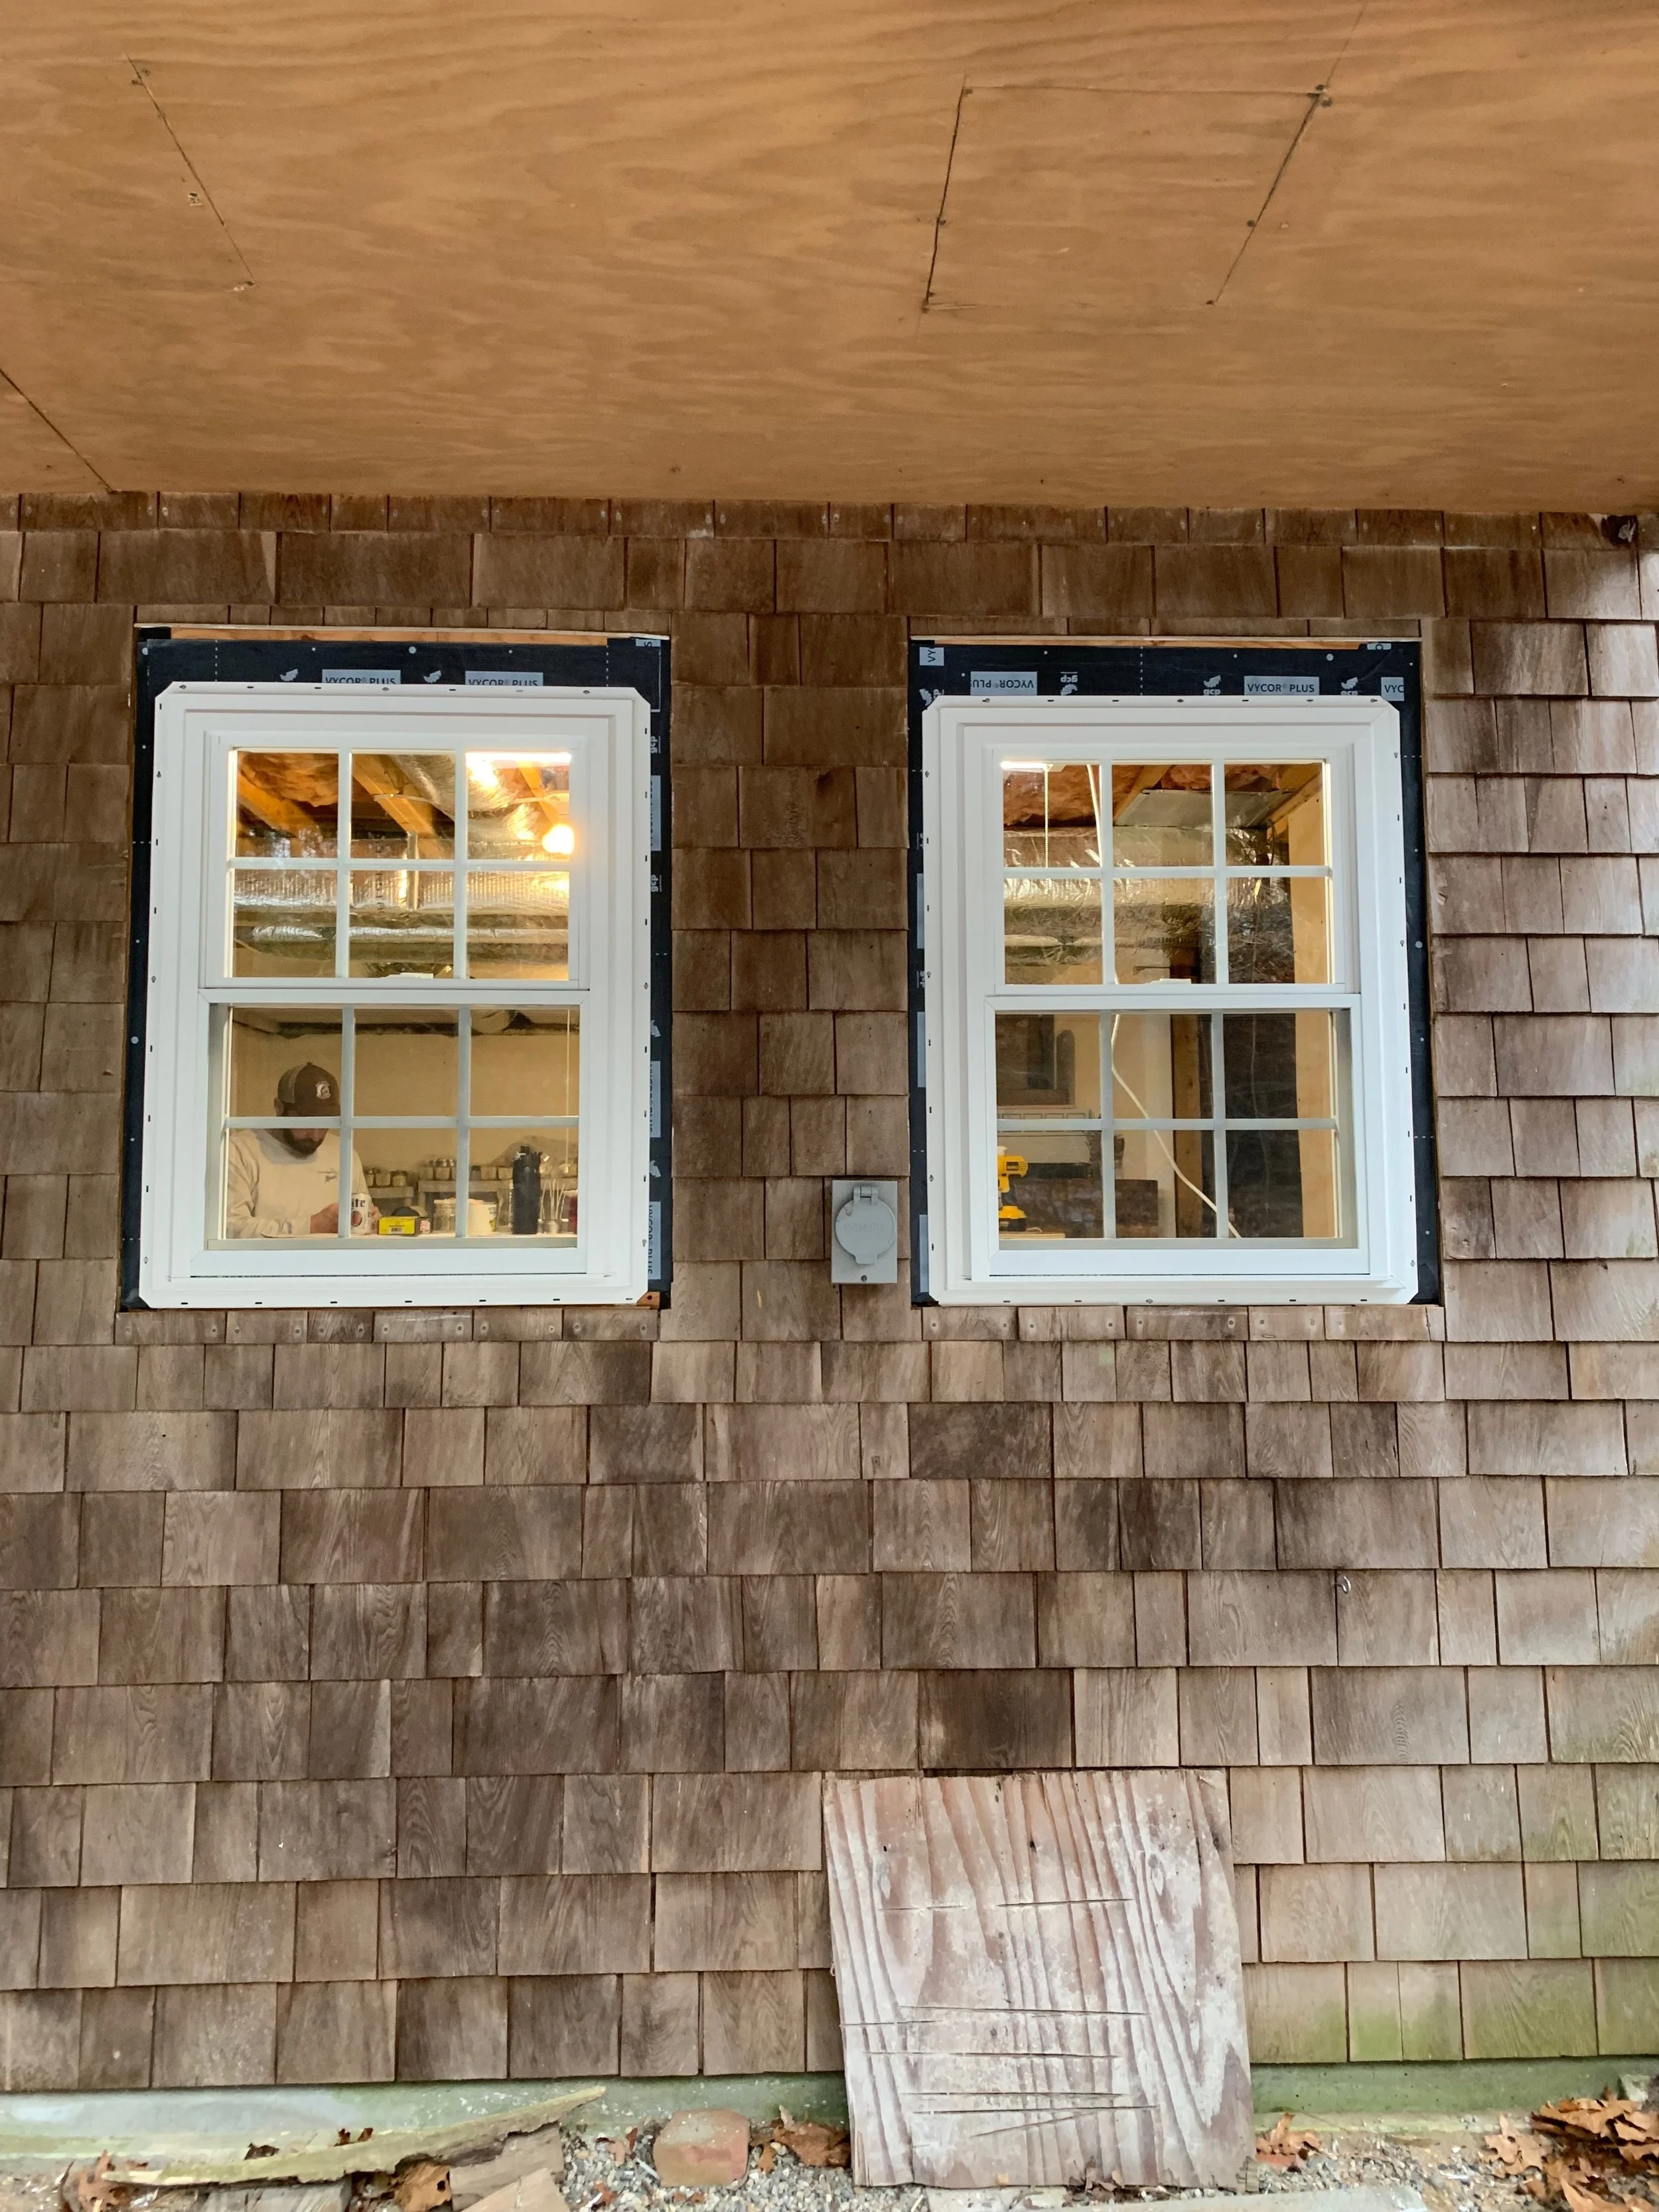
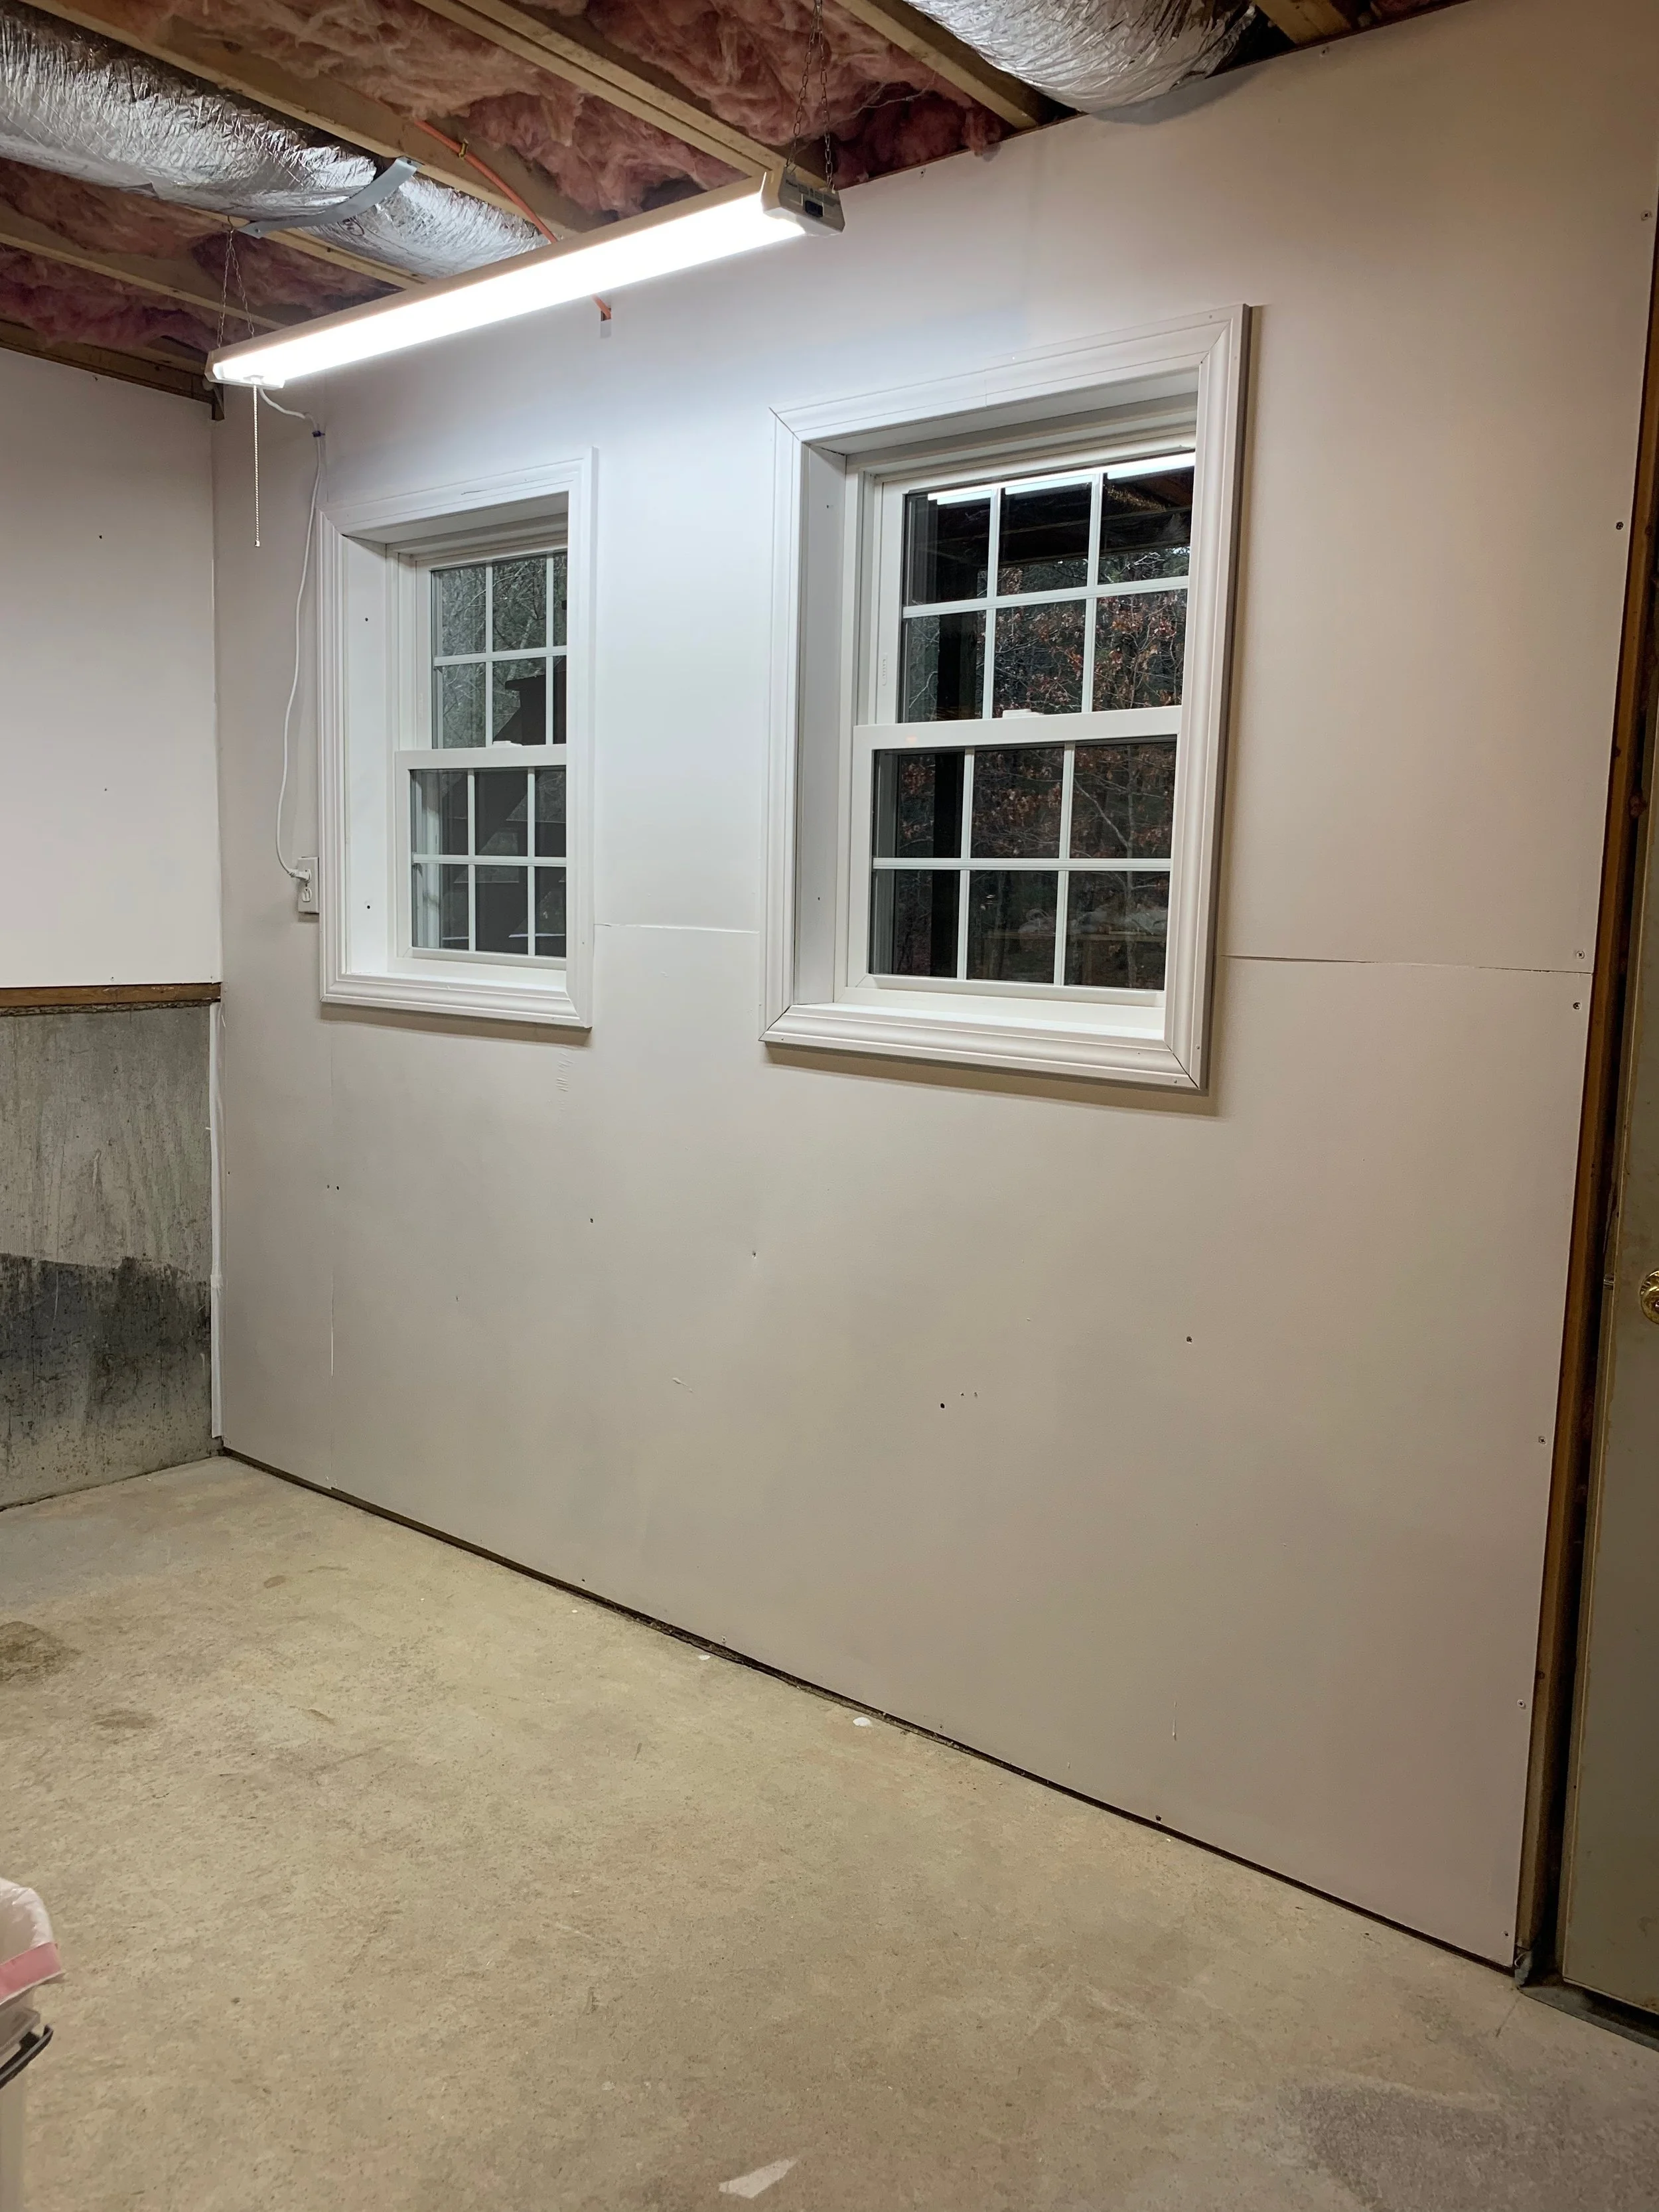
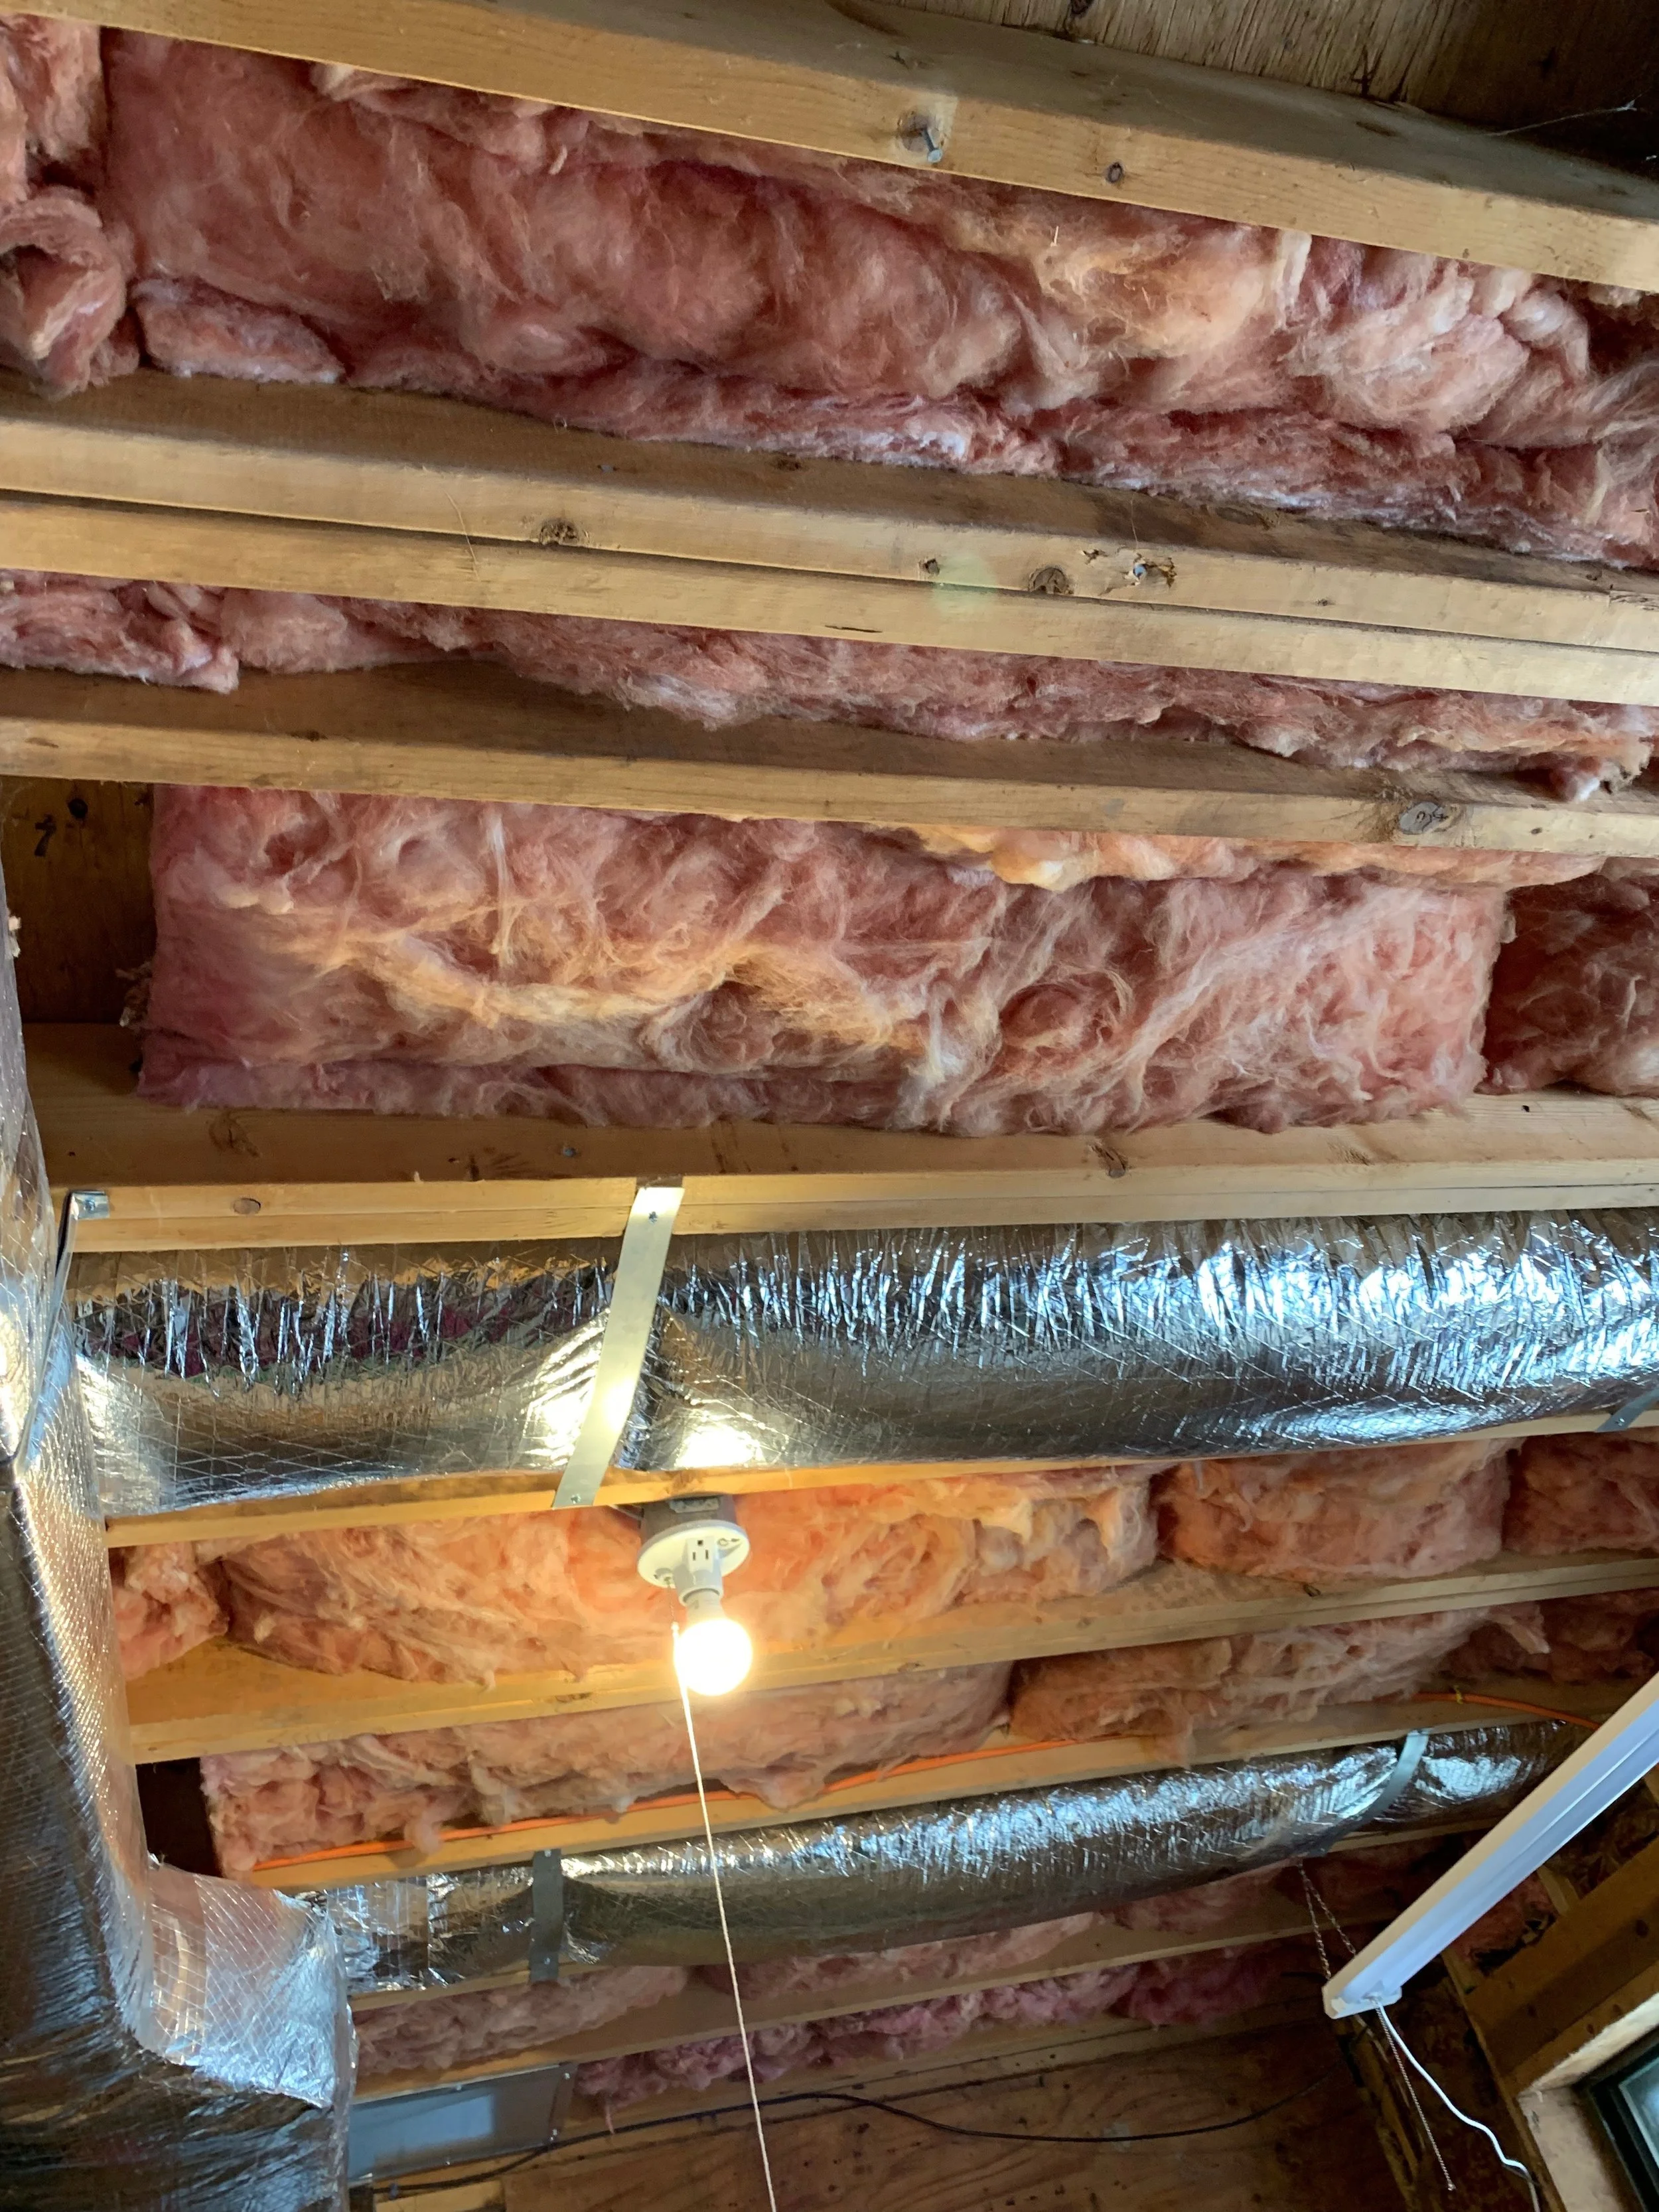
Now, when I snap a picture of what I’m working on, there isn’t insulation showing in the background or hanging from the ceiling (yuck), but instead a beautiful white wall with two beautiful windows. The whole space is so much brighter, & I'm so happy to have had the help from my dad in painting and my husband for the construction.
On a side note, while my husband was cutting the wood for the walls and ceilings for my workshop, I found myself breathing in the scent of fresh cut wood, and thinking, 'now THERE'S a candle scent scent I'd love to make.’ So, I did!
If you want to be taken directly to the “workshop” scent, the button below will take you there, and if you want to see how my workshop came to be, keep scrolling!
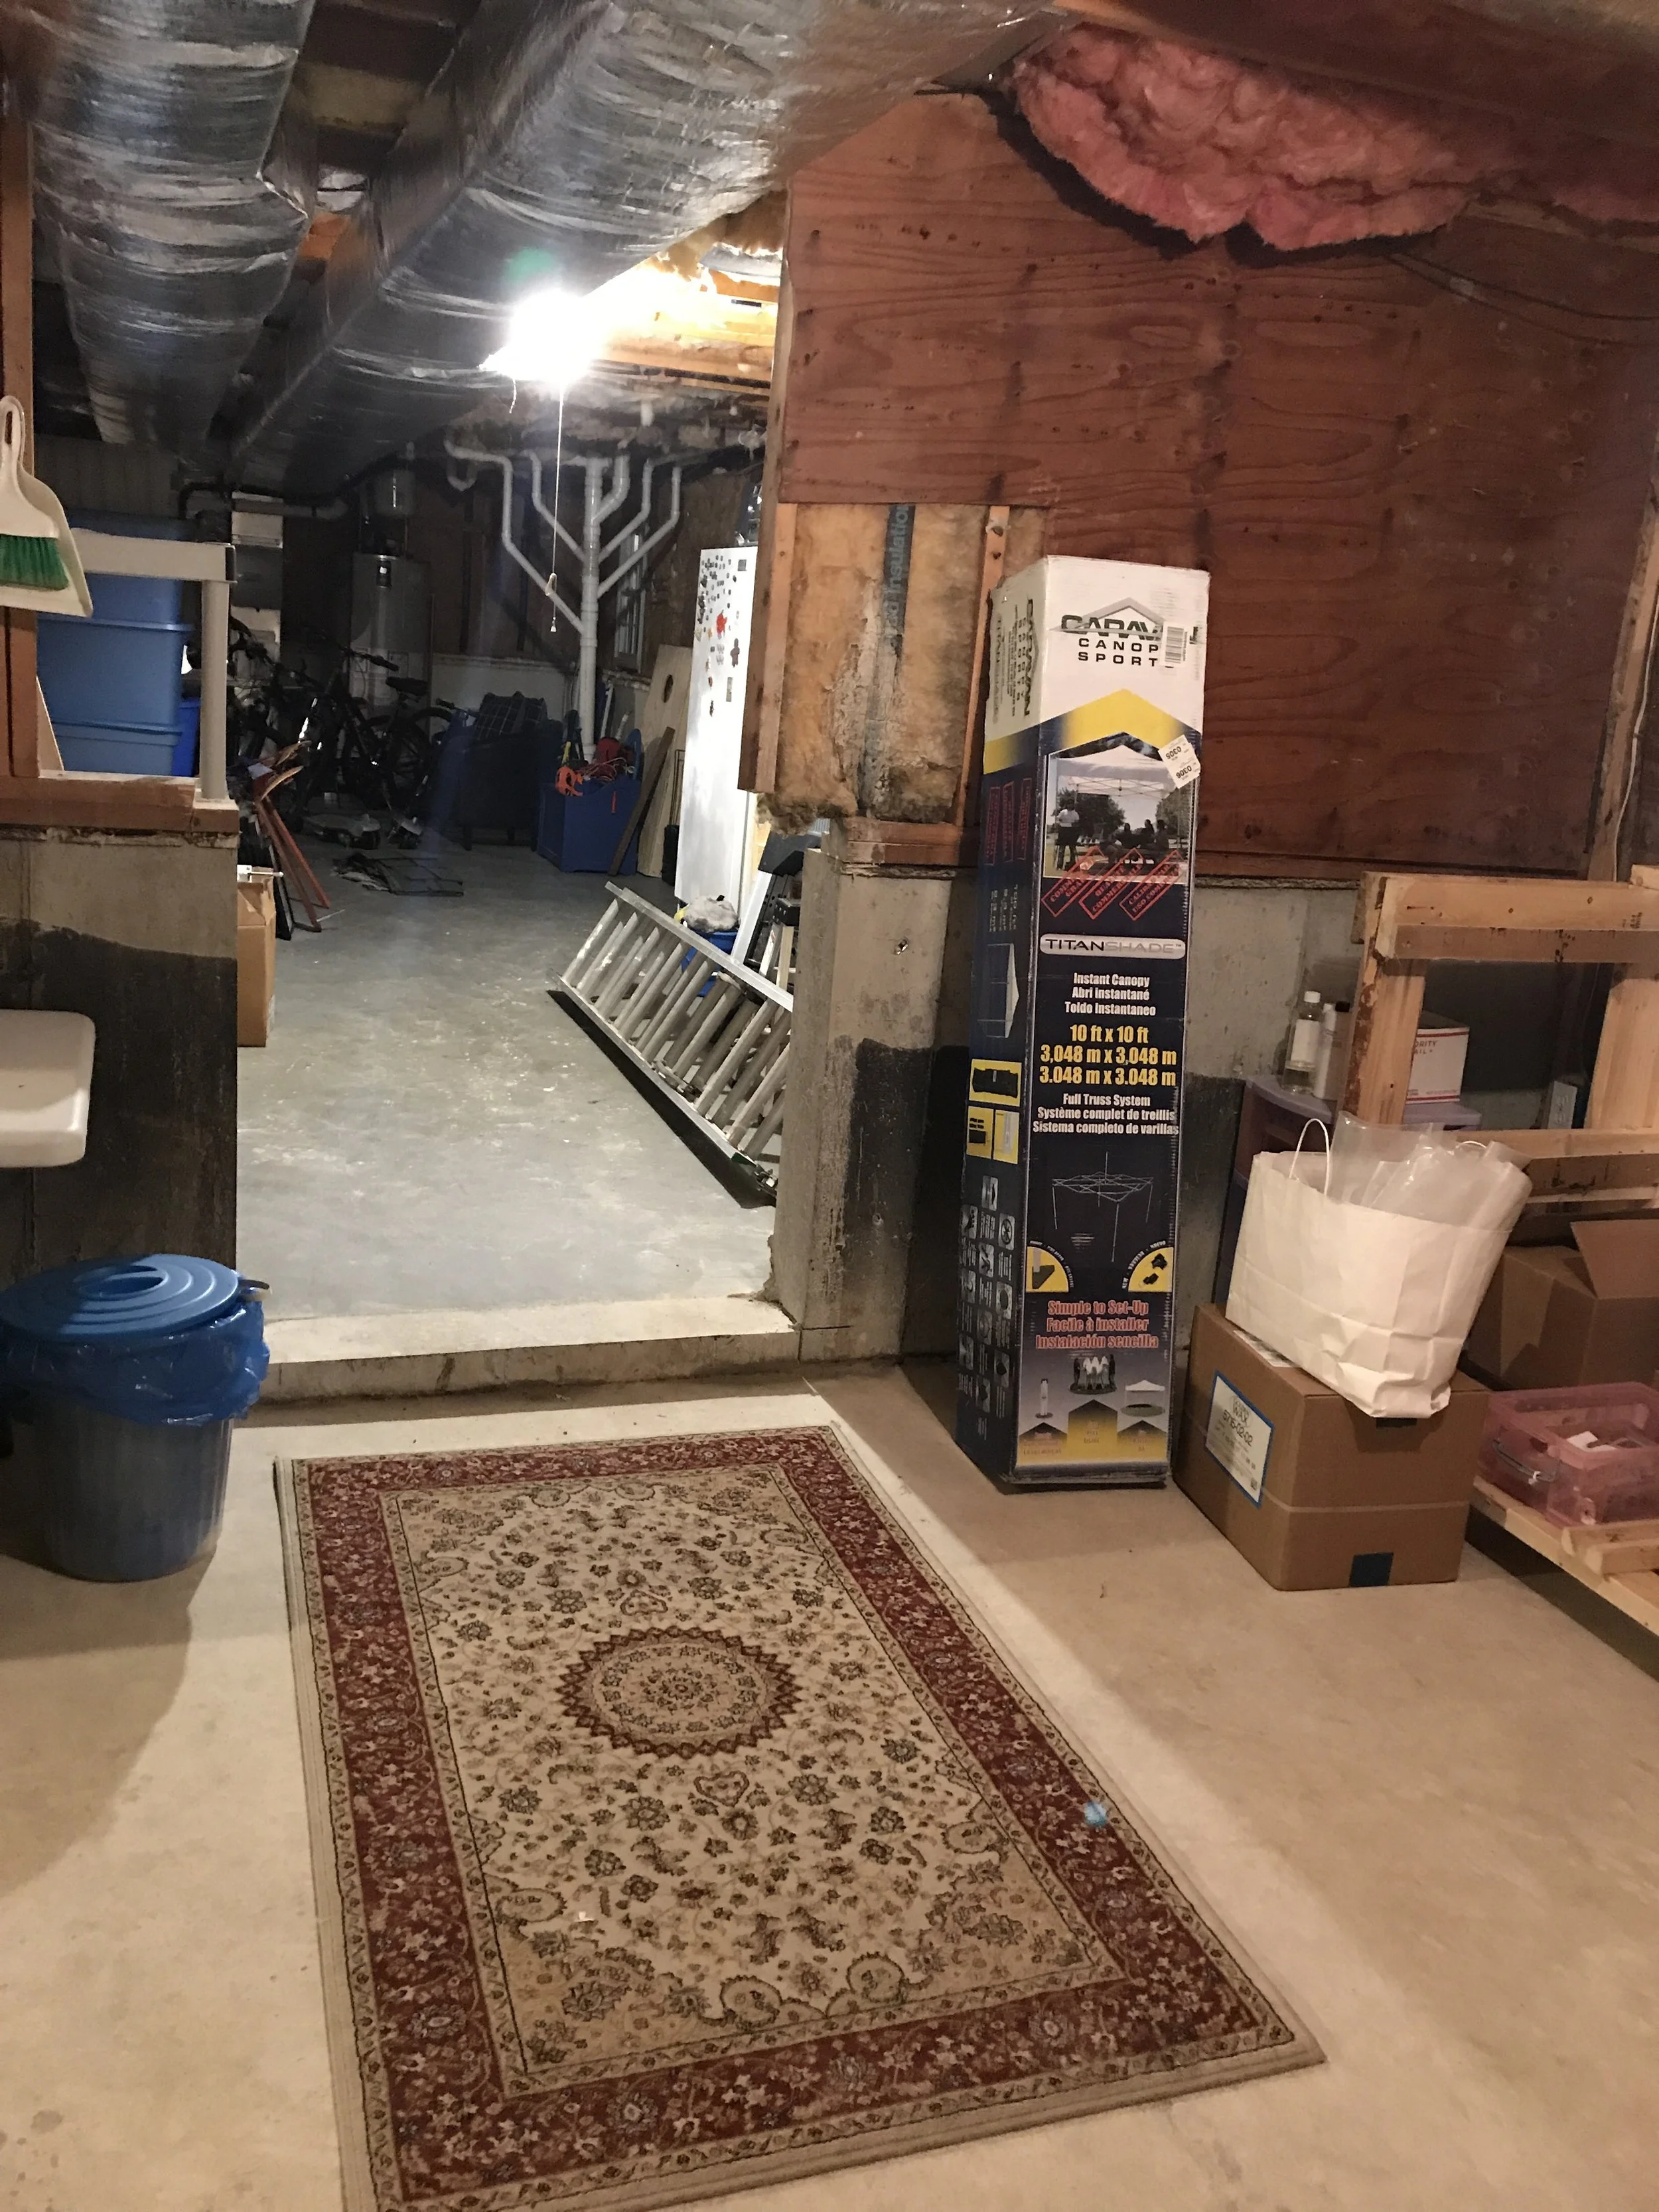
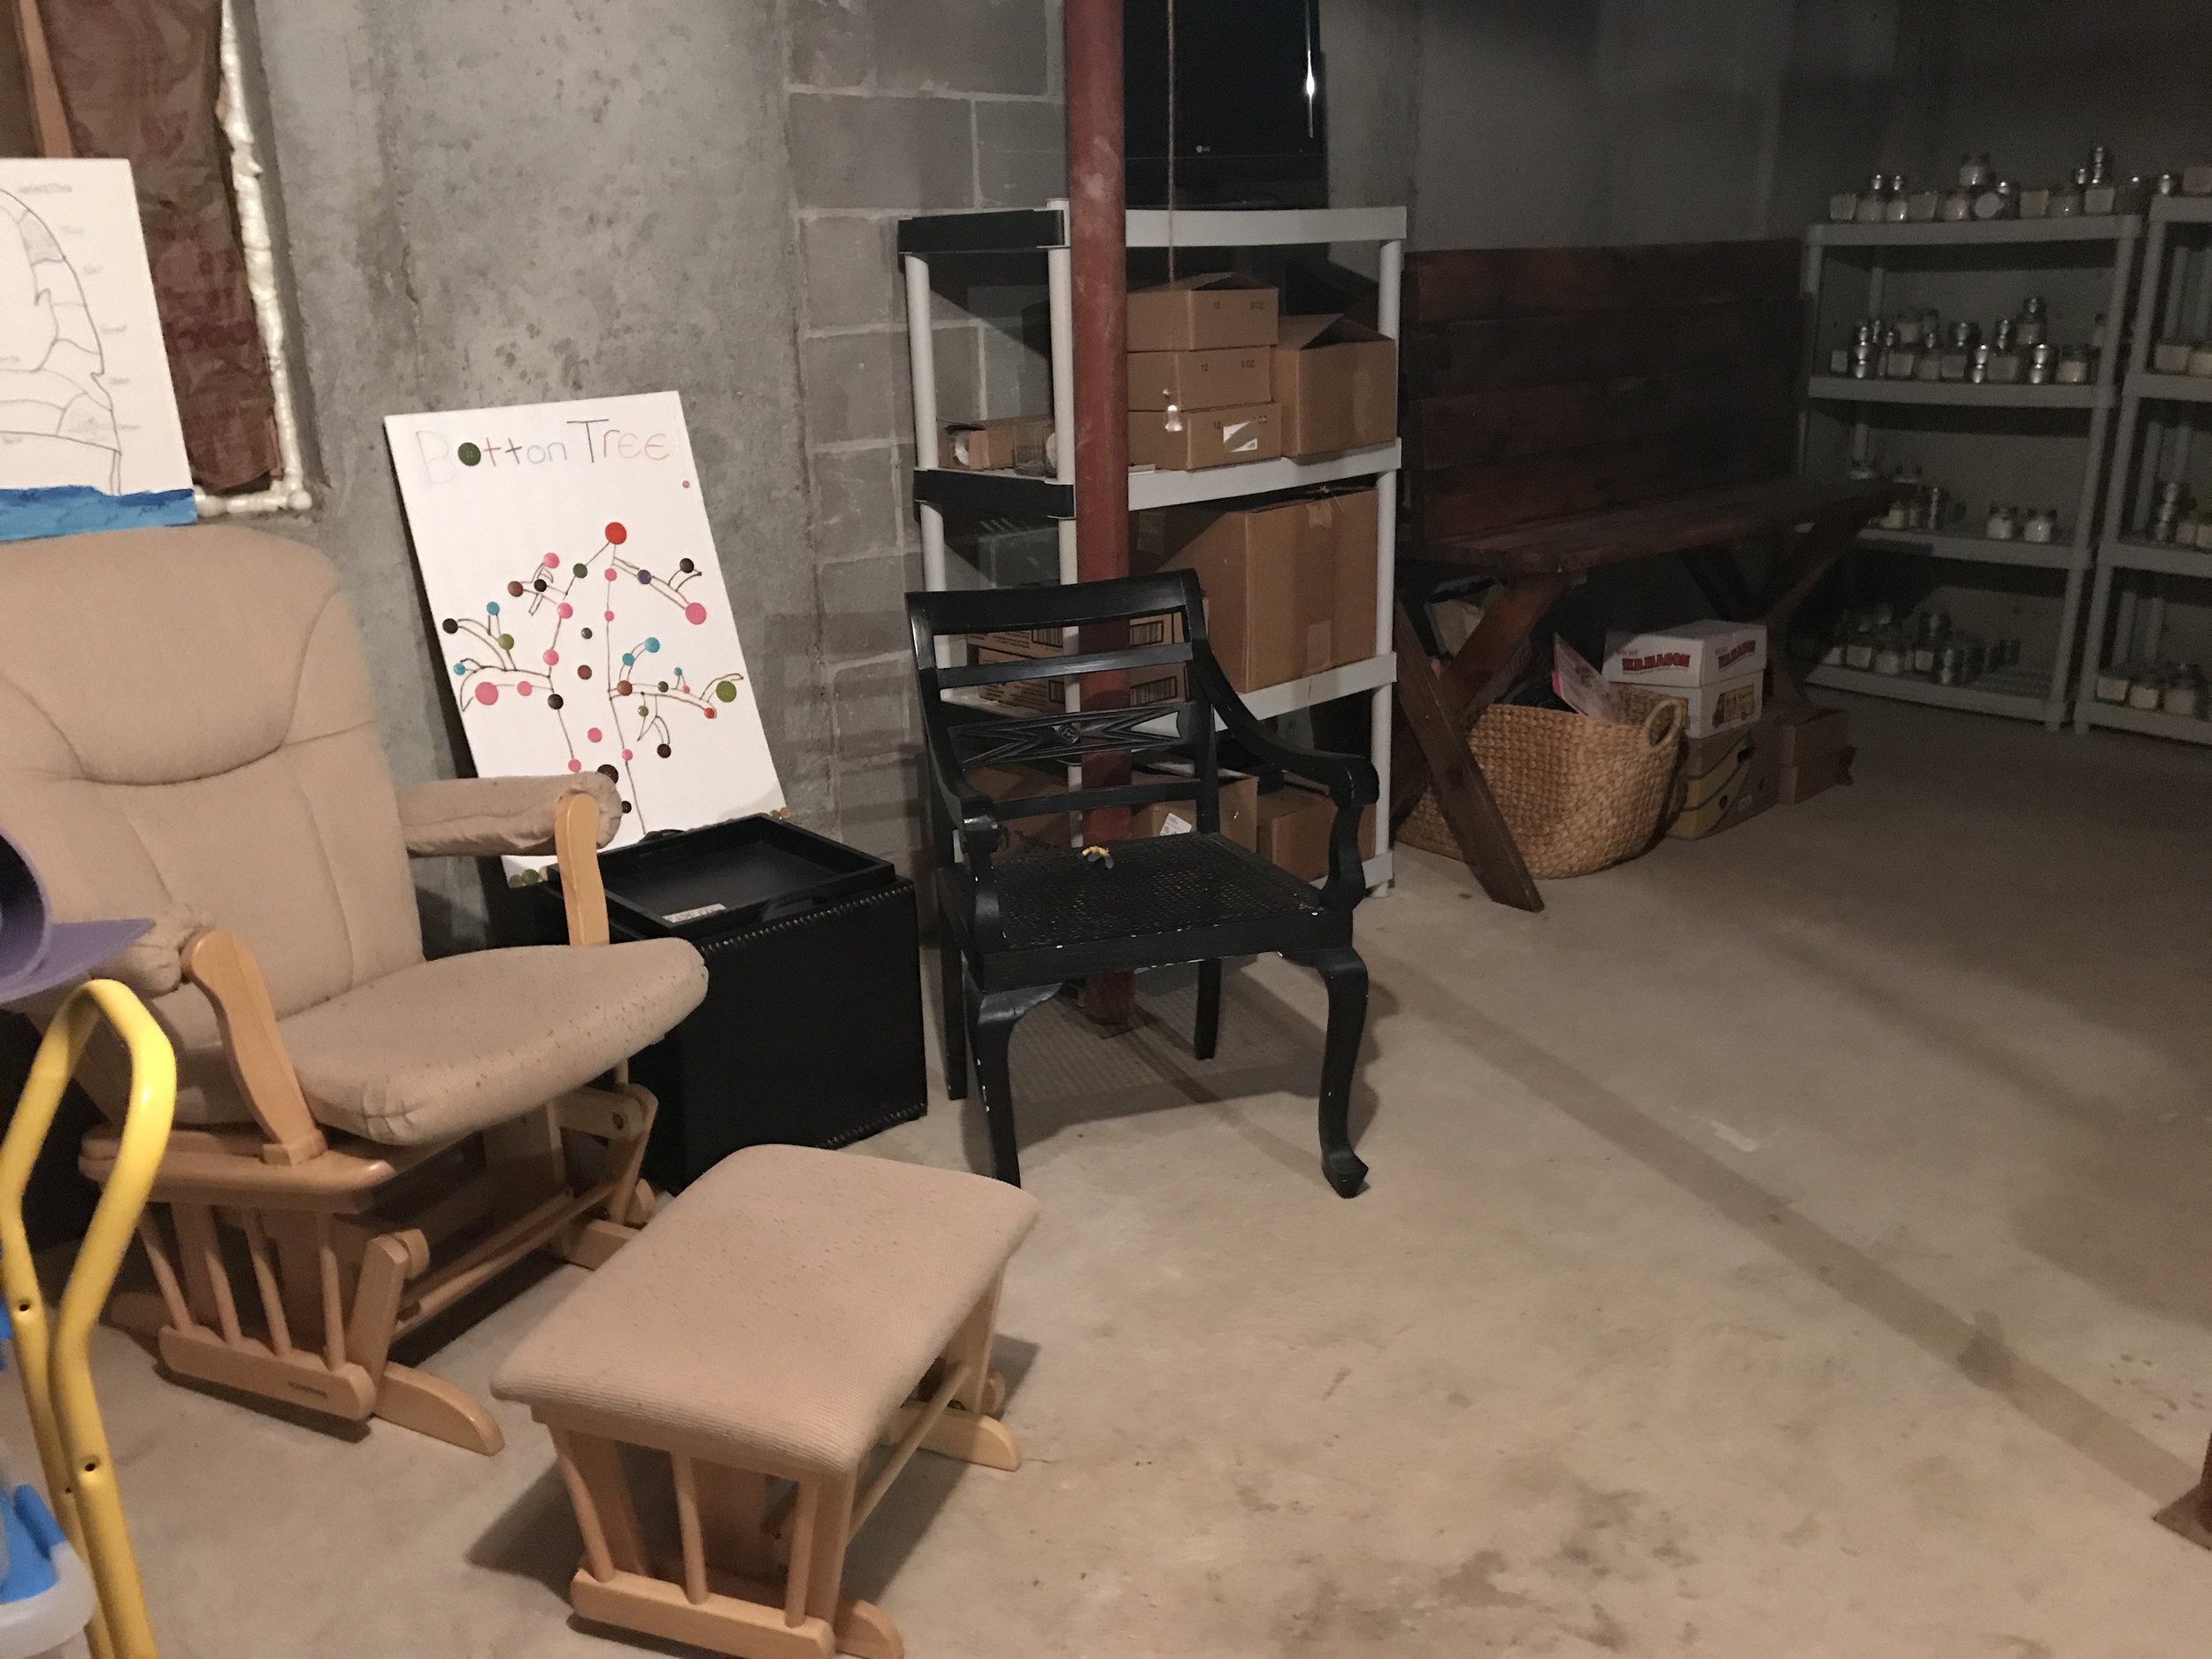
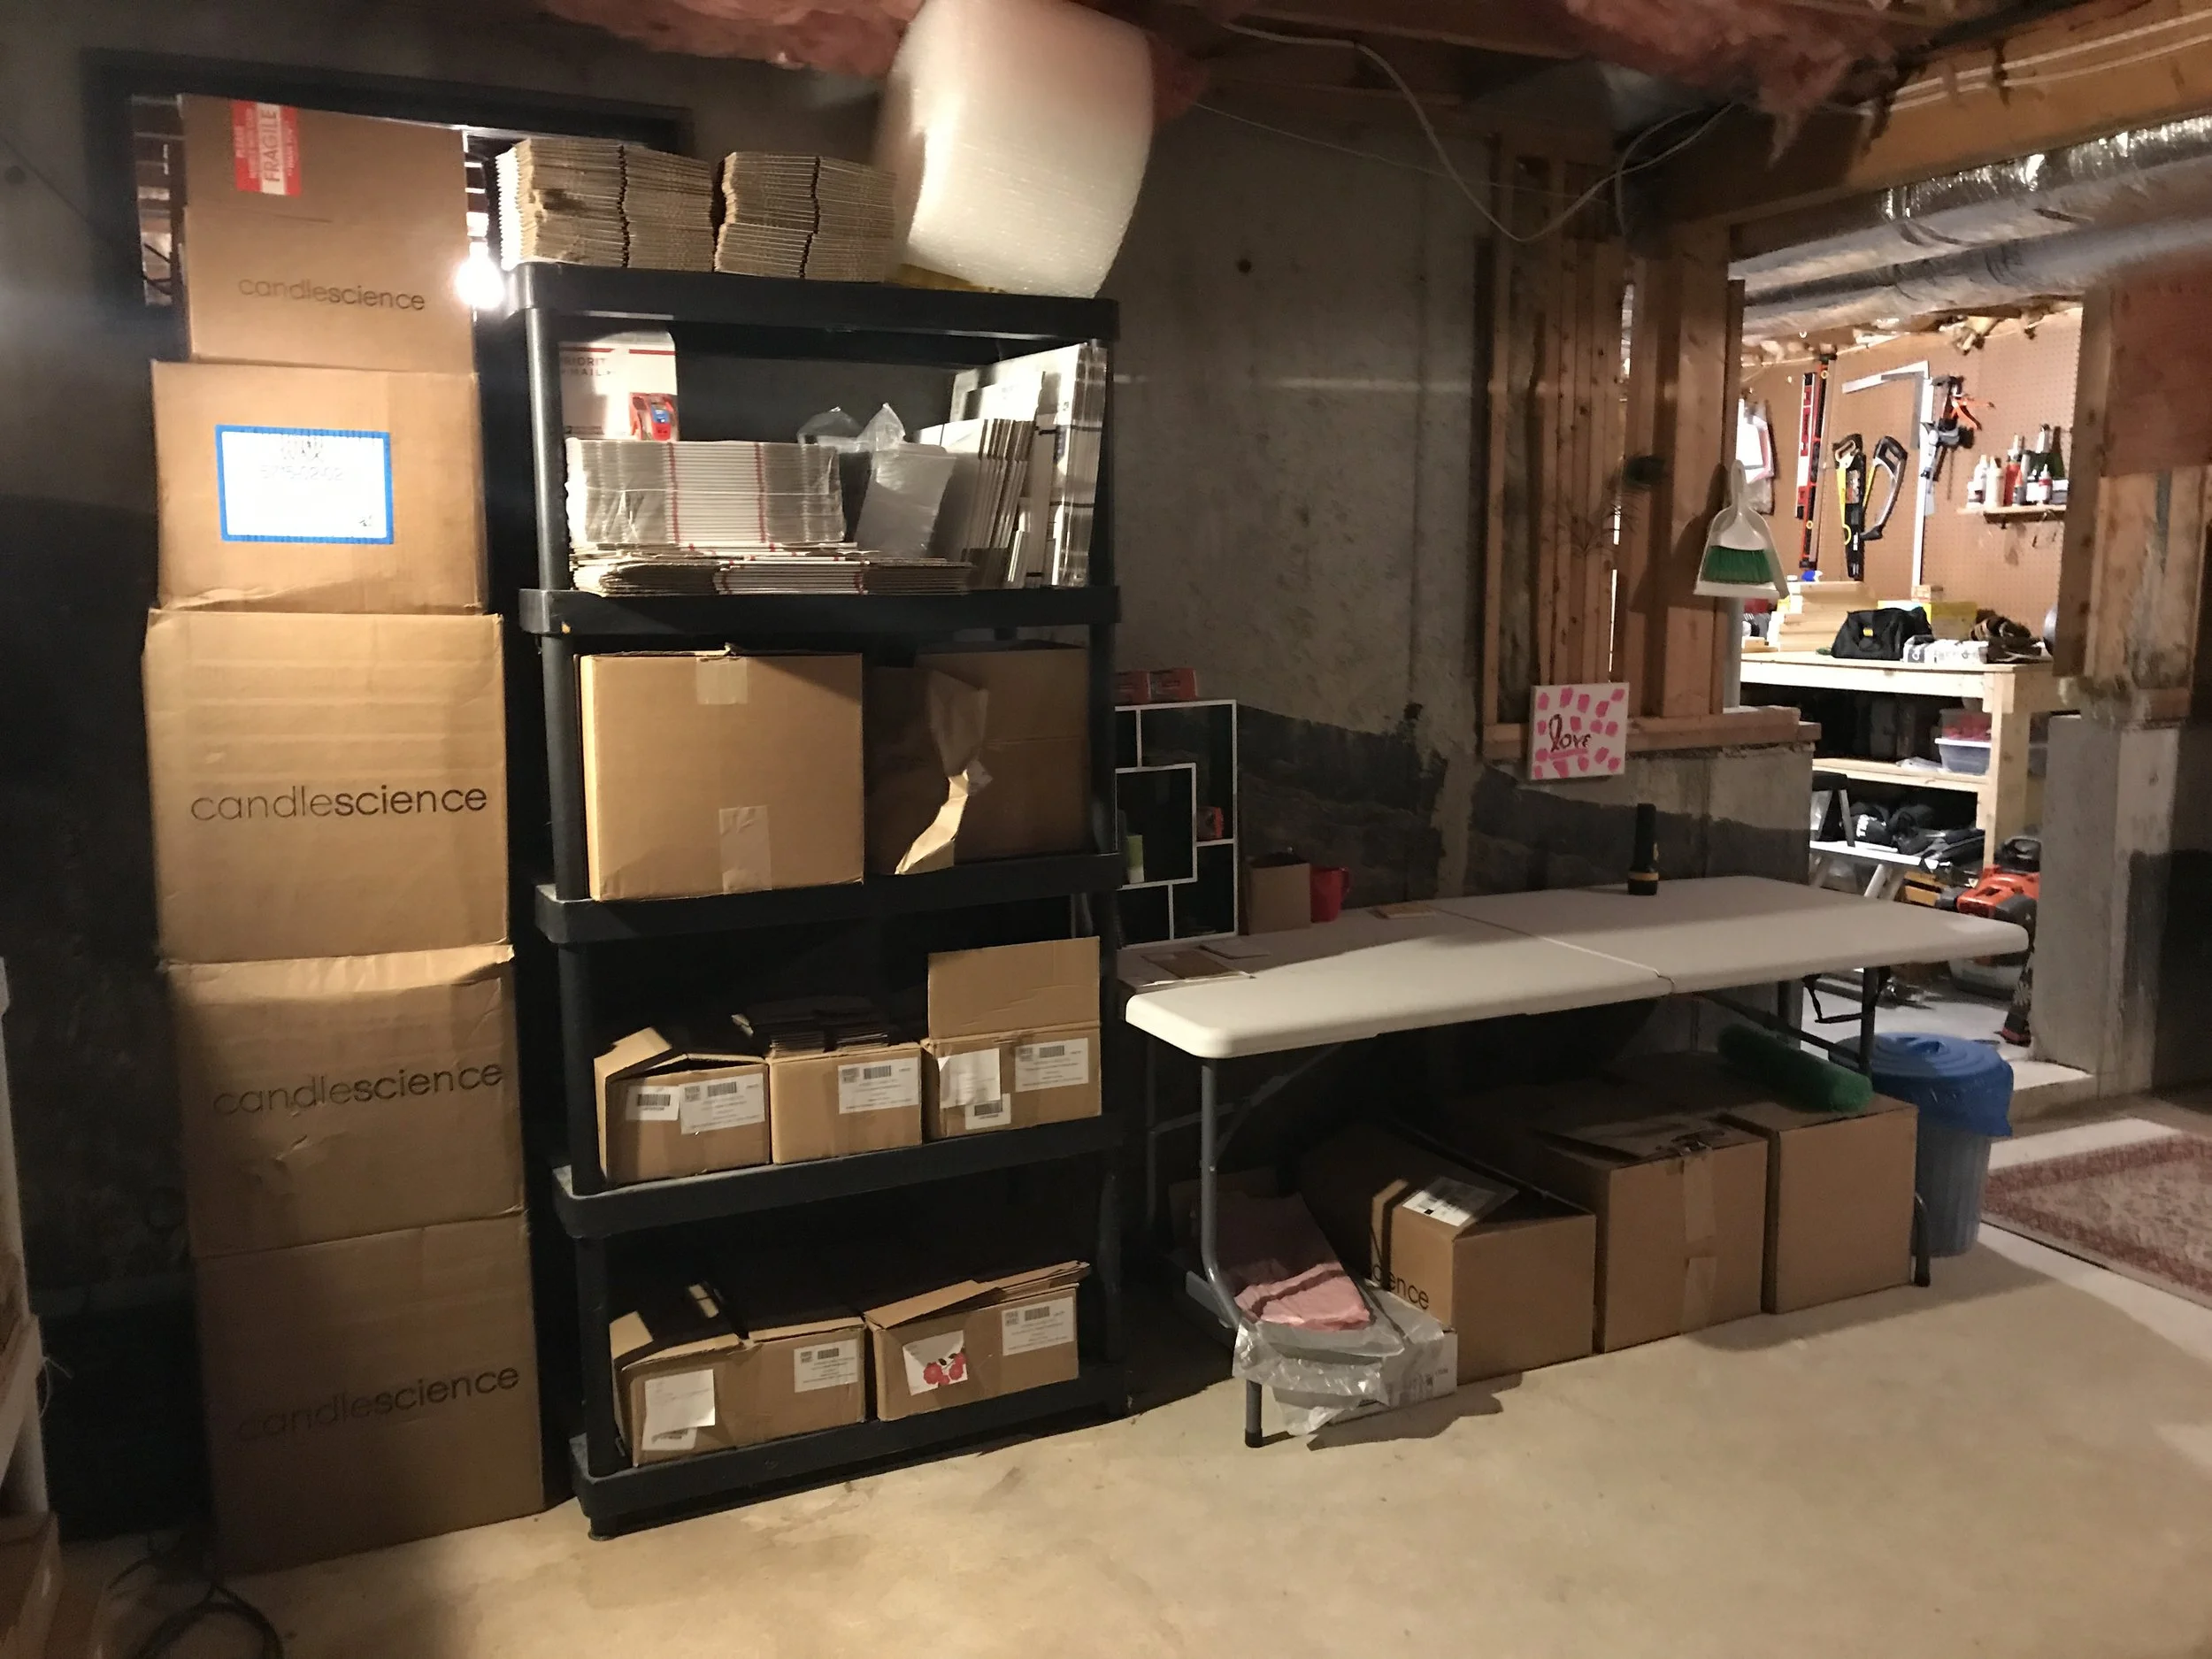
The Beginning: this is how my workshop looked at first. The rug made me feel as though I had an official ‘entry’ into my workshop. Why the chairs? Even though I was in my basement, I wanted a place for my family to sit and talk while visiting me at "work". My packaging station also served as my desk & when I first ‘moved in’ I had one light in the room. I used a desk lamp to light the other half of my workshop.
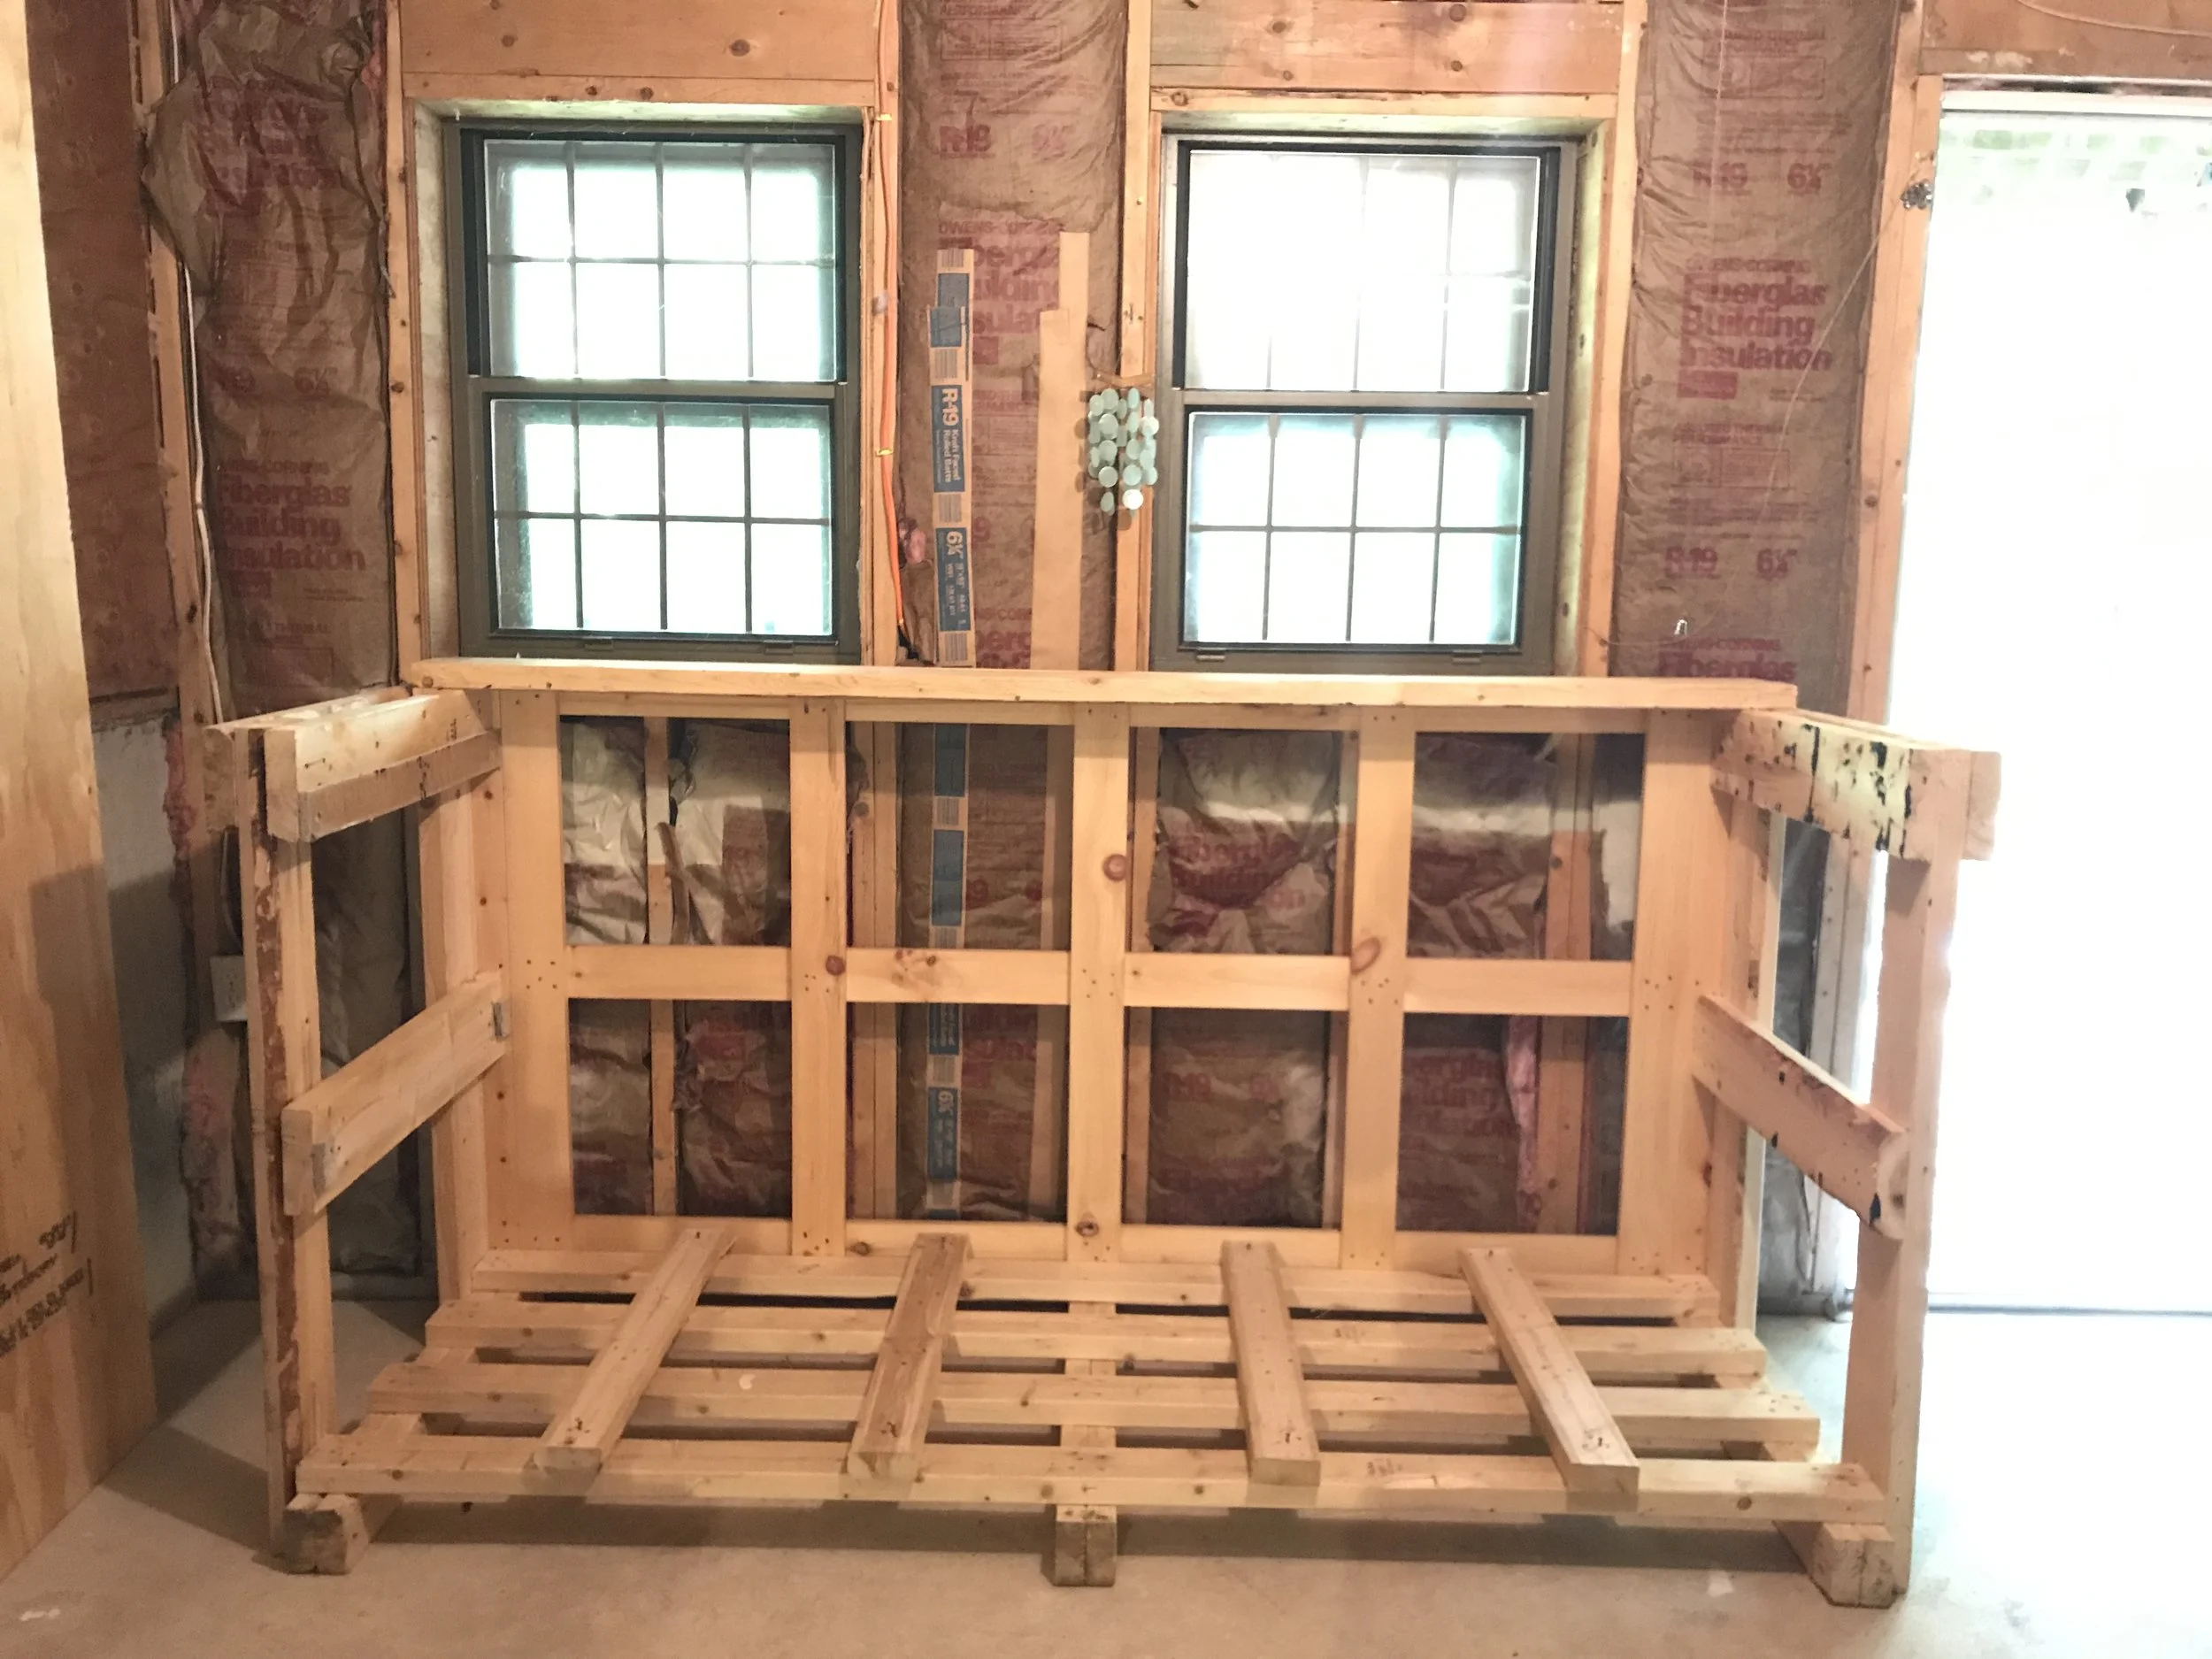
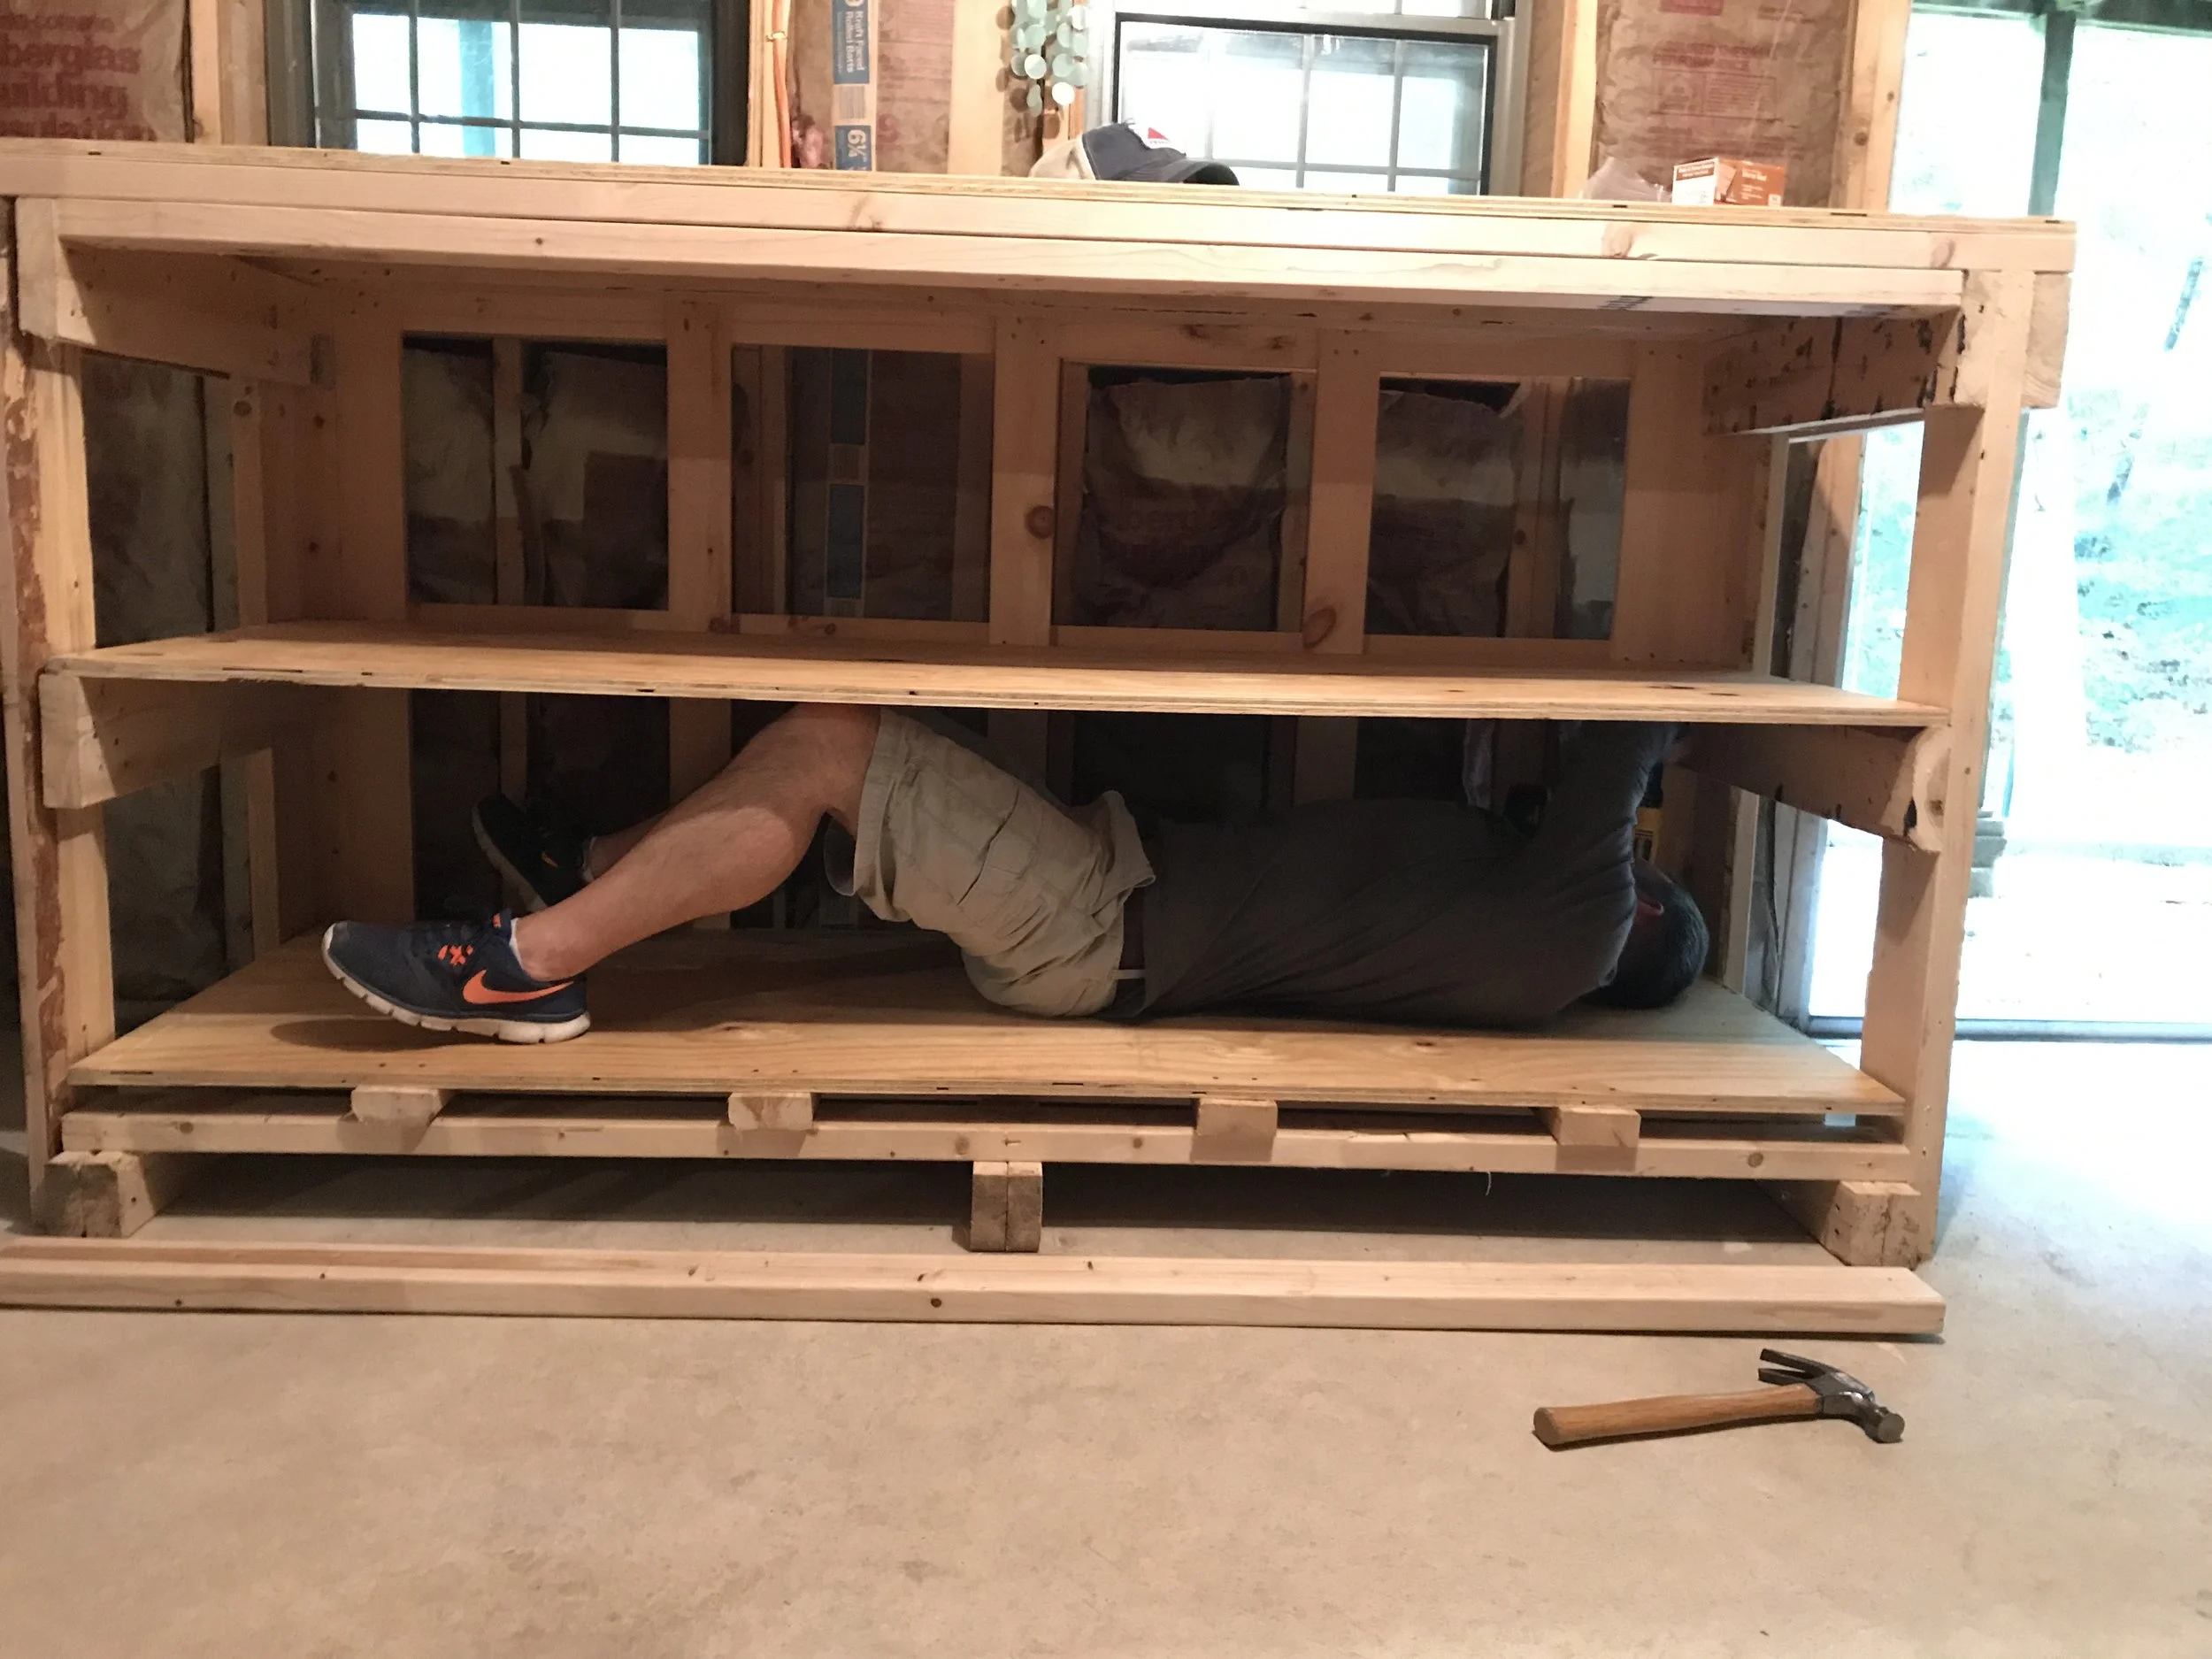
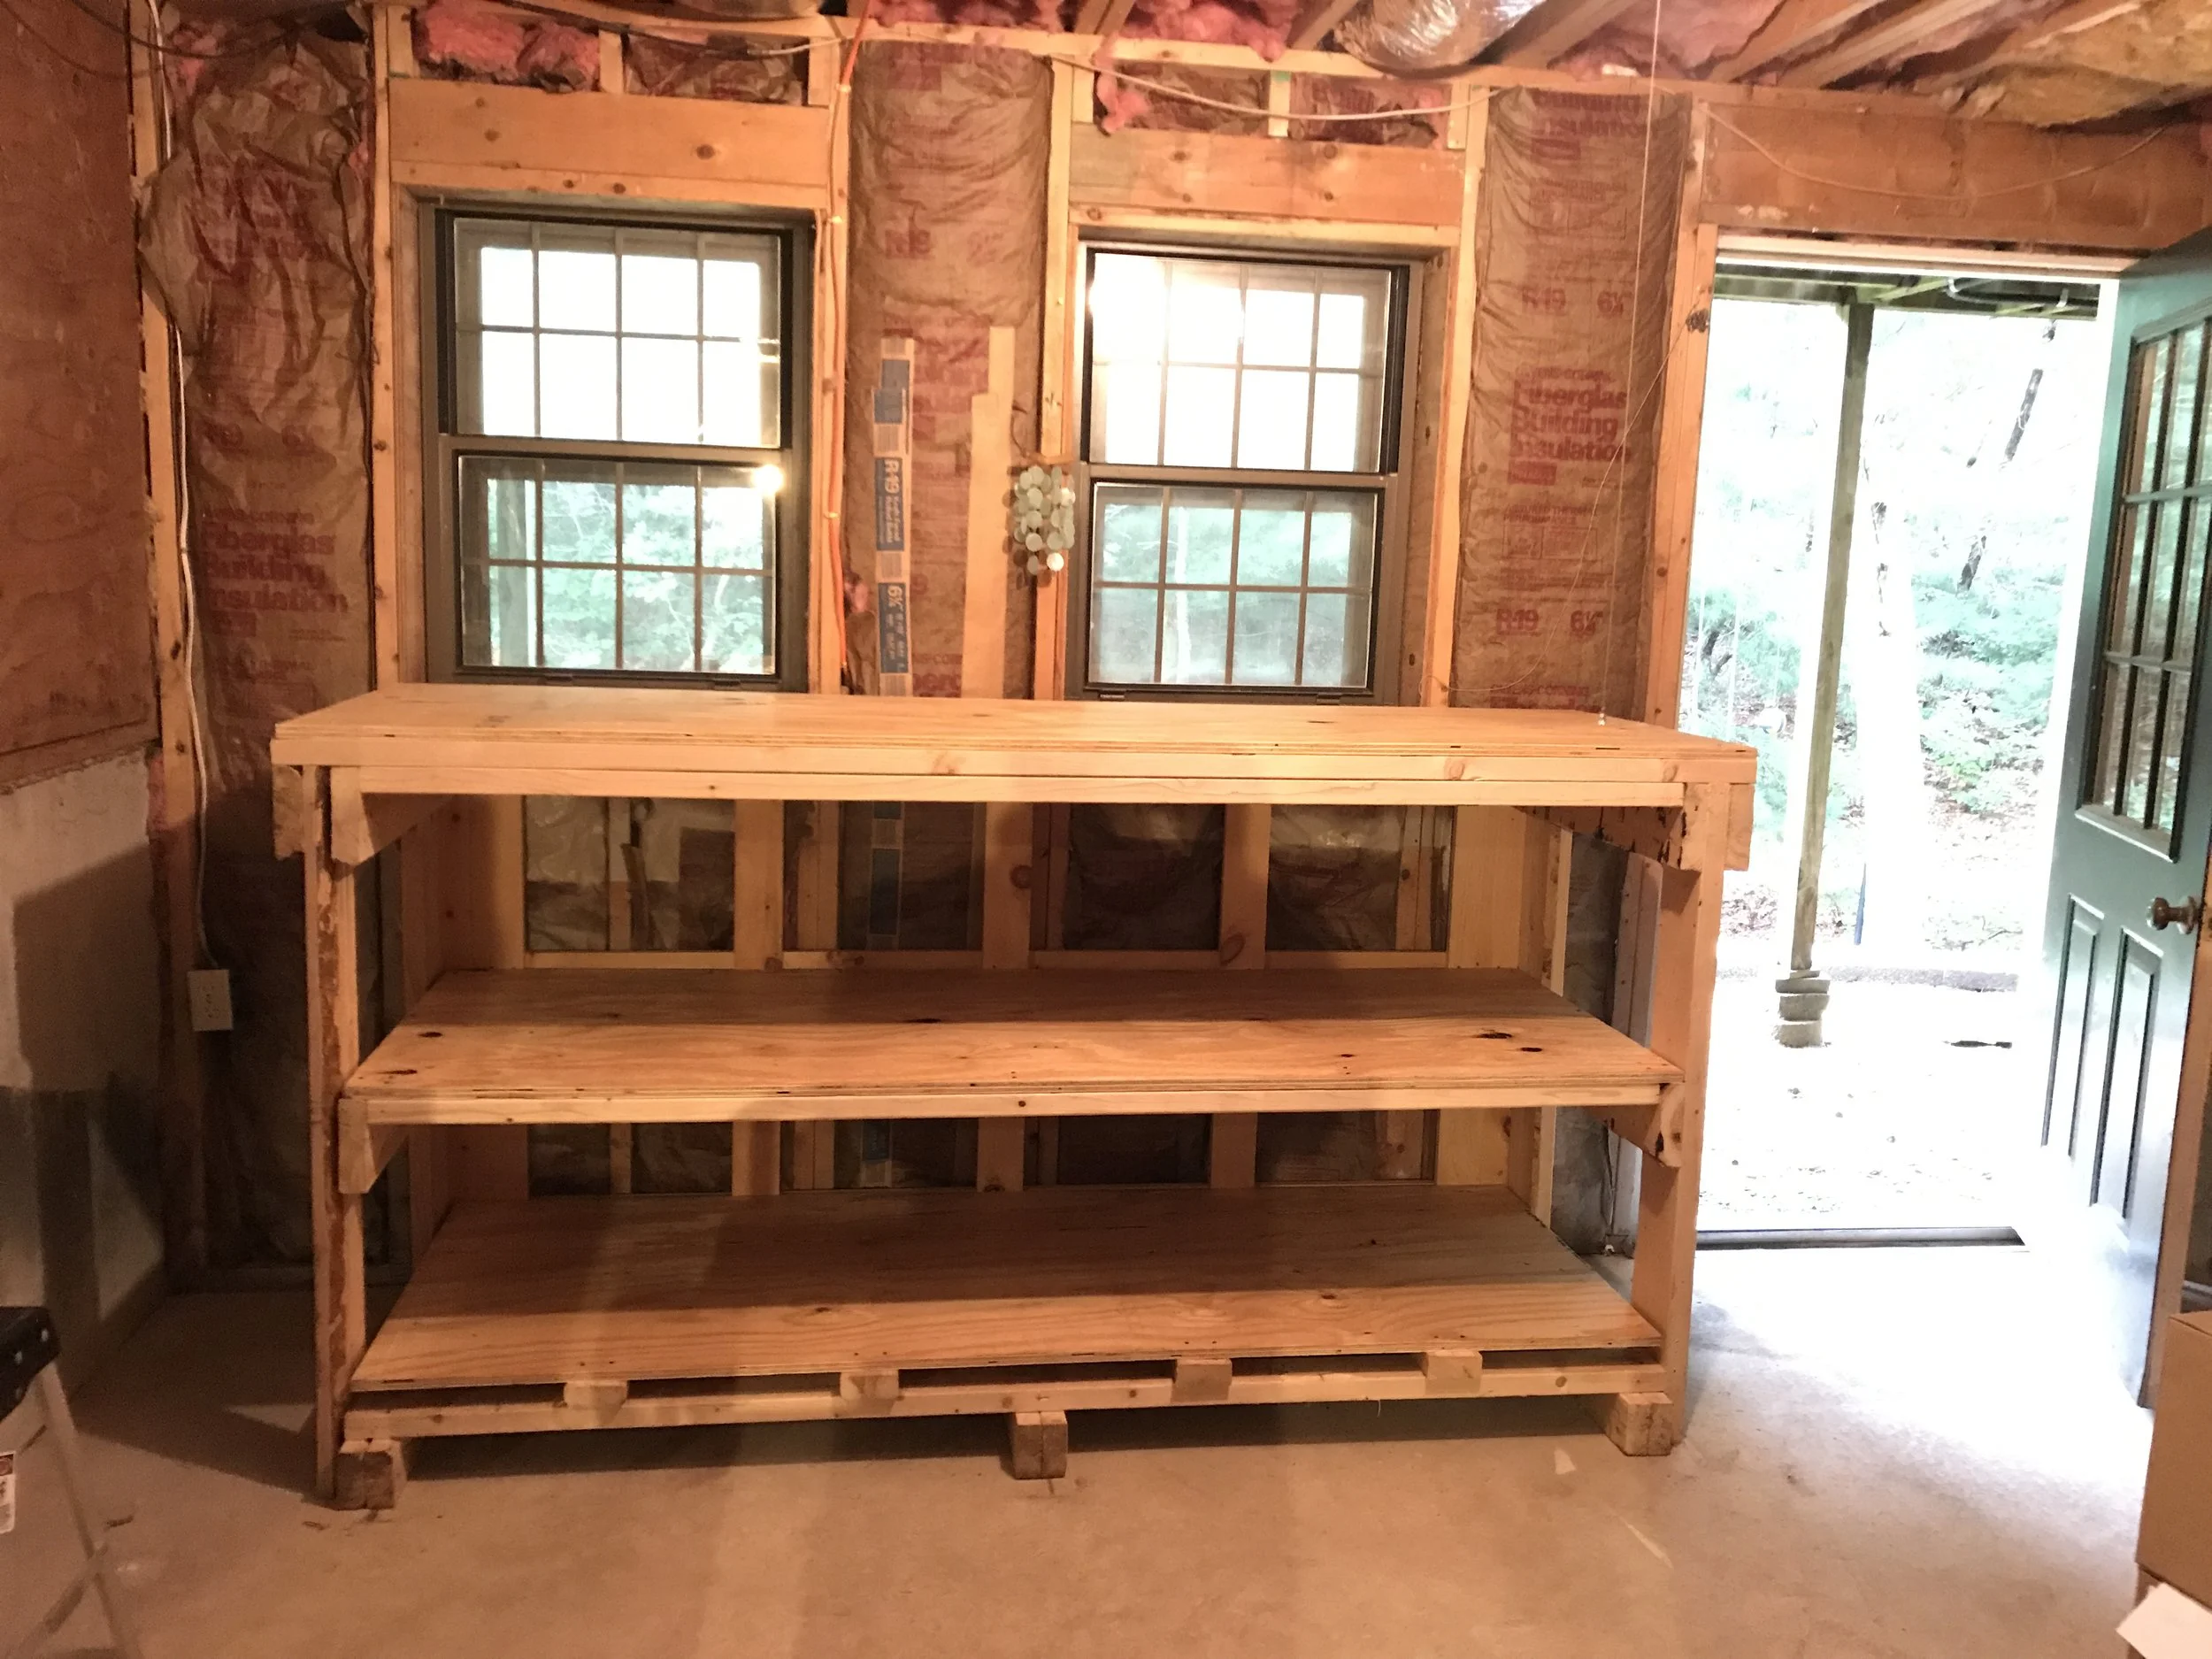
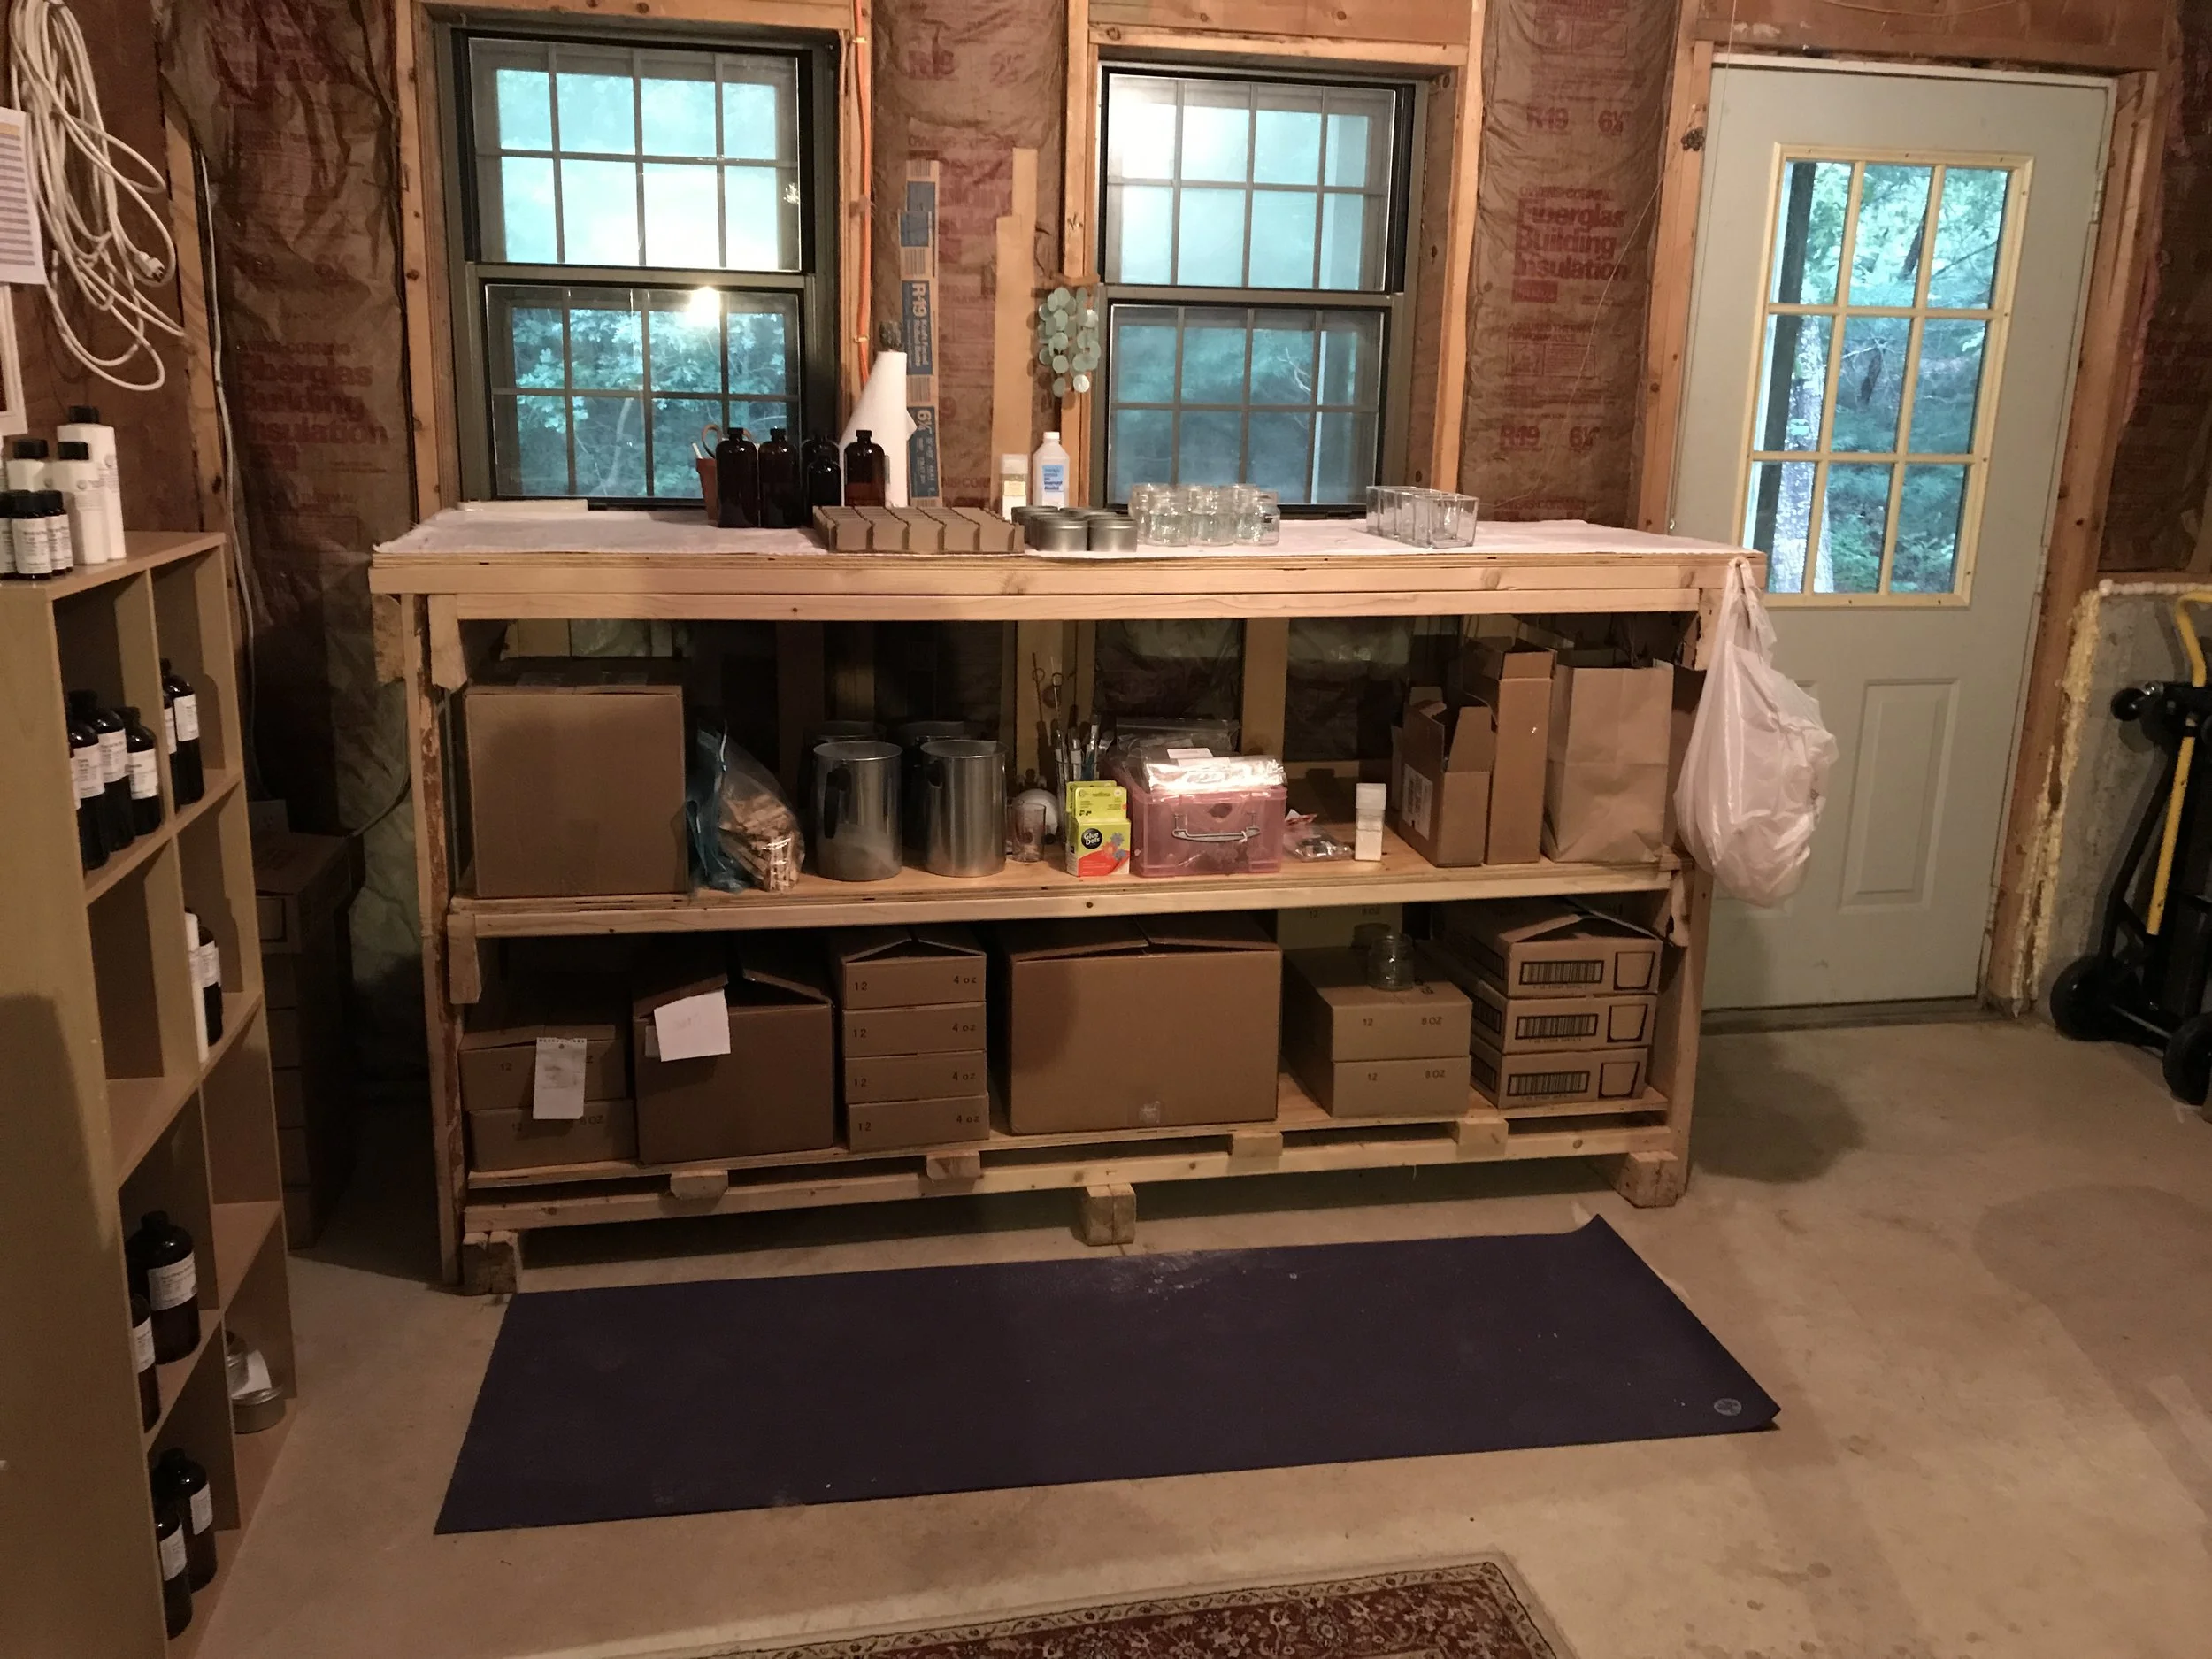
The Workbench; Next came my workbench. My husband gets deliveries at work on these wooden crates that, once you put a piece of plyboard across, makes the perfect workbench. He added a shelf for me as well; which you can see I filled up immediately with stock. (after he vacated the bottom shelf) ;)
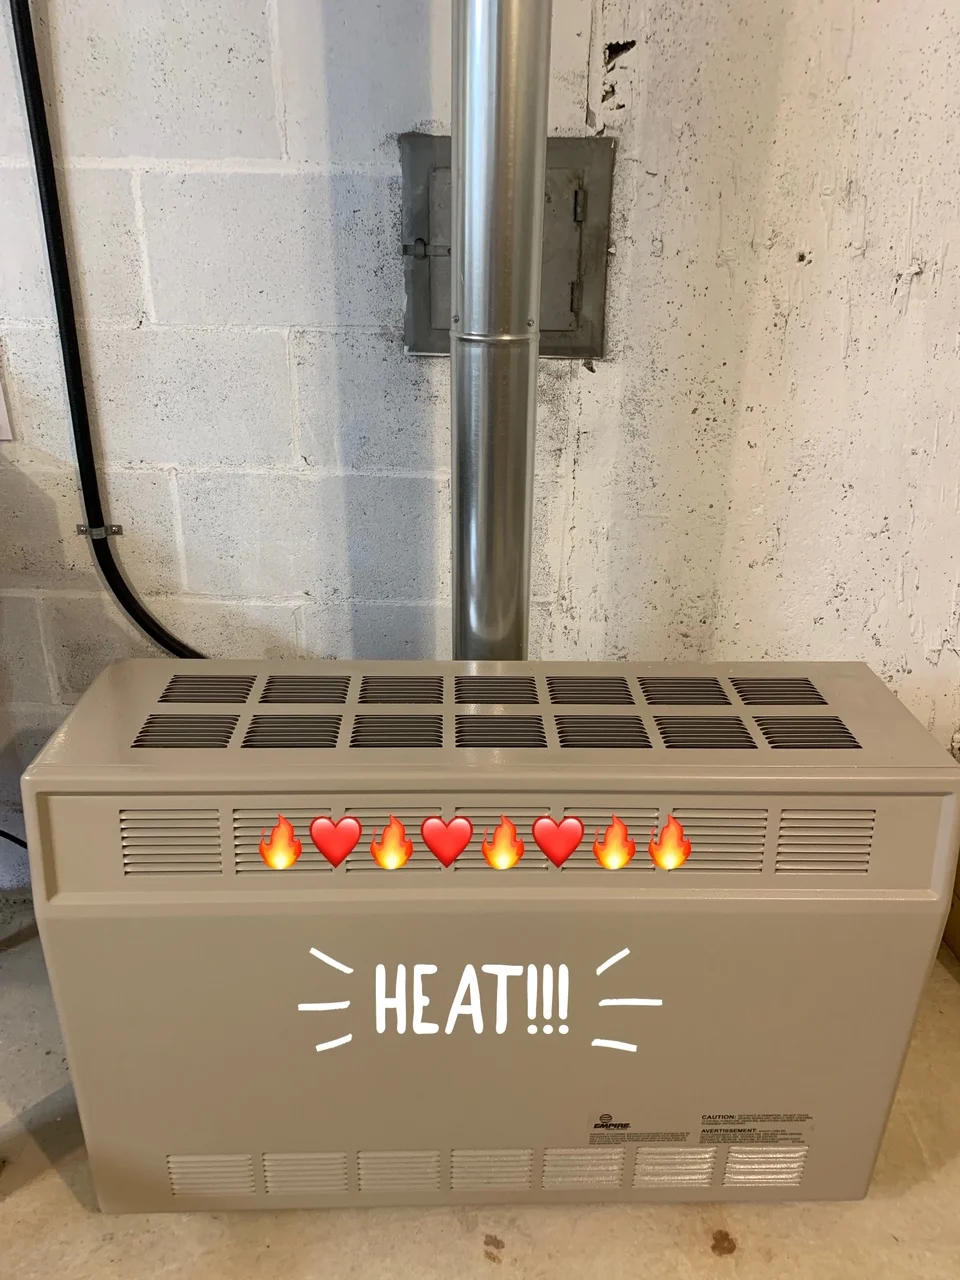
Hello heat: If you know me, you know I’m always cold … layering up when it’s anything below 80, the last to turn on the AC, the first to turn it off, and the one to joke about relocating to the surface of the sun when I’m older. Needless to say, I love to be warm, so this was a big win for me. It officially meant that I could make my candles downstairs all the time without having to relocate to the kitchen anymore. So yes, it deserves it’s own photo spot.
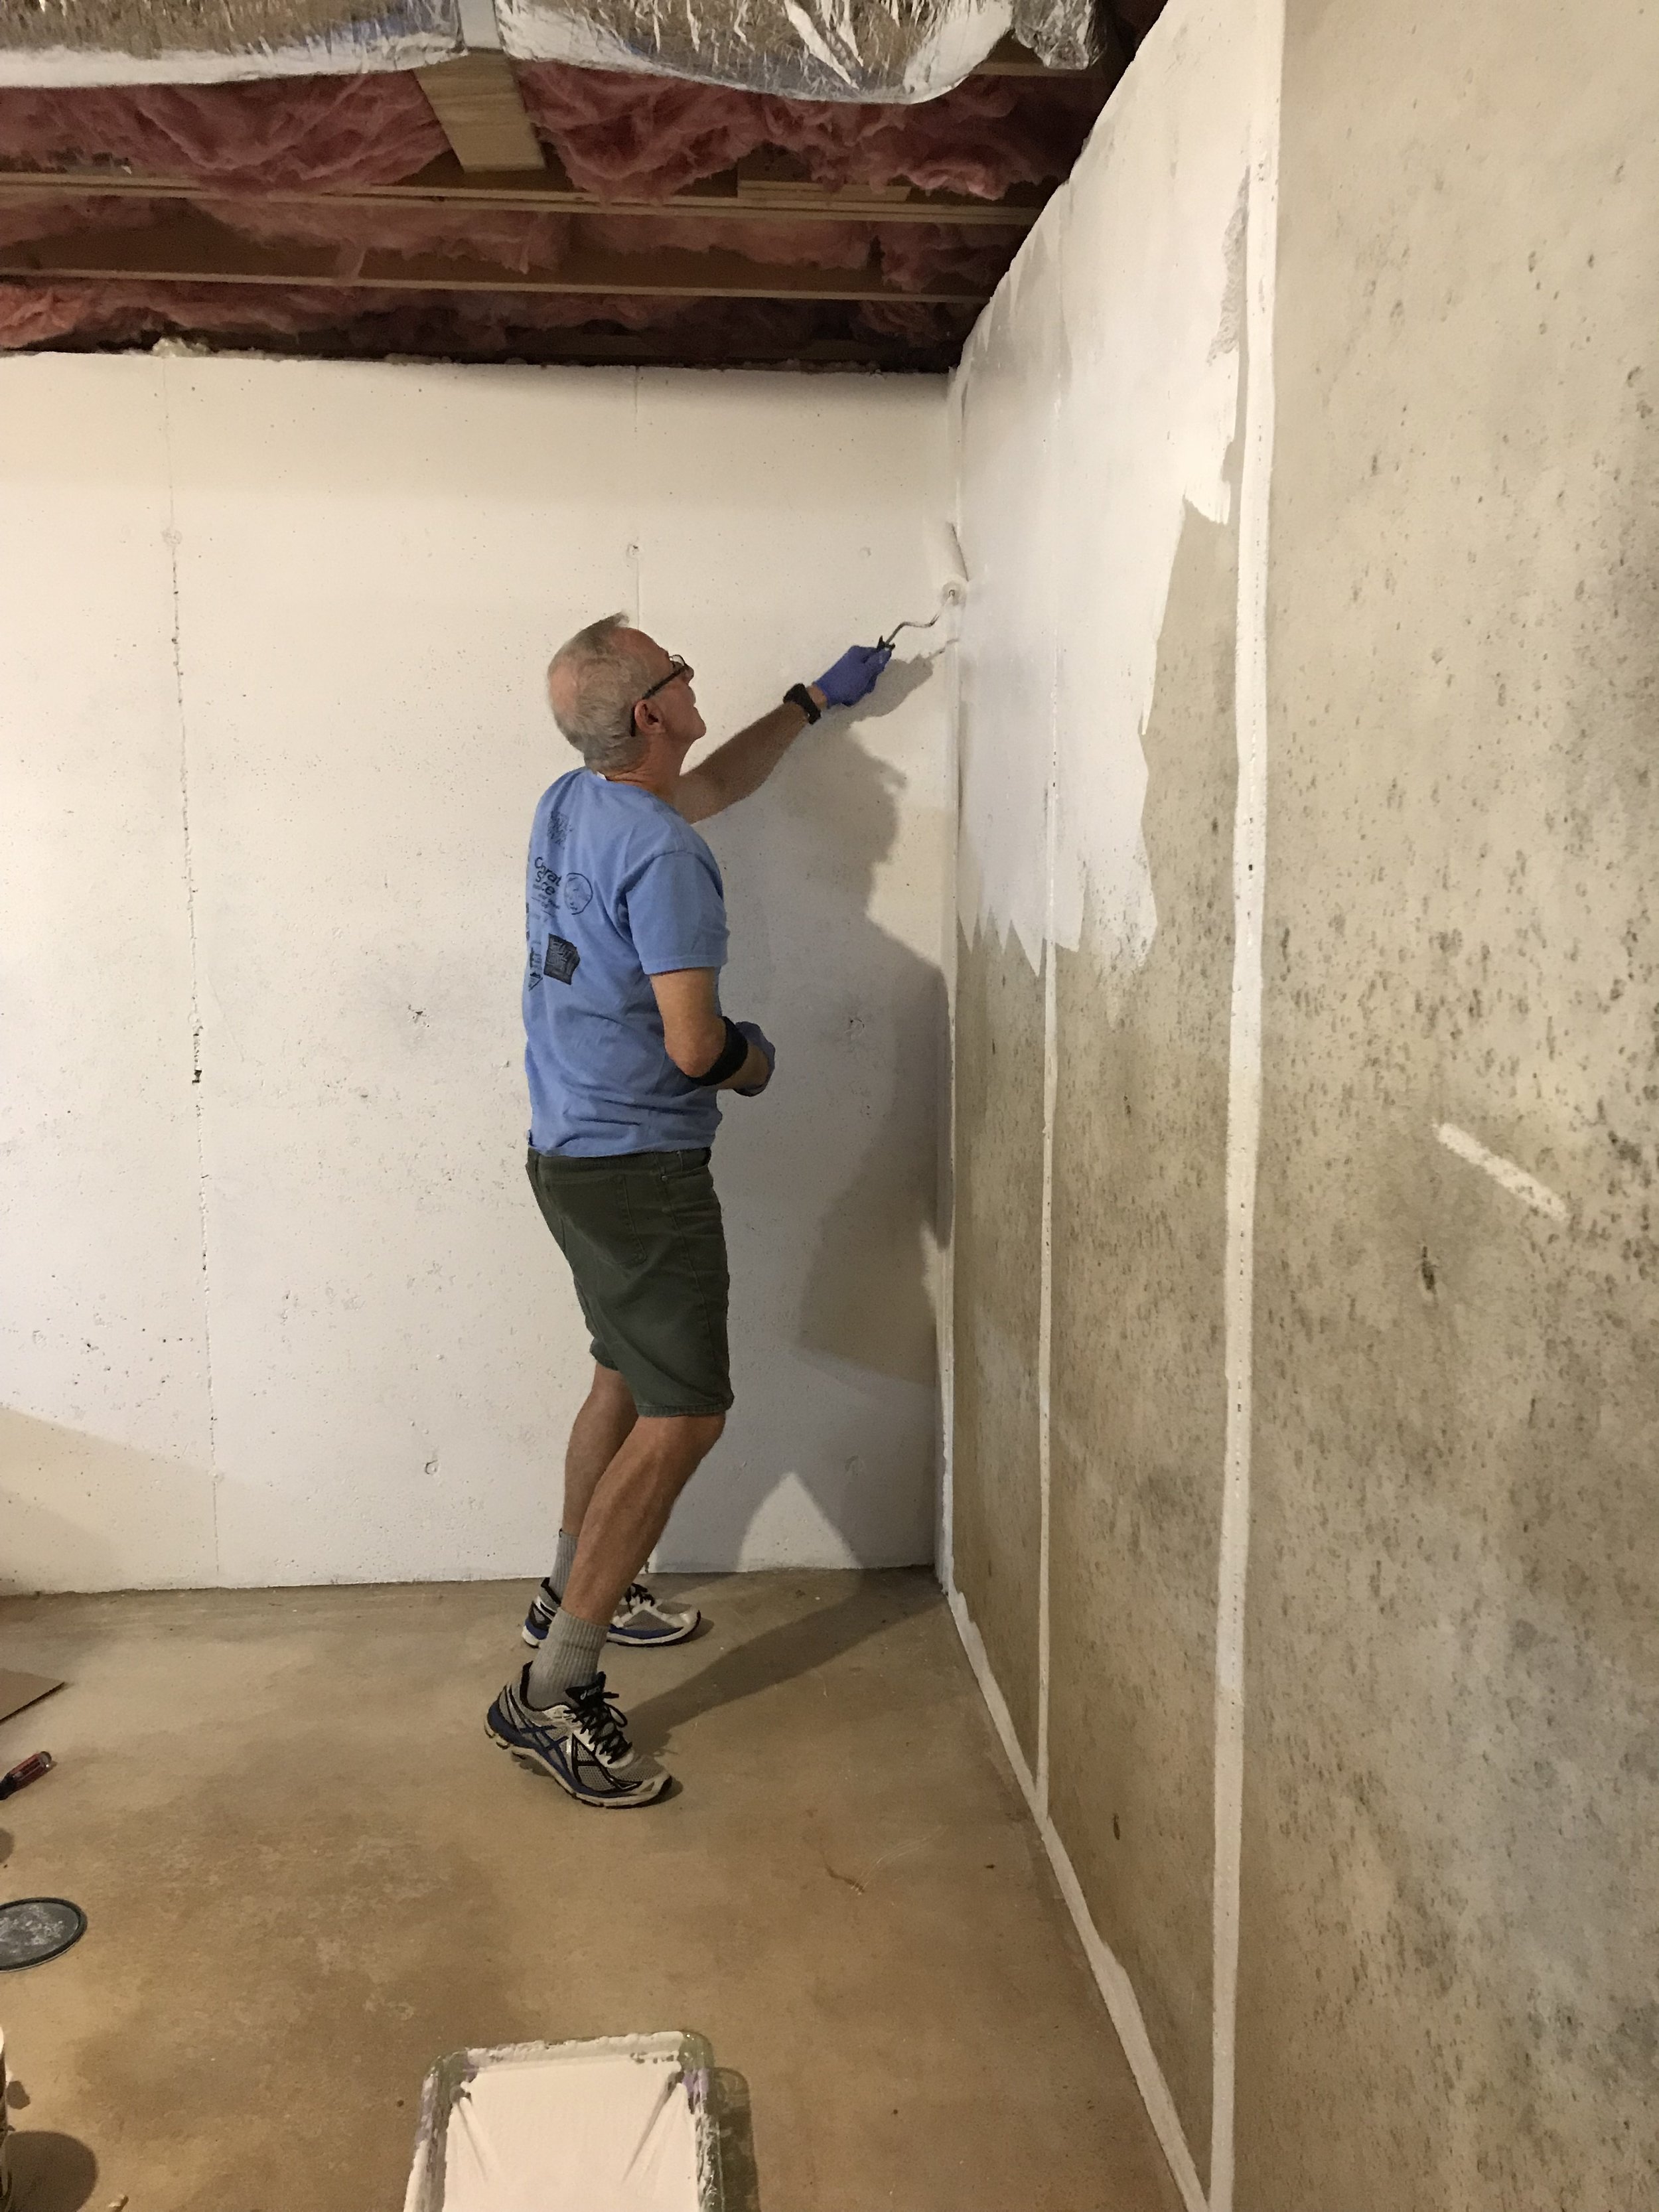
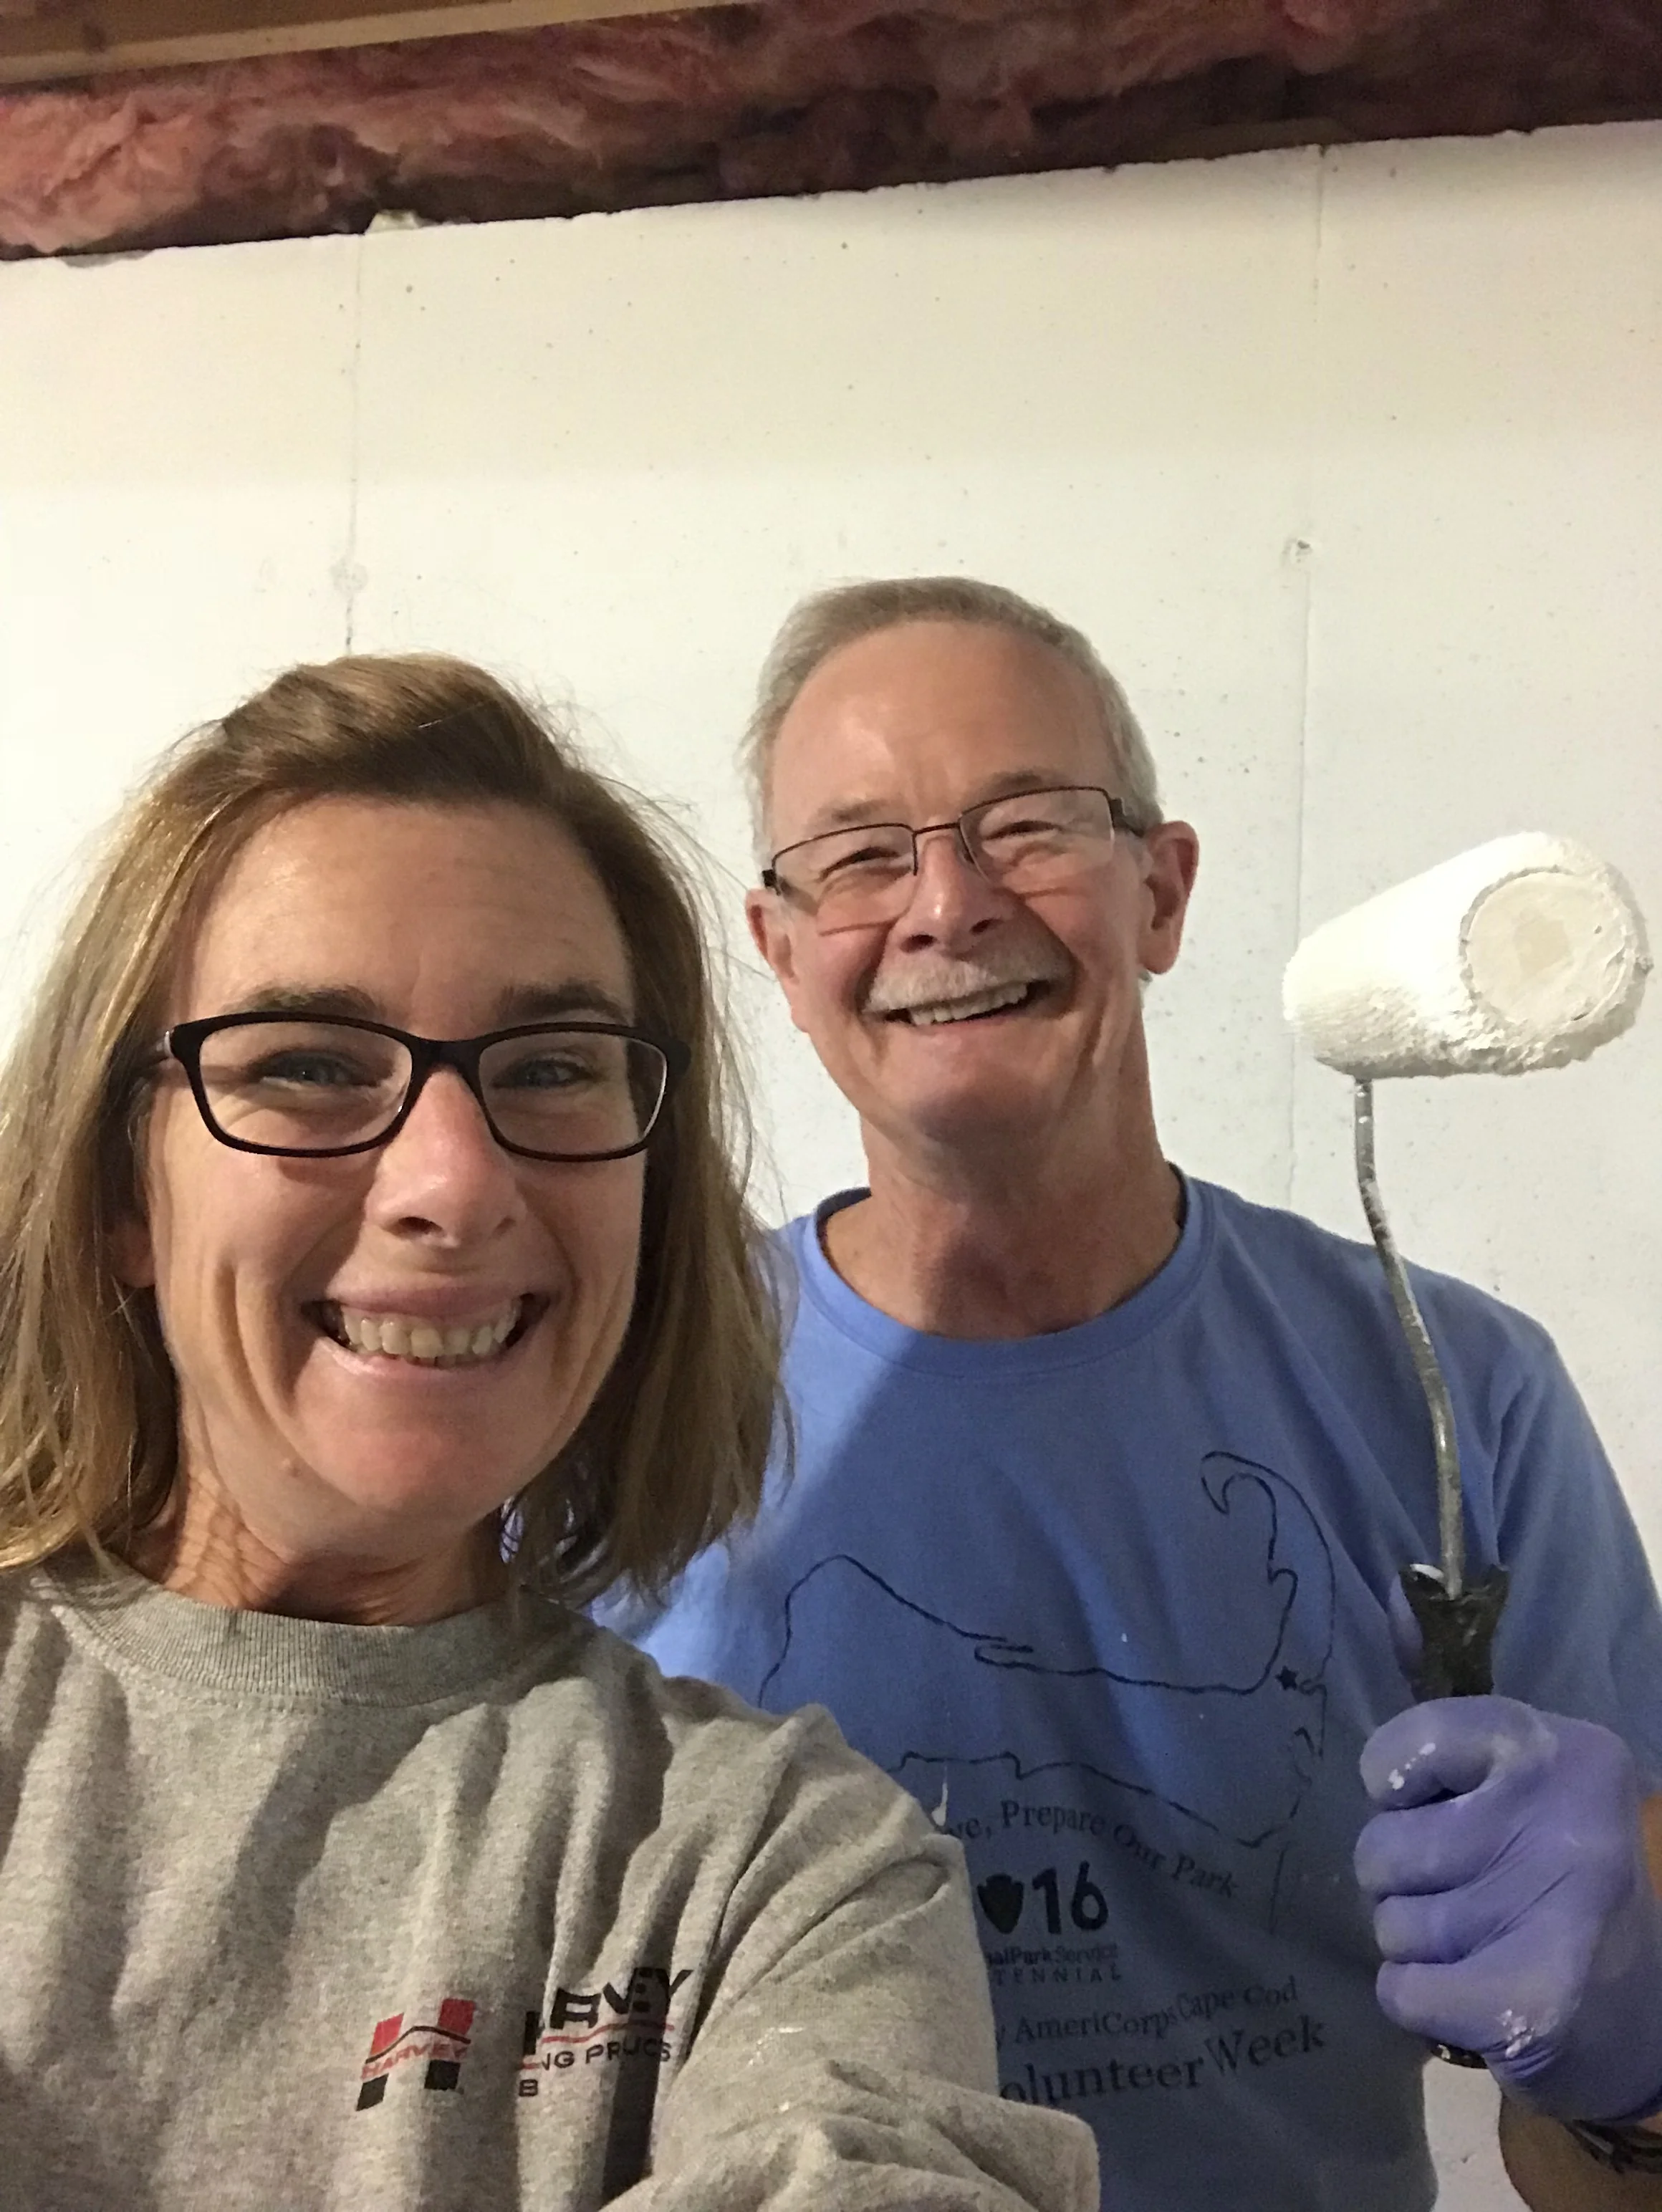
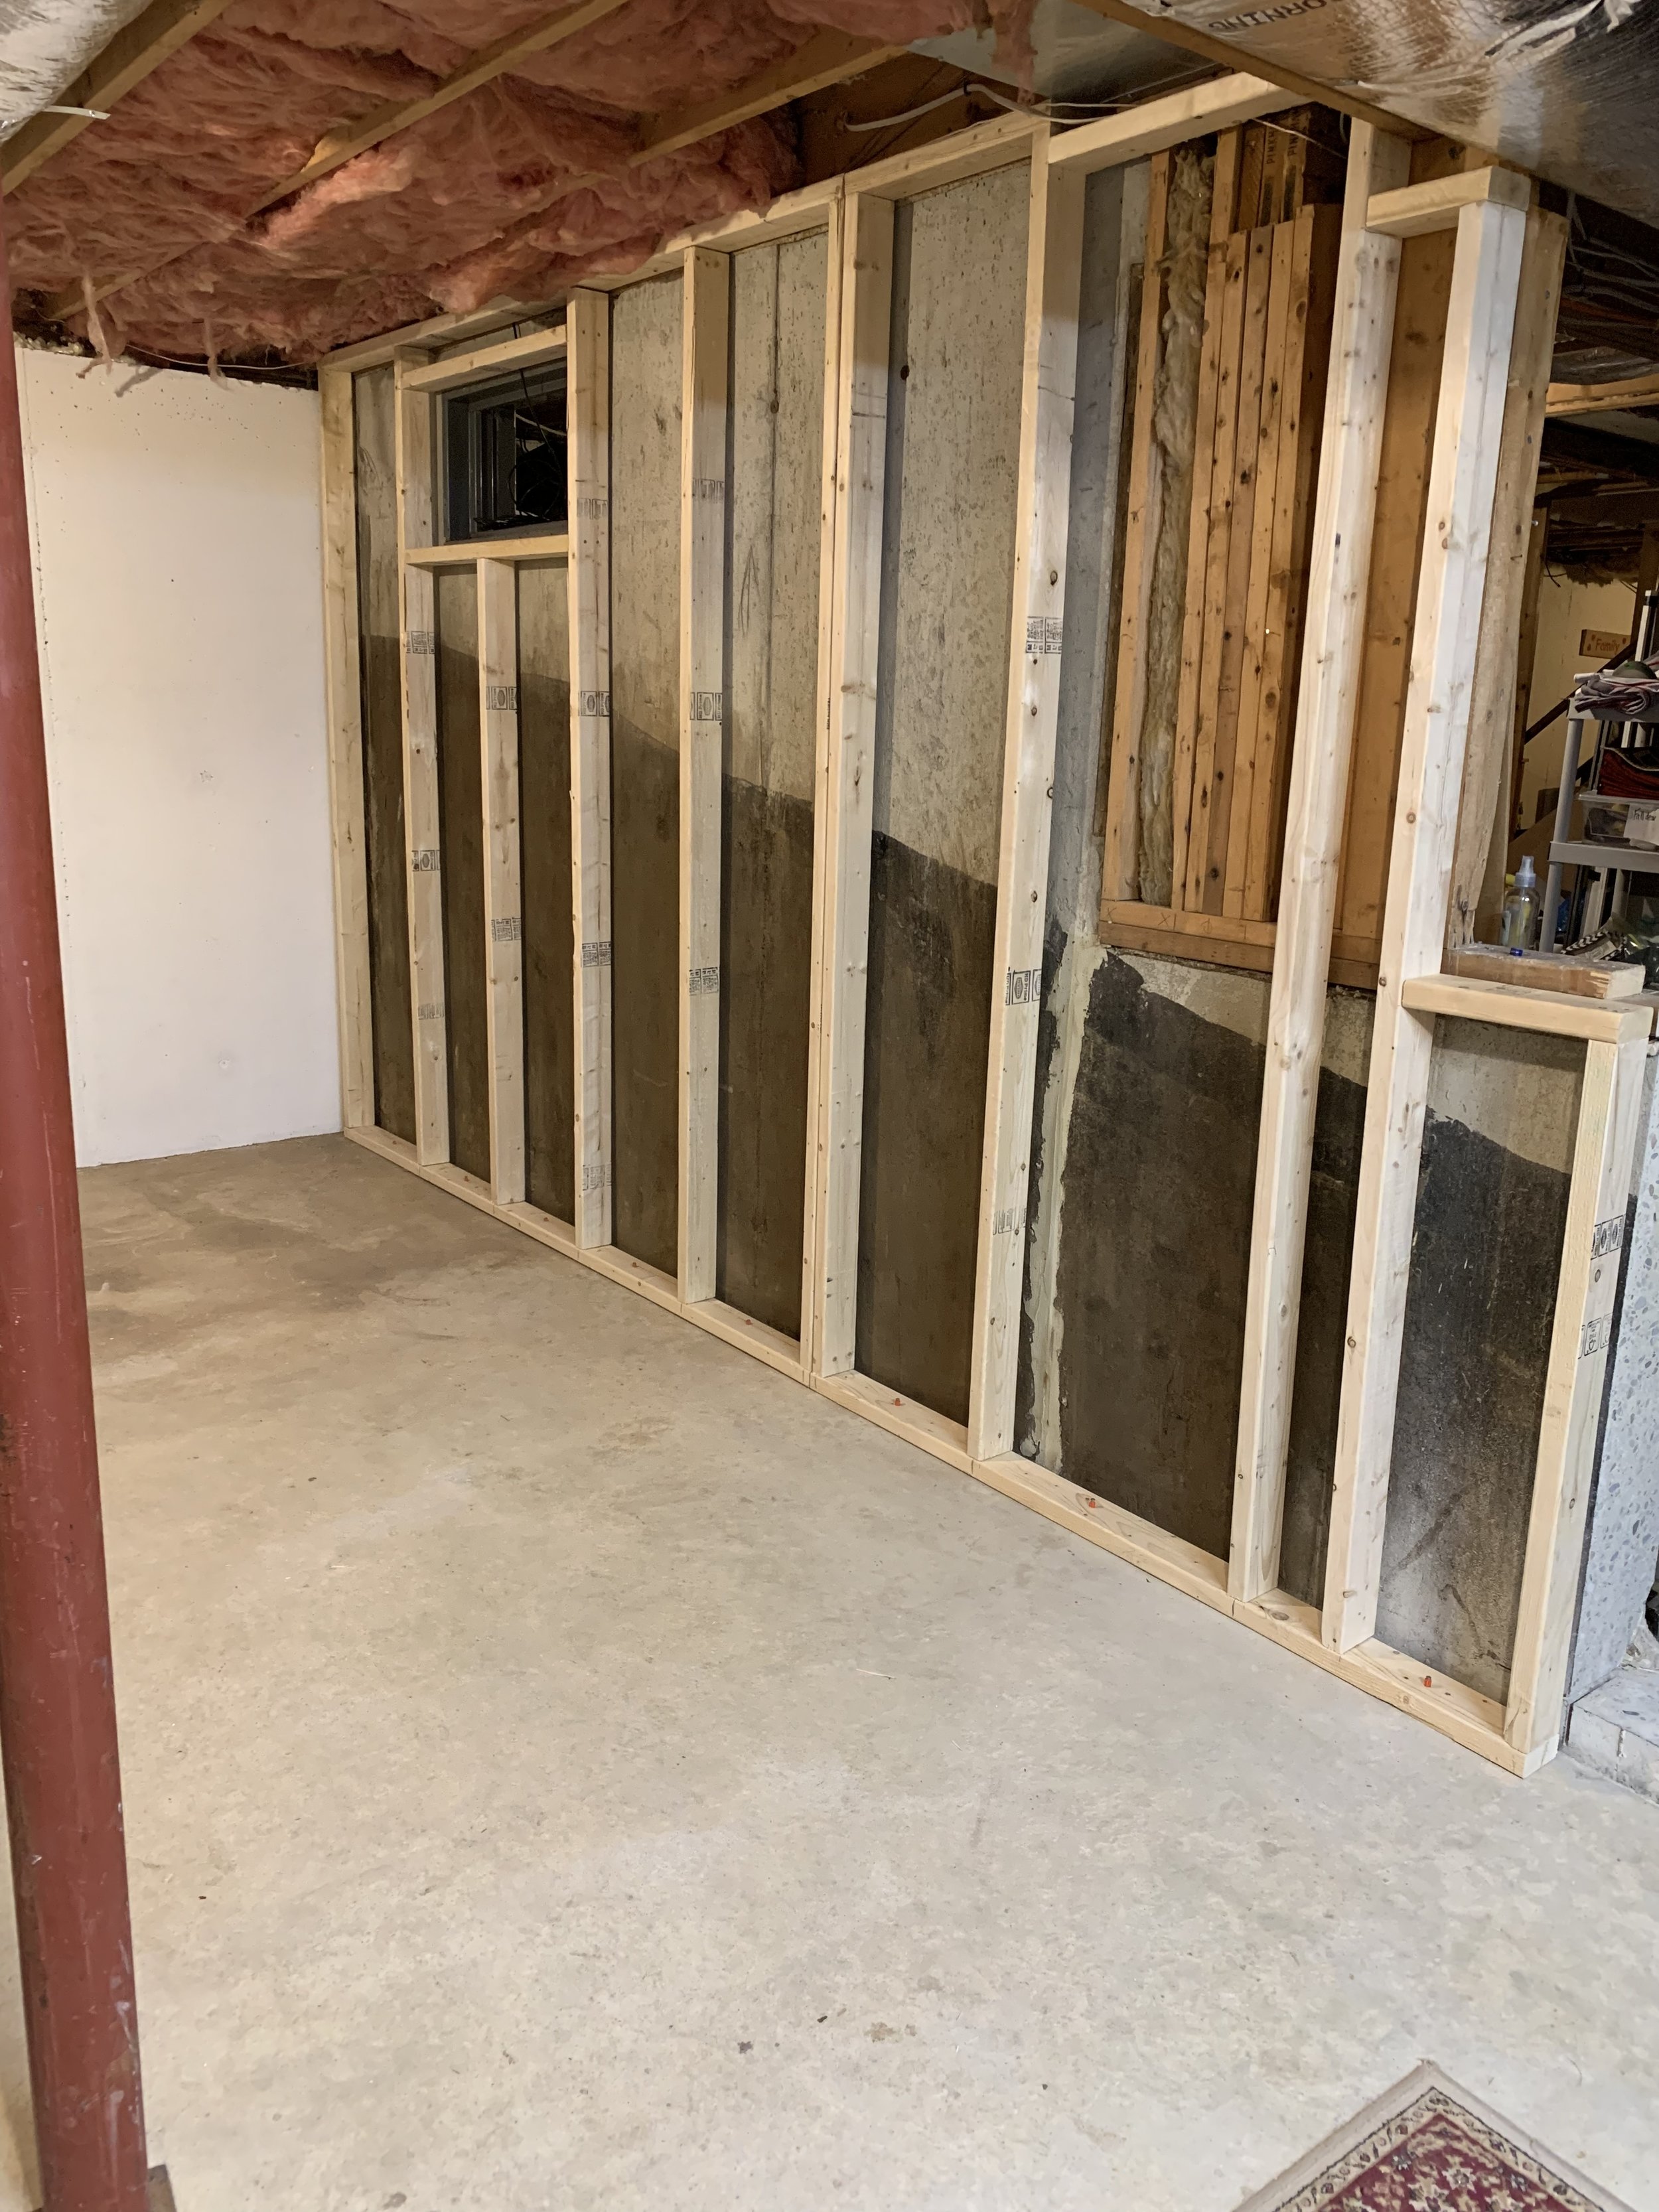
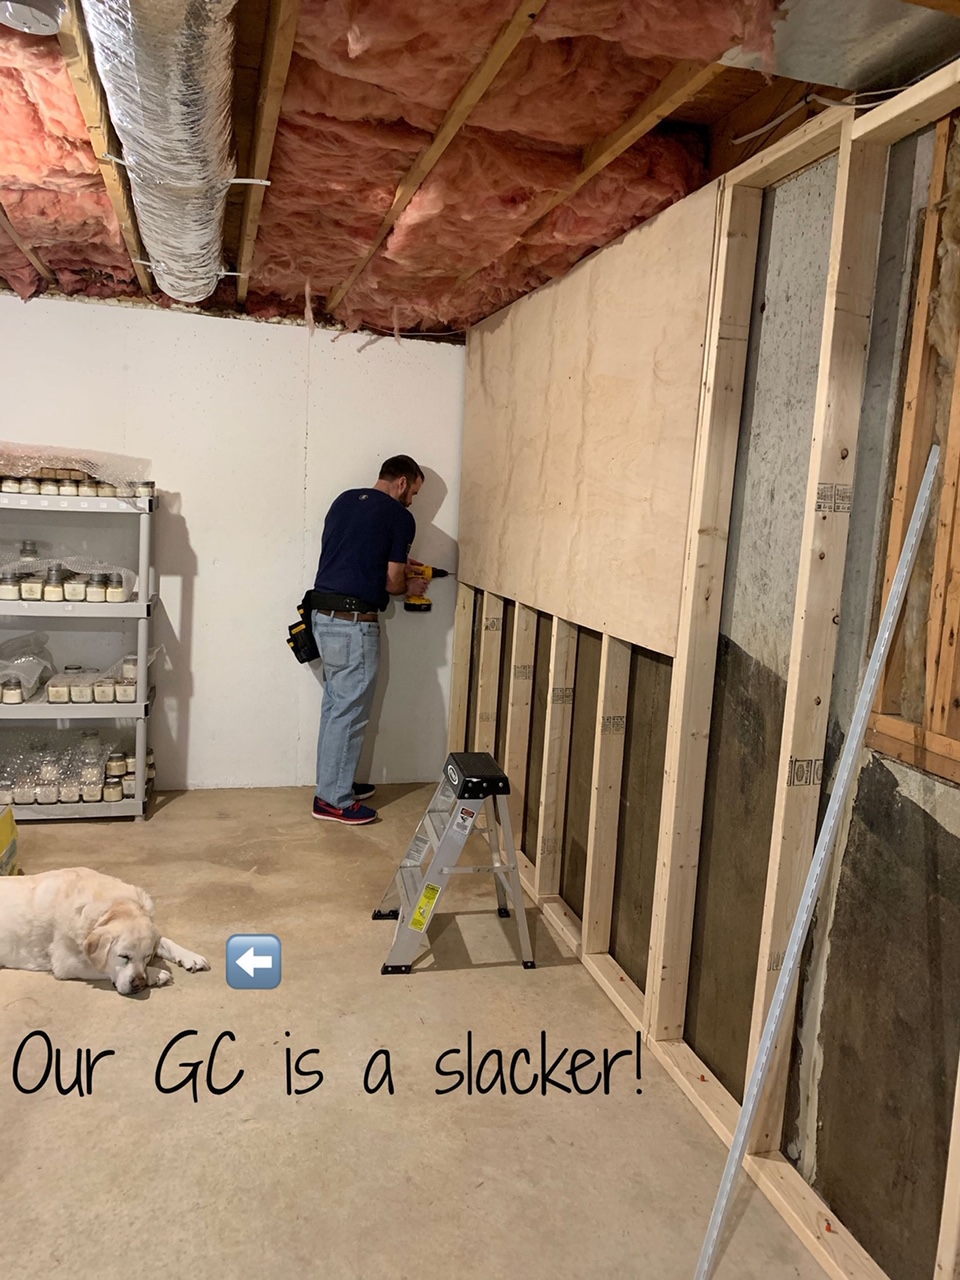
After the heat, came the painting and the framing. My dad, the Painter Extraordinaire, was a tremendous help with this. It was great to work while he painted and have good laughs and conversations all while jamming out to one of our fave artists, Billy Joel.
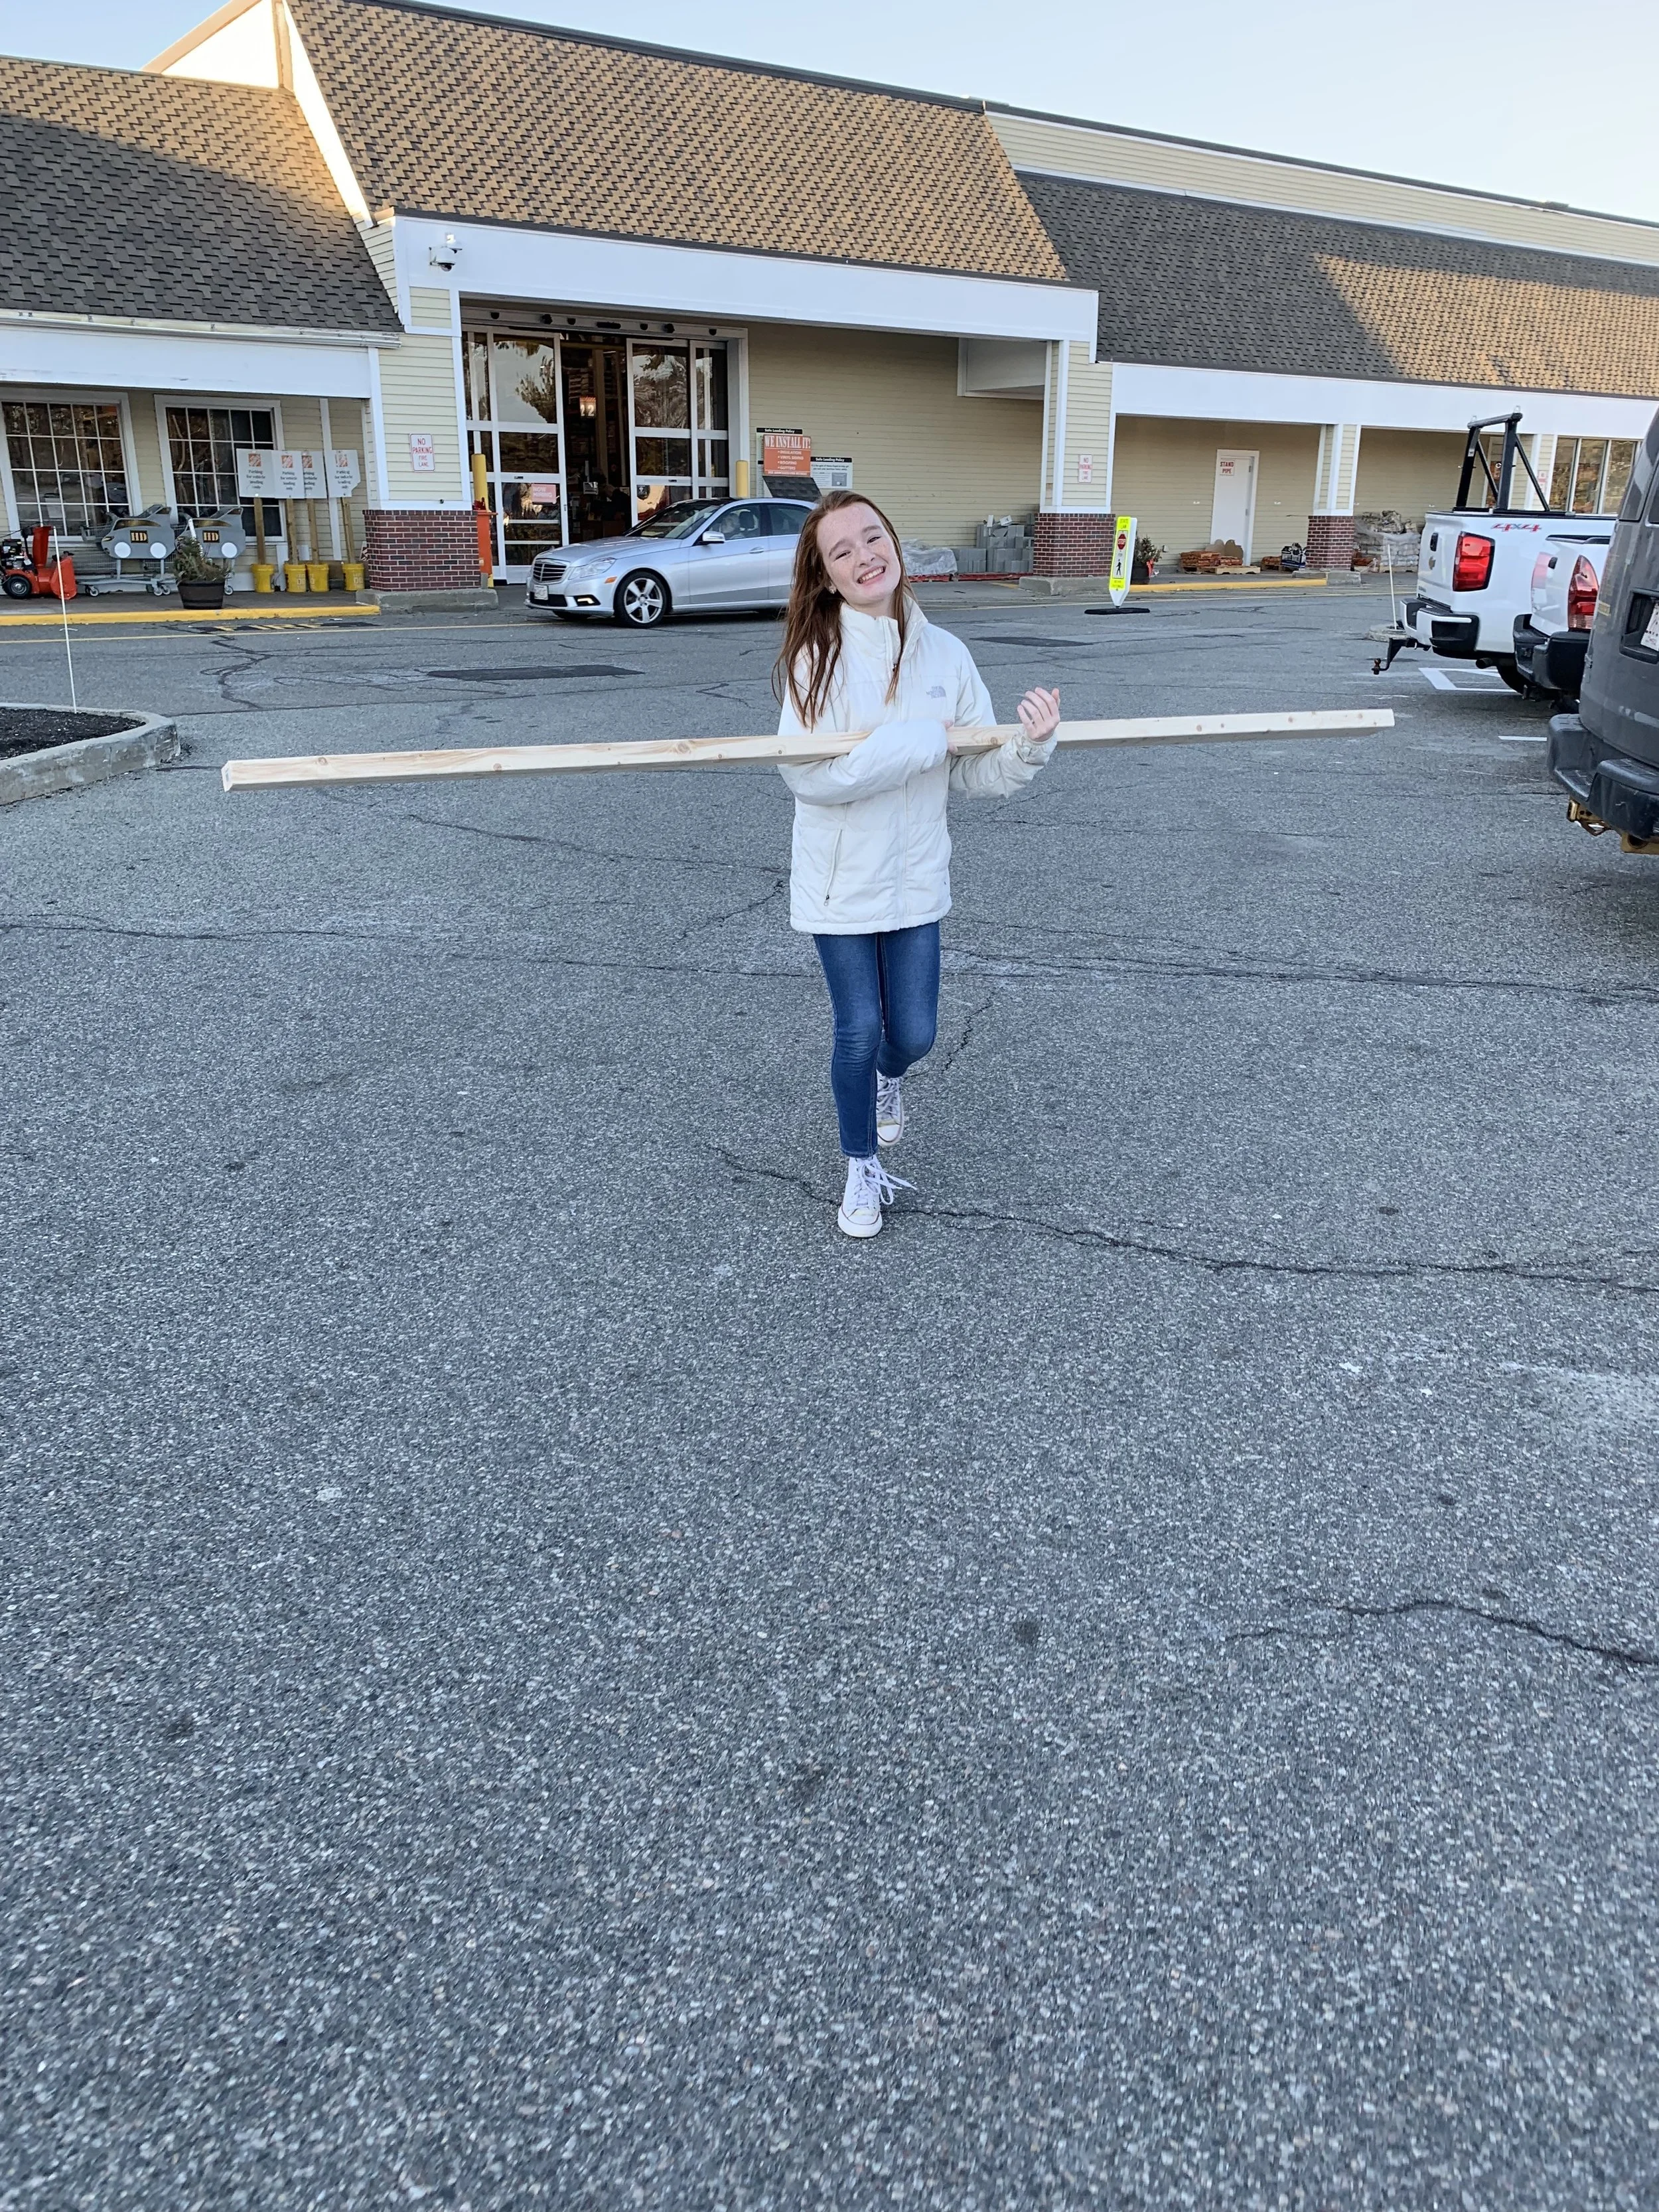
My daughter helped when we needed some last minute 2x4’s. Through it all, our GC slept however, since she only asked to be paid in treats and tummy rubs, it was a fair trade off. ;)
Another bonus? My husband was excited to frame out and hang the walls and ceiling. Watching him measure and cut and have pride in what he was doing to help my l’il biz made me so happy, and I am over the moon with the end result!
What It Looks Like Now: Below are what my workshop looks like now.
Looks pretty flippin’ amazing doesn’t it? Of course, there’s always the finishing touches … I’d like to either paint the lolly columns white or wrap them in nautical rope, and I have a lot of artwork to pick over and hang, and I’d like a bulletin board and yada yada yada, but right now, in this moment…? It’s perfect.
Whaddaya think? I love it! :)
So, there it is, the creation of my workshop, complete with a workshop scent. Thanks for reading, thanks for being a loyal customer, and thanks for all of the positive feedback on my candles!
Til next time,
Create the highest, grandest vision possible for your life, because you become what you believe.

